

Getting your wiring right from the start is the single biggest factor in whether your landscape lighting looks polished and performs reliably for years. The core best practices come down to six fundamentals: match your wiring method to your system size (daisy chain for small runs, T-method or hub for larger layouts); select wire gauge based on run length and total wattage; size your transformer with at least 20% capacity above your total fixture load; organize fixtures into dedicated zones; use waterproof, direct-burial connectors and bury cable a minimum of 6 inches deep per NEC 411.4(A); and power your transformer from a GFCI-protected, weatherproof outlet with an in-use cover.
- Wiring method: daisy chain for short, simple runs; T-method or hub for branching or larger yards
- Wire gauge: 12 AWG as the default for most residential runs; thicker wire recommended for longer runs
- Transformer sizing: total fixture wattage multiplied by 1.2 minimum
- Zoning: separate cable runs per functional area (pathways, patios, accent lighting)
- Burial depth: minimum 6 inches recommended; deeper in lawn or high-traffic areas for protection
- Power source: GFCI-protected outlet with a weatherproof in-use cover
What are the main wiring methods for landscape lighting?
The three primary methods are daisy chain, T-method, and hub wiring. Each suits a different system size and yard layout.
- Daisy chain: One cable runs from the transformer to each fixture in sequence. Simple to install and uses the least wire, but fixtures at the far end of a long run often receive noticeably less voltage than those near the transformer. Best reserved for short runs with four or fewer fixtures.
- T-method: The main cable splits at a central point, sending power in two directions. This shortens each individual run, which reduces voltage drop and balances brightness across both branches. A practical choice when your yard divides naturally into two areas, such as a front walkway and a side garden.
- Hub wiring: A single heavy-gauge cable runs from the transformer to a central hub, then individual wires branch out to each fixture group. This produces the most even voltage distribution and works well for larger, more complex systems. It uses more wire than the other methods but delivers consistent performance across the whole yard.
The VOLT Essentials system is a useful reference point for visualizing how these methods connect in practice. Its wiring diagrams clearly show how T-method and hub configurations keep runs shorter and voltage more balanced compared to a long daisy chain.
Pro Tip: If your lights look bright near the transformer but dim toward the far end of the yard, the fix is almost always to split that run into two shorter circuits rather than adding heavier wire to an already long chain.
How do you choose the right wire gauge for your system?
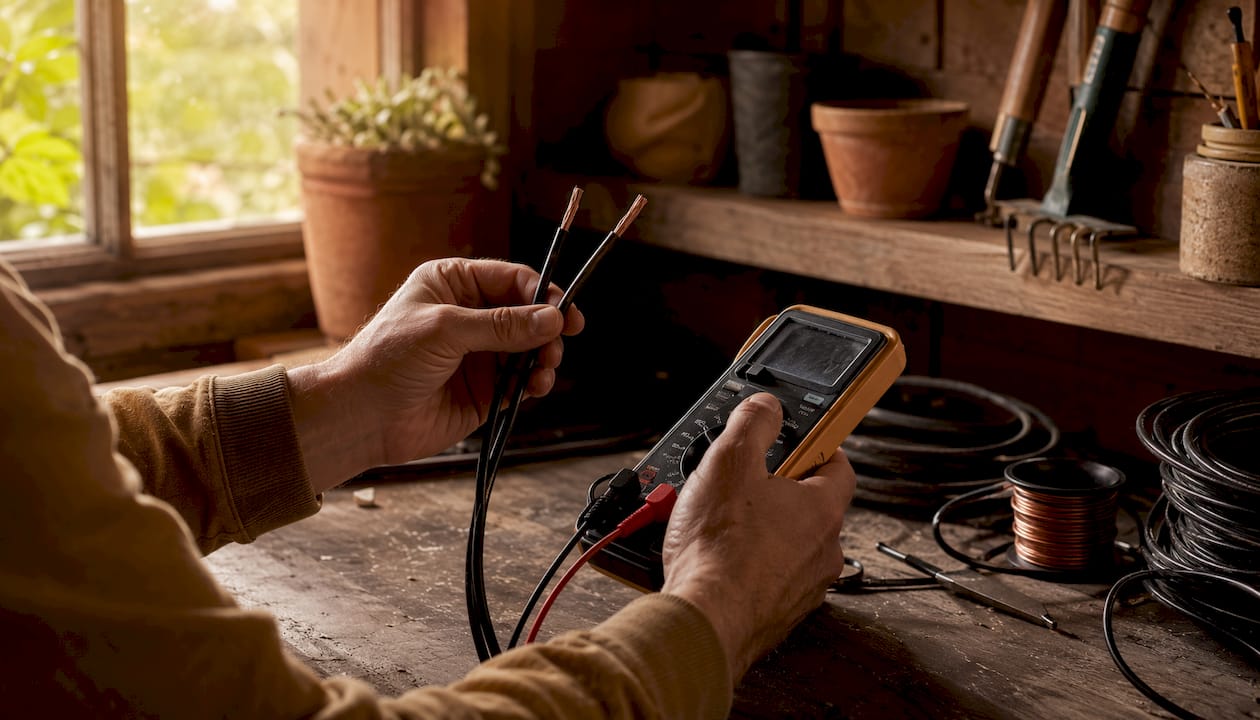
Wire gauge directly controls how much voltage reaches your fixtures. Thicker wire (a lower AWG number) carries power with less resistance over distance, which keeps brightness consistent from the first fixture to the last.
| Wire Gauge | — | Max Wattage at 100 ft | Best For |
|---|---|---|---|
| — | 100W | — | Short runs, 2–4 LED fixtures |
| — | — | 100W | Medium runs, more than four fixtures |
| 12 AWG | — | — | Long runs, 8–15 fixtures |
| 10 AWG | — | — | Very long runs, 15+ fixtures or high-wattage loads |
For most residential LED installations under 100 feet, 12 AWG wire is the recommended default. It handles typical loads comfortably and leaves room to add fixtures later without rewiring. Runs beyond 100 feet call for 10 AWG to prevent the gradual brightness loss that appears as fixtures age or wattage increases. Going one gauge thicker than the minimum calculation suggests costs very little upfront and avoids the frustration of dim fixtures at the end of a long run.
How should you size and place your transformer?
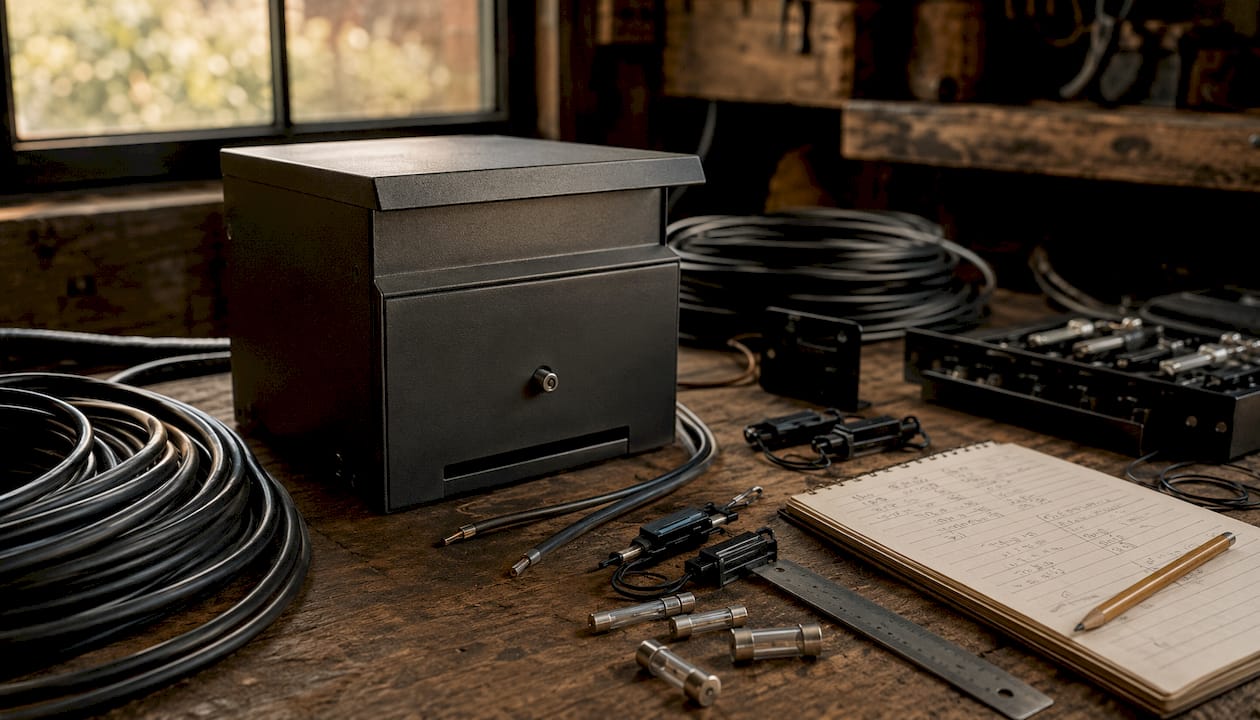
A properly sized transformer is what keeps the entire system stable. Add up the total wattage of every fixture on the circuit, then multiply by 1.2 to establish the minimum transformer capacity. Running a transformer at its full rated load shortens its life and causes overheating, so that 20% headroom is protective, not optional.
- Calculate total load; choose a transformer with at least 20% more capacity than your total wattage load to provide safe headroom
- Choose a UL-listed Class 2 transformer for residential installations; these are rated to limit output safely and meet code expectations for low-voltage systems
- Mount the transformer above standing water and splash zones, in a location that stays accessible for timer adjustments and fuse checks
- Keep it away from dense shrubs where heat cannot dissipate and service access becomes difficult
- Plug it into a weatherproof outlet with an in-use cover so the connection stays protected even while the transformer is energized
Older transformers sometimes lack secondary-side protection. Adding an inline 10A or 15A fuse on the 12V lead can protect the transformer if a cable gets cut or a downstream short develops.
Why zoning your system improves performance and troubleshooting
Zoning means organizing your fixtures into separate cable runs, each serving a distinct area such as pathways, patios, or architectural accent lighting. A well-zoned system performs better than one long daisy chain because each run stays shorter, which keeps voltage drop low and brightness consistent. It also makes troubleshooting far easier. When one zone goes dark or dims, you can isolate that circuit immediately instead of tracing a single cable across the entire yard.
- Separate driveway, patio, and architectural lighting onto independent circuits for both performance and mood control
- Size each zone by distance and wattage load, not just fixture count
- Give every zone its own dedicated positive and common wire pair to prevent heat buildup and voltage drop
- Keep total wattage across all active zones within 80% of the transformer’s rated capacity
Pro Tip: Zone-based wiring lets you control each area independently. Separating your patio lighting design from your pathway circuits means you can dim one area for ambiance while keeping the other at full brightness for safety.
What safety and code requirements apply to landscape lighting wiring?
NEC 411.4(A) sets the baseline for residential low-voltage landscape lighting. Meeting these requirements protects both the system and the people who maintain it.
- Power the transformer from a GFCI-protected outdoor receptacle fitted with a weatherproof in-use cover; this is the code requirement and the most common installation detail that gets skipped
- Bury low-voltage cable at least 6 inches deep; 8–12 inches is recommended in lawn areas for extra protection against damage from aerators and edging tools
- Use connectors rated for wet or direct-burial environments; clip-on kit connectors are convenient but often fail over time as moisture works into the joint
- Perform a firm tug test on every splice before burial to confirm the connection is mechanically secure
- Leave extra wire slack at each fixture and conduit end to allow future repositioning without needing to dig new cable trenches
- Avoid burying wire under hardscape edges or concrete curbs where edging work can cut through insulation
- Never over-twist wire strands when making connections; damaged copper strands create high-resistance joints that cause flickering and, over time, heat buildup
A simple rule from experienced installers: match the transformer class, cable size, and total load together. Pairing a large transformer with undersized cable defeats the safety intent of a low-voltage system just as surely as overloading a small one.
How does ground-fault protection keep your system safe?
Ground-fault circuit interrupter (GFCI) protection is the primary safety mechanism on the line-voltage side of any landscape lighting installation. A GFCI outlet monitors the current flowing out and back through a circuit. When it detects even a small imbalance, typically caused by current leaking through water, damaged insulation, or a person, it cuts power in milliseconds. For outdoor receptacles in wet locations, the National Electrical Safety Foundation recommends GFCI protection as a baseline outdoor electrical safety measure.
The transformer’s primary side connects directly to this outlet, which means GFCI protection covers the most dangerous part of the system: the 120V supply. The low-voltage secondary side (12V) carries far less shock risk, but it still depends on a safe primary connection. A tripped GFCI that keeps resetting is a warning sign, not an inconvenience. It usually points to moisture in a connector, a damaged cable, or a short somewhere in the run. Investigate before resetting and moving on.
Key Takeaways
Proper landscape lighting wiring requires the right method, correct wire gauge, a transformer sized at 120% of total load, dedicated zone circuits, and GFCI-protected power with waterproof connections buried at least 6 inches deep, or 8–12 inches in lawn areas for added durability.
| Point | Details |
|---|---|
| Match wiring method to system size | Use daisy chain for short runs; switch to T-method or hub wiring for larger, branching layouts. |
| Default to 12 AWG wire | Handles most residential LED runs under 100 feet and allows future fixture additions without rewiring. |
| Size transformer with 20% headroom | Multiply total fixture wattage by 1.2; running at full capacity causes overheating and early failure. |
| Zone every functional area separately | Give each zone its own positive and common wire pair to prevent voltage drop and heat buildup. |
| Meet NEC 411.4(A) burial and GFCI requirements | Bury cable at least 6 inches deep and power the transformer from a GFCI-protected weatherproof outlet. |
Foreverglowlighting designs and installs custom landscape lighting systems across Charlotte and the surrounding area, handling every detail from transformer sizing and zone planning to proper burial depth and code-compliant connections. If you want a system that performs evenly from the first fixture to the last, our team brings the experience to get the wiring right the first time.

Contact Foreverglowlighting today for a free estimate and see what a professionally wired outdoor lighting system looks like on your property.