
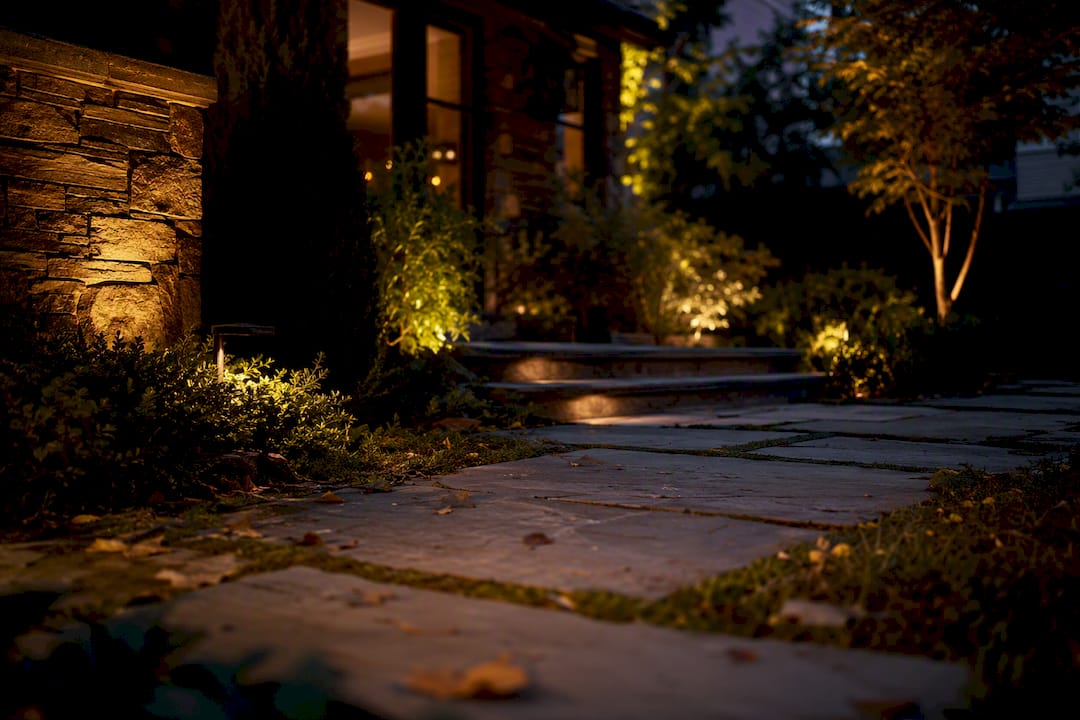
Outdoor lighting reduces glare through four controllable factors: optical control (cut-off and shielded fixtures that keep light off the diode), correct placement and aiming, warmer color temperature at 3000K or lower, and dimming or motion-based controls that limit output when full brightness isn’t needed. Get these four right and a lighting system disappears into the landscape by day and stays comfortable to look at by night.
If you’re dealing with glare right now, three fixes matter most:
- Tilt fixtures downward so the light source itself is never visible from a seat, window, or driveway approach.
- Add a shield or house-side baffle to any fixture that throws light sideways instead of down onto its target.
- Drop the color temperature to 3000K or lower and put accent lights on a dimmer or motion trigger instead of running them at full output all night.
Guidance from the Federal Highway Administration and standards bodies like DLC’s LUNA program back all four of these levers, and we’ll walk through exactly how each one works.
Key Takeaways
Glare control comes down to shaping where light goes, not how much of it you install, and every homeowner fix listed here traces back to controlling distribution, aim, color temperature, or timing.
| Point | Details |
|---|---|
| Control distribution first | Choose full cut-off or shielded fixtures before worrying about wattage or brand. |
| Aim and mount matter | Higher mounting with a narrower beam keeps the source out of typical sightlines. |
| Warm color temperature | Stick to 3000K or lower to limit both skyglow and up-close discomfort glare. |
| Test at night, not by day | Walk every seating area, window, and driveway approach after dark before calling a layout finished. |
| Professional installers apply this by default | Foreverglowlighting builds concealed tracks, shielded optics, and zoned controls into every custom install to manage glare from day one. |
Table of Contents
- Why Glare Happens: Veiling Luminance and LED Design
- Design Strategies That Keep Light Off Your Sightline
- Which Fixtures and Optics Actually Cut Glare
- Controls That Keep Glare Down After Installation
- How Do You Test a Lighting Setup for Glare at Night?
- How Forever Glow Lighting Applies These Glare Controls
- What Most Glare Advice Gets Backward
- Get Glare Control Built Into Your Lighting From the Start
- Sources
Why Glare Happens: Veiling Luminance and LED Design
Glare isn’t just “too much light.” It’s what happens when a bright source scatters stray light across your eye’s lens before it reaches the retina, a phenomenon called veiling luminance. That scattered light lowers contrast and makes it genuinely harder to see, which is why lighting engineers split it into two categories.
Disability glare actually impairs vision, the kind you get staring into oncoming headlights. Discomfort glare doesn’t blind you, but it’s irritating enough to make you look away from a bright bulb on a porch post. The FHWA’s lighting guidance treats both as functions of source brightness, size, position, and how adapted your eyes already are to the surrounding dark.
LEDs make this trickier than the incandescent and halogen fixtures they replaced. A traditional bulb spreads its light-emitting surface over a larger area, but an LED chip crams the same output into a tiny die. CIBSE’s technical guidance points out that this concentrated intensity means a bare LED source reads as far harsher to the eye than an old-style bulb putting out similar lumens, simply because the point of emission is so small and bright.
Color temperature compounds the problem. Higher CCT fixtures, the cool blue-white light you see on some security floodlights, scatter more in the atmosphere and contribute more to skyglow, according to DLC’s outdoor lighting strategies. That blue-violet content doesn’t just wash out the night sky. It’s also more likely to trigger discomfort glare up close, which is one reason most residential lighting designers steer clients toward warmer tones for anything near a seating area or window.
A few practical takeaways follow directly from this:
- A small, bright LED point source needs more optical control than an equivalent incandescent fixture did.
- Warmer CCTs (3000K and below) reduce both skyglow and the harsh, blue-tinted discomfort glare homeowners complain about.
- Glare perception depends heavily on background darkness, so a fixture that seems fine at dusk can feel blinding once full night sets in.
Design Strategies That Keep Light Off Your Sightline
Good glare control starts with a simple rule: hide the source, show the effect. If you can see the bulb itself from where you sit, stand, or park, the fixture is doing its job wrong, no matter how nice the illuminated tree or wall looks around it.
- Conceal the fixture, not the light. Mount uplights behind shrubs, tuck path lights below sightline height, and recess step lights into risers so the beam is visible but the diode never is.
- Layer instead of flooding. Split your plan into ambient wash, task lighting near stairs and walkways, and accent highlights on trees or architecture. When one fixture tries to do all three jobs at once, it usually ends up overdriven and glaring. This layering approach also gives a yard more depth after dark, which is worth exploring in proven curb appeal lighting ideas.
- Space fixtures to avoid the runway effect. A row of evenly spaced path lights at identical brightness creates a landing-strip look that draws the eye to each bulb in sequence. Stagger spacing and vary intensity slightly instead.
- Raise mounting height where you can. CIBSE’s optical control research notes that a higher mount lets you use a narrower beam angle while still covering the same target area, which pulls the direct sightline to the source further out of a typical eye level.
- Resist the urge to add more fixtures. The Family Handyman’s landscape lighting guidance specifically warns against clustering multiple spotlights in one spot; two or three well-aimed fixtures at different heights create more depth than five fixtures fighting for the same wall.
Even coverage beats raw output almost every time. A system running at moderate brightness across a balanced layout looks better and reads as more comfortable than one blazing fixture trying to light an entire front yard alone. Our guide to recommended landscape lighting brightness levels breaks down what “balanced” actually looks like in lumens.
Pro Tip: Walk your own property after dark before you finalize any layout. Stand where you’d actually sit on the patio, then look at each fixture from that exact spot. If a bulb glares back at you, it will glare at your guests too.
Which Fixtures and Optics Actually Cut Glare
Fixture choice matters more than most homeowners assume, because two lights with identical lumen ratings can produce wildly different glare depending on how they shape their beam.
Full cut-off and shielded luminaires direct light downward and block it from escaping above a horizontal plane. The FHWA’s lighting handbook identifies this optical control as the single biggest factor in reducing both uplight and veiling luminance. If a fixture near a walkway or driveway throws light sideways into a neighbor’s window or your own sightline, a house-side shield solves it without touching the rest of the beam.
Louvers, baffles, and snoots each narrow or redirect a beam for a specific reason:
- Louvers cut off light at an angle, useful on wall-wash fixtures near seating.
- Baffles recess the LED deeper into the housing so only reflected light escapes.
- Snoots create a tight, tunnel-like beam for tree uplighting where you want a narrow column, not a wide flood.
Diffusers and frosted lenses soften brightness by scattering light in every direction, which is genuinely useful for decorative string lighting over a patio. But CIBSE’s guidance on exterior optics is blunt about the trade-off: diffusion reduces contrast, it doesn’t stop uplight or spill. Designers generally reserve diffusers for ambiance and rely on shaped optics or light-guide lenses for anything doing real work, like illuminating a facade or a set of steps.
On color temperature, the standard homeowner recommendation is 3000K or lower. DLC’s minimum-impact lighting strategies flag higher CCTs as a direct contributor to both skyglow and glare complaints, and most manufacturers now offer shield accessories specifically so an installer can dial in spill control without swapping the entire fixture. Learn more about how LED selection affects landscape lighting outcomes before you buy.
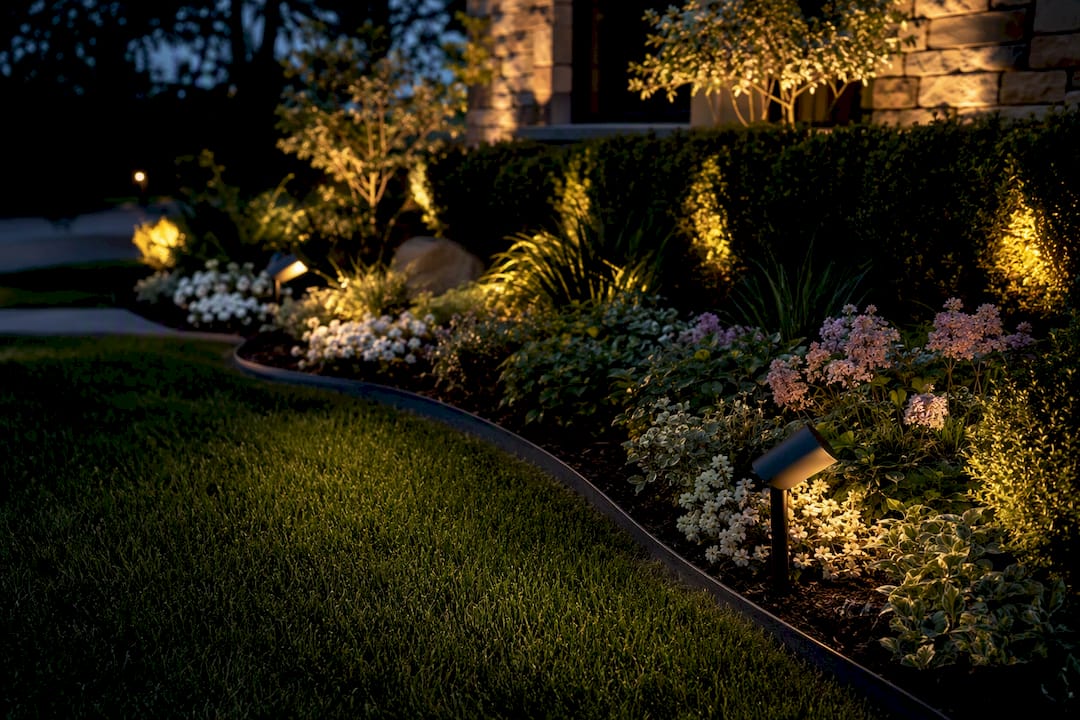
Controls That Keep Glare Down After Installation
A fixture aimed perfectly on installation day can still feel like too much light once your eyes adjust to full darkness later in the evening. That’s where controls take over from optics.
Dimming and curfew schedules cut power during hours when full brightness isn’t earning its keep. DLC’s LUNA guidance references this kind of scheduled reduction as a standard energy-code practice, and it does double duty: lower nighttime output means less glare for anyone still up and less light spilling toward bedroom windows.
Motion sensors solve the opposite problem, the fixture that’s dim or off most of the time but jumps to useful brightness only when someone actually walks the path. This avoids running security-level output all night for no reason.
Zoning ties it together. Group your system so:
- Accent lights on trees and architecture stay low and steady for ambiance.
- Task lighting near stairs, entries, and driveways brightens only when triggered.
- Security zones can flash to full output on demand without affecting the rest of the yard.
Smart scenes let you flip between these instantly.
Pro Tip: If you’re hosting on the patio, set a dedicated low-glare scene ahead of time rather than manually dimming individual fixtures once guests arrive. It’s the difference between ambient light and someone squinting through dinner.
How Do You Test a Lighting Setup for Glare at Night?
Daytime walkthroughs miss almost everything that matters here. Glare only shows up once the sun is down and your eyes have adapted to actual darkness, so the real test happens after dusk.
- Sit where you’d normally sit. Walk the patio, porch, and any exterior seating, then check each fixture from that exact eye level, not standing.
- Check every window that faces the yard. Professional placement standards call for testing sightlines from indoor seating and bedroom windows as much as outdoor spaces.
- Look for the bare diode. If you can see the LED itself rather than the surface it’s illuminating, add a shield or reduce the aim angle until it disappears.
- Walk the driveway approach and front sidewalk. Glare that’s tolerable from the porch can be blinding from a car pulling into the driveway.
- Check trespass onto neighboring property. Adjust house-side shields or tilt angle if light is crossing the property line into someone else’s window.
- Document your final settings. Record CCT, dimming schedules, and any scene presets so future maintenance or HOA reviews have a clear reference point.
Pro Tip: Bring a phone flashlight and stand at each problem sightline. If shining your own light back at the fixture location makes you squint, that’s roughly the glare level a neighbor or guest is experiencing from that same spot.
For a broader maintenance reference, Foreverglowlighting’s homeowner lighting checklist covers seasonal adjustments beyond glare alone.
How Forever Glow Lighting Applies These Glare Controls
Every one of the tactics above shows up in how Foreverglowlighting designs a system from the first site visit. The company’s permanent LED roofline tracks are concealed within the roofline itself, meaning there’s no exposed fixture to create direct-view glare in the first place. Landscape and accent installations use shielded optics, careful aiming, and zoned smart controls so each area of a property gets exactly the light it needs, no more.
- Concealed track systems eliminate line-of-sight glare from roofline accent lighting entirely.
- Zoning separates security brightness from ambient accent lighting, so one doesn’t force the other into overkill.
- Smartphone-controlled dimming lets homeowners correct glare complaints in seconds instead of re-aiming a fixture by hand.
The most common glare complaint we hear during a walkthrough isn’t about a specific fixture. It’s a homeowner who never tested their own system from the porch swing or the bedroom window before calling it finished.
Correcting that gap between installed and tested is often as simple as a shield adjustment or a dimming scene change, not a full redesign. That’s the value of professional landscape lighting design: someone walks every sightline before calling the job done.
What Most Glare Advice Gets Backward
Most articles on this topic treat glare as a fixture problem: buy the right bulb, done. That’s backward. The research points to placement and testing as the bigger lever. A cheap fixture aimed correctly and shielded well beats an expensive one aimed carelessly, every time.
The advice to “just use warm white LEDs” is true but incomplete. It skips the step homeowners actually skip, walking their own sightlines after dark before deciding a job is finished. I’d argue the single most overlooked fix in this entire topic is the driveway approach test. Homeowners obsess over the patio view and forget that glare hits hardest for a few seconds while pulling into their own driveway at night.
If you take one thing from this, prioritize testing over shopping. Buy reasonable fixtures, aim them with intention, then verify from every seat and window before calling it done. That sequence solves more glare complaints than any single product ever will.
— Dave
Get Glare Control Built Into Your Lighting From the Start
Retrofitting shields and re-aiming fixtures after the fact costs more time and money than designing glare control into the system from day one, which is exactly how Foreverglowlighting approaches every install. Instead of guessing at fixture placement yourself or hiring separate crews for lighting and troubleshooting, you get a single custom-designed system with concealed roofline tracks, shielded optics, and zoned smartphone control built in from the first walkthrough.

That matters most for entertaining spaces, where glare complaints show up fastest once guests are seated at eye level with your fixtures. Foreverglowlighting’s guide to outdoor lighting for entertaining spaces shows how a properly zoned system keeps a patio glowing without a single harsh point of light anywhere near the table. If glare, uneven brightness, or a yard that never looks quite right after dark has been bothering you, contact Foreverglowlighting for a free estimate and let a professional walkthrough catch the sightline issues before they become a repeat complaint.
Sources
- 5 Considerations Concerning Lighting Systems | FHWA
- Module 186: The importance of optical control for exterior lighting – CIBSE Journal
- Landscape Lighting Dos and Don’ts | The Family Handyman
- Outdoor Lighting Placement Guide: Professional Distances, Angles, and Techniques