
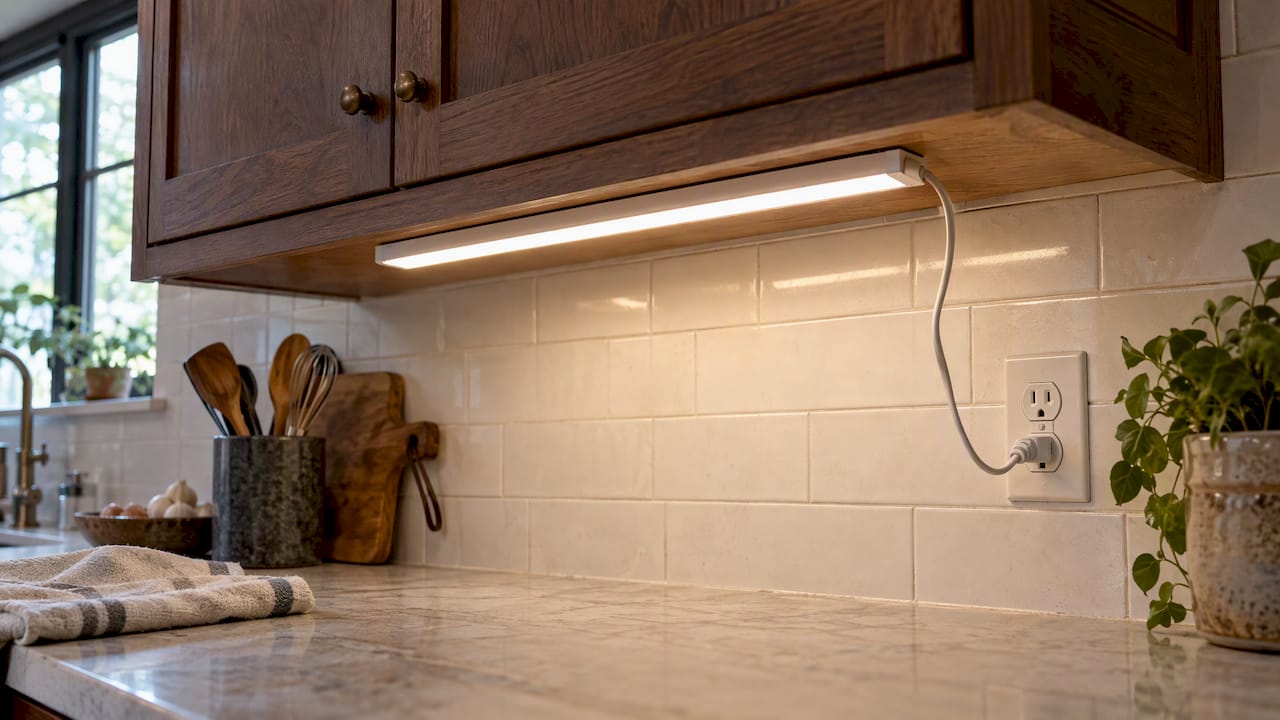
There are three practical ways to power under cabinet lights: plug them into an outlet, hardwire them to a switch, or run low-voltage LED tape from a hidden driver. Plug-in is the fastest and needs no electrical work. Hardwired gives the cleanest, most built-in result. Low-voltage tape sits between the two and suits custom runs. The right choice depends on whether your kitchen is being remodeled, where your outlets and switches are, and how much of the wiring you want out of sight.
This guide walks through each option, how to hide the wire, what to ask about code and permits in Charlotte, and how to plan a layout so you don’t regret it once the backsplash is up.
TL;DR
- Plug-in lights are the lowest-effort retrofit, but they use an outlet and can leave cords visible.
- Hardwired lights give the cleanest look and let a wall switch or dimmer control everything. Plan them before drywall and backsplash are finished.
- Low-voltage LED tape needs a hidden driver and a diffusion channel, and it is the best route for a smooth, dot-free line of light.
- In Mecklenburg County, swapping a fixture on existing wiring usually needs no permit. Running new wire or adding a circuit does.
- Choose 2700K to 3000K with a high CRI, and decide where the switch and driver go before you buy anything.
Table of Contents
- The three ways to power under cabinet lights
- Plug-in systems: quick, with trade-offs
- Hardwired systems: the built-in look
- Low-voltage LED tape and drivers
- How to hide the wiring
- Wiring a switch and dimmer
- Charlotte code and permits
- Choosing the light itself
- Our perspective: decide the wiring first
- Work with a team that plans the wiring first
- Which option should you choose?
- FAQ
- Sources
The three ways to power under cabinet lights
Every product, from puck lights to light bars to tape, reaches your wall power through one of three paths. Lowe’s buying guide notes that under cabinet lighting comes as pucks, strips, tape or ropes, and the wiring method is a separate decision from the fixture shape.
| Option | Power source | Best for | Main drawback |
|---|---|---|---|
| Plug-in | Standard outlet, often a cord or plug-in adapter | Existing kitchens, renters, quick upgrades | Visible cords, uses an outlet |
| Hardwired | Home branch circuit, junction box, wall switch | Remodels and new builds | Needs planning and often an electrician |
| Low-voltage tape | Driver (power supply) plugged in or hardwired | Custom runs, long counters, even light | Driver placement and channel work |
Many kitchens end up combining them: a hardwired driver feeding low-voltage tape is common in professional work.
Plug-in systems: quick, with trade-offs
Plug-in bars and strips are the simplest answer to “how do I power these?” You mount the light, run a short cord to an outlet, and you are done in an afternoon.
The catch is clutter. Electricians point out that plug-in convenience often leads to unintended clutter: the lights take up a countertop outlet and leave cords exposed. You also end up reaching for a small inline switch, a remote or a smart plug instead of using a wall switch.
Plug-in works well when:
- You are not remodeling and don’t want to open walls.
- There is already an outlet near each run, ideally one you don’t need for appliances.
- You can hide the cord along the cabinet underside, behind a light rail, or inside the cabinet.
If you go this route, keep in mind that kitchen countertop receptacles need GFCI protection under NEC 210.8(A). A plug-in unit using that outlet is protected by it. Amporalabs summarizes this and notes that hardwired fixtures belong on a general lighting circuit rather than the small-appliance circuits that serve countertop outlets. Confirm the details with a licensed electrician before you rely on them.
Hardwired systems: the built-in look
Hardwired lights connect to the home’s wiring through a junction box or a switch leg. There is no cord and no plug, and the whole run can be controlled from a wall switch or dimmer.
This is the option installers recommend for remodels. According to the electricians at On The Bright Side Electric, hardwired systems can be integrated into the room’s switch design, which gives a more unified result than plug-in or battery units. A hardwired vs. plug-in comparison puts typical labor for hardwiring at roughly $250 to $800, though your cost depends on how far the wire has to travel and how much wall access you have.
What a typical hardwired run involves
- Pick the power point. This is usually a nearby switch box, a junction box, or an existing circuit that can legally carry the load.
- Run cable to the cabinet area. In an open-wall remodel this is easy. In a finished kitchen it can mean fishing cable through walls or cabinet backs.
- Leave slack at each fixture. One installer guide describes leaving a loop of 12 to 18 inches at the fixture point so connections are easy to make and service later.
- Connect the fixtures and switch. Connections go in a proper box or the fixture’s rated wiring compartment, never loose inside the cabinet.
- Test, then dress the wire. Check operation and dimming before you close anything up.
If you are unsure about any of those steps, this is the point to call a licensed electrician rather than guess.
Plan around the finish stage
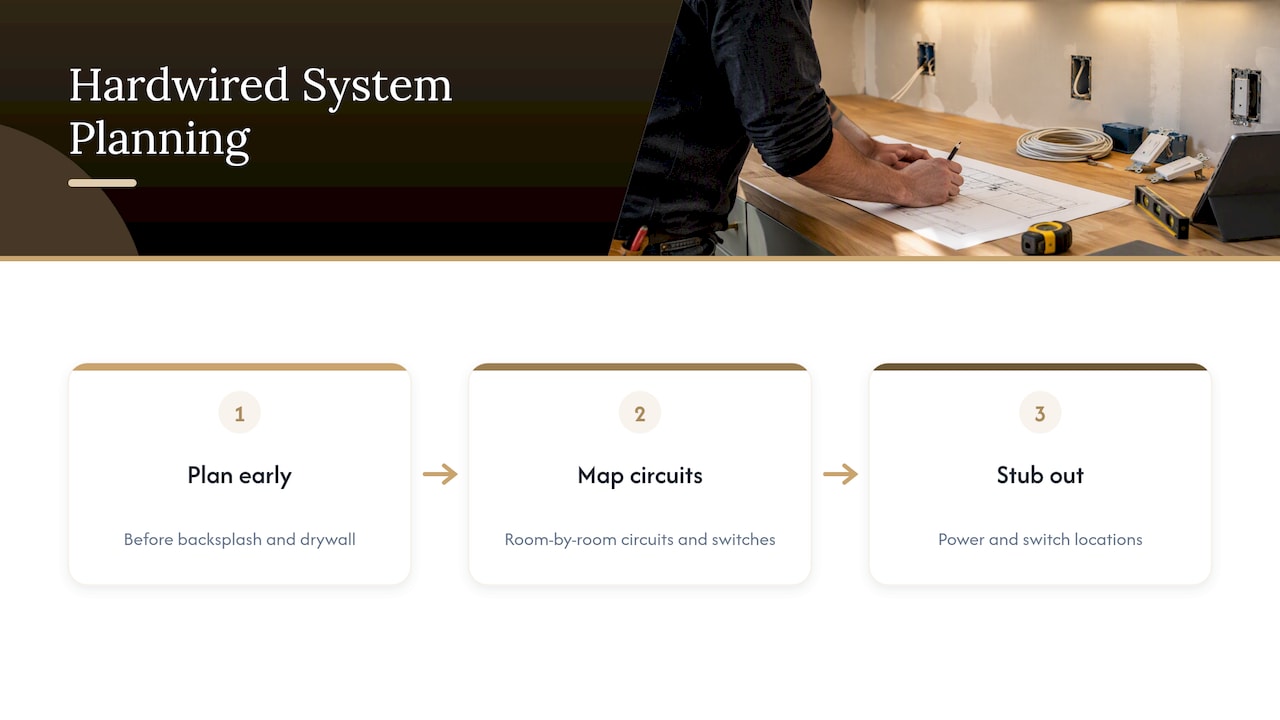
The most common mistake is waiting too long. Planning a hardwired system is far easier before backsplash and drywall are finished. Even if you haven’t picked fixtures, ask your electrician to stub out power and a switch location while the walls are open. A room-by-room lighting plan helps you decide where those points belong; this lighting plan layout guide is a useful way to map circuits and switches before work begins.
Low-voltage LED tape and drivers
LED tape runs on low-voltage DC power. A driver converts household current into the voltage the tape needs, and that driver is where the real wiring decisions live.
There are two things to settle:
- Where does the driver go? It needs ventilation, access for replacement, and a reasonable distance from the tape. Common spots are inside an upper cabinet, in the cabinet above the refrigerator, or in an accessible soffit.
- How does the driver get 120V? Either it plugs into an outlet (often a hidden one inside the cabinet) or it is hardwired into a switch leg.
Amporalabs notes that low-voltage strips need a listed Class 2 power supply, and that the secondary wiring on the low-voltage side has relaxed requirements compared with line voltage. Even so, the line-voltage side of the driver is regular house wiring and should be treated that way.
Why diffusion matters as much as wiring
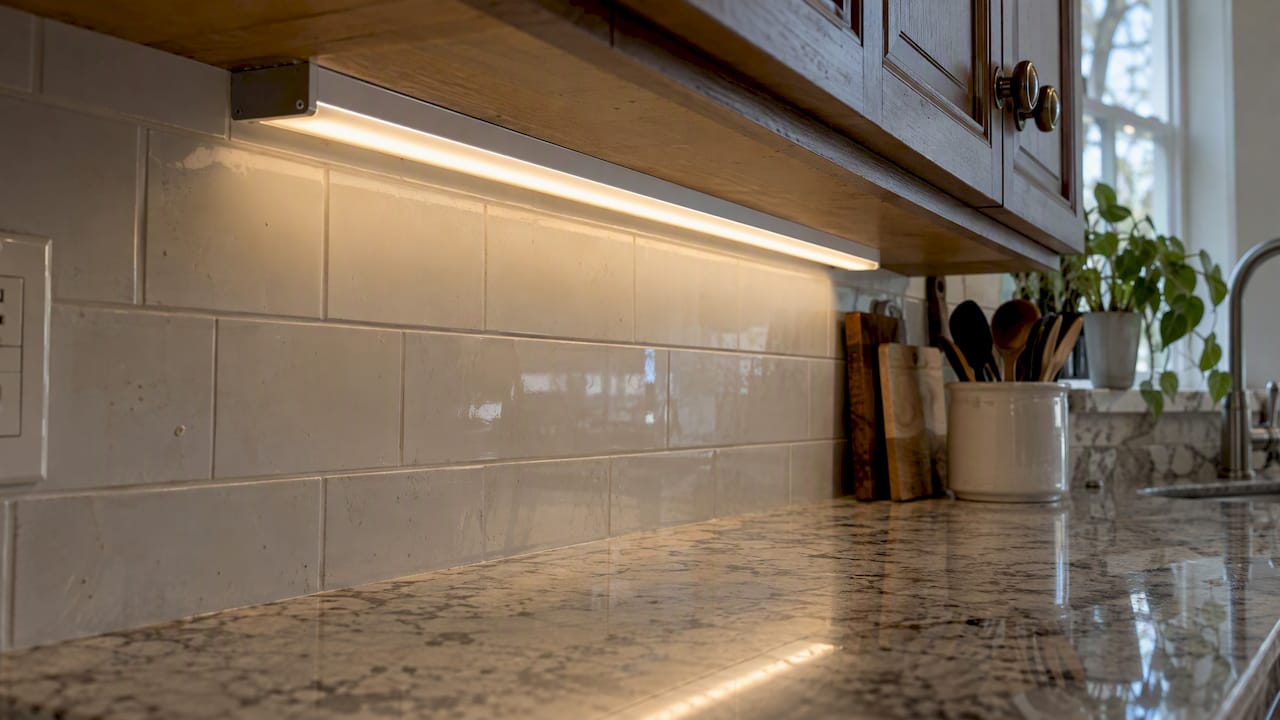
Tape is only as good as the way it is mounted. Practitioners use aluminum channels with diffusers to hide the individual diode dots, manage heat and avoid hot spots on glossy surfaces like granite or marble. That same source points out that the dark “shadow line” on a counter is usually fixed by placement and diffusion, not by adding more light. If you want to understand the difference between standard tape and modern COB tape, we cover it in our guide on stopping the dotted look with COB tape.
How to hide the wiring
“Hidden wiring” is the real reason most people search this topic. The approach depends on whether the walls are open.
During a remodel or new build
- Run cable inside the wall to a box at the cabinet bottom or in the cabinet side.
- Drill through the cabinet sides to pass low-voltage leads from one run to the next, so only the lights show.
- Add a light rail or scribe molding along the front edge. It hides the fixture and the wire in one move.
In a finished kitchen
- Route cords along the back of the cabinet underside, against the wall, where the backsplash masks them.
- Use a small hole in the cabinet bottom or side to carry the lead into the cabinet, then out the back to a concealed outlet.
- Use adhesive cord channels in a matching color for short visible stretches.
- Where there is no outlet, a licensed electrician can add a switched box. That is new wiring, so see the permit section below.
As practitioners note, plug-in options in existing kitchens often need creative cable management or internal cabinet modifications, and homeowners often end up moving to professional hardwiring for a truly built-in look.
Wiring a switch and dimmer
A good switch plan matters as much as the cable. Consider:
- A wall switch at the kitchen entry or beside the range, so the lights are as easy to use as the overhead lights.
- A dimmer matched to your fixtures. LED lights need a compatible dimmer or driver. Check the fixture or driver specifications before you buy a dimmer.
- Smart control. A smart switch or a smart controller on the driver gives you scenes, schedules and phone control. If you want that, tell your installer early so the box has the right wiring, including a neutral at the switch location.
Coordinate the location of controls with the cabinet layout. Licensed Charlotte electricians stress that planning is the most important factor in a successful installation, because it determines ease of use and long-term reliability.
Charlotte code and permits
In Charlotte, electrical work follows the National Electrical Code, and GFCI protection for kitchen countertop receptacles comes from NEC 210.8(A), as Charlotte-area electricians point out.
Permits depend on what you are doing:
- Like-for-like replacement on existing wiring, such as swapping one fixture for another, generally does not need a permit.
- New wiring, a new circuit, or cutting into walls or ceilings counts as an alteration. Mecklenburg County requires electrical permits for new circuit installations and similar work, and the same source says it is handled through the MeckNC portal.
- Fees for residential electrical permits in Charlotte generally run about $40 to $175 according to that source. Check the current fee schedule with the county before you budget.
You can plug in a light bar yourself. Anything that adds circuits or extends wiring is a job for a licensed electrical contractor who pulls the permit. Your insurance and any future home sale are better off with an inspected installation.
Choosing the light itself
Wiring only matters if the light is good. A few guidelines:
- Think lumens, not watts. Experts suggest roughly 200 to 500 lumens for countertop task lighting and 80 to 200 for mood accent light, according to the Department of Energy lighting guideline, which also recommends 3000K and a CRI of 80 or higher for accurate indoor color.
- Stay warm. Designers favor 2700K to 3000K for kitchens, and say 4000K and above often feels clinical against natural wood. Our own take on this is in why we start with 3000K and CRI 90+.
- Use listed products. Fixtures and drivers should carry a recognized listing such as UL or ETL.
Our perspective: decide the wiring first
We install smart, smartphone-controlled lighting for homes and businesses around Charlotte, and under cabinet lighting is where we see the same pattern repeat. Homeowners choose a light they like, and only afterward ask where the power will come from. That order produces visible cords, an awkward switch and a driver stuffed somewhere it overheats.
We recommend reversing it. Decide where the switch lives, where the driver can breathe and how the wire reaches each run. Then pick the light. For most kitchens we lean toward a hidden driver feeding diffused tape in a channel, with smart control built in, because it gives an even line of light and a clean finish. If you want to see what a finished run looks like, here is a kitchen under cabinet and toe kick lighting project in Gastonia.
A plug-in light is still a perfectly good choice for a quick fix. But if you are already opening walls or replacing countertops, hardwiring costs far less now than later.
— Dave
Work with a team that plans the wiring first
Forever Glow Lighting designs and installs under cabinet and interior accent lighting with smartphone control and multi-color options. We map the switch, driver and wire path before we install anything, so the finished kitchen shows light and not hardware. See our under cabinet lighting service for Charlotte homes, read how per-foot pricing works, or request a free estimate.
Which option should you choose?
Use this quick guide:
- You rent or aren’t remodeling: plug-in bar or tape with a plug-in driver, cords routed behind the cabinet lip.
- You are remodeling or building: hardwired, with a switch or smart dimmer and a hidden driver, planned before drywall and backsplash.
- You want even light on a long or complex run: low-voltage COB tape in diffused channels, driver placed in an accessible cabinet.
- You have no outlet nearby in a finished kitchen: have a licensed electrician add a switched box and pull the permit.
FAQ
Can I hardwire under cabinet lights myself?
Swapping a fixture on existing, properly installed wiring is within many homeowners’ reach, and in Mecklenburg County it generally needs no permit. Running new cable, adding a circuit or opening walls is different, and it requires a permit and a licensed electrician in Charlotte. If you don’t know what is behind the wall or which circuit has capacity, hire a professional.
How do I hide the cord on plug-in under cabinet lights?
Run the cord along the back of the cabinet underside where the backsplash covers it, and use a light rail or adhesive cord channel on the front stretches. A small hole through the cabinet side can carry the cord into the cabinet and out to a hidden outlet. This takes patience, which is why many homeowners eventually switch to hardwiring.
What color temperature is best for kitchen under cabinet lights?
Most designers choose 2700K to 3000K. The Department of Energy guideline recommends 3000K with a CRI of 80 or higher, and 4000K or above tends to feel harsh against wood cabinets. If you cook and prep a lot, a higher CRI helps you judge food color accurately.
Do under cabinet lights need a GFCI outlet?
Countertop kitchen outlets need GFCI protection under NEC 210.8(A), so a plug-in light on one is protected. Requirements for hardwired fixtures can differ by circuit and local amendment, so ask your electrician to confirm what applies in your home.
Is hardwired better than plug-in?
For a remodel, usually yes. Hardwired lights give a cord-free look and wall-switch control. For a quick upgrade in a finished kitchen, plug-in is faster and cheaper, and can look good with careful cord routing.
Sources
- Hardwired vs. Plug-In Under-Cabinet Lighting for a Kitchen Remodel, On The Bright Side Electric
- Hardwired vs. Plug-In Under-Cabinet Lighting: 2026 Pros & Cons
- Under Cabinet Lighting: Wiring Methods & NEC Requirements, Amporalabs
- Under Cabinet Lighting Buying Guide, Lowe’s
- Wiring for Under Cabinet Lighting: A Complete DIY Guide
- 14 Under Cabinet Lighting Ideas for a Brighter Kitchen
- Strategy Guideline: High Performance Residential Lighting, U.S. Department of Energy
- Complete Guide to Electrical Work Permits in Charlotte, NC
- Walker Electrical Family, Charlotte