
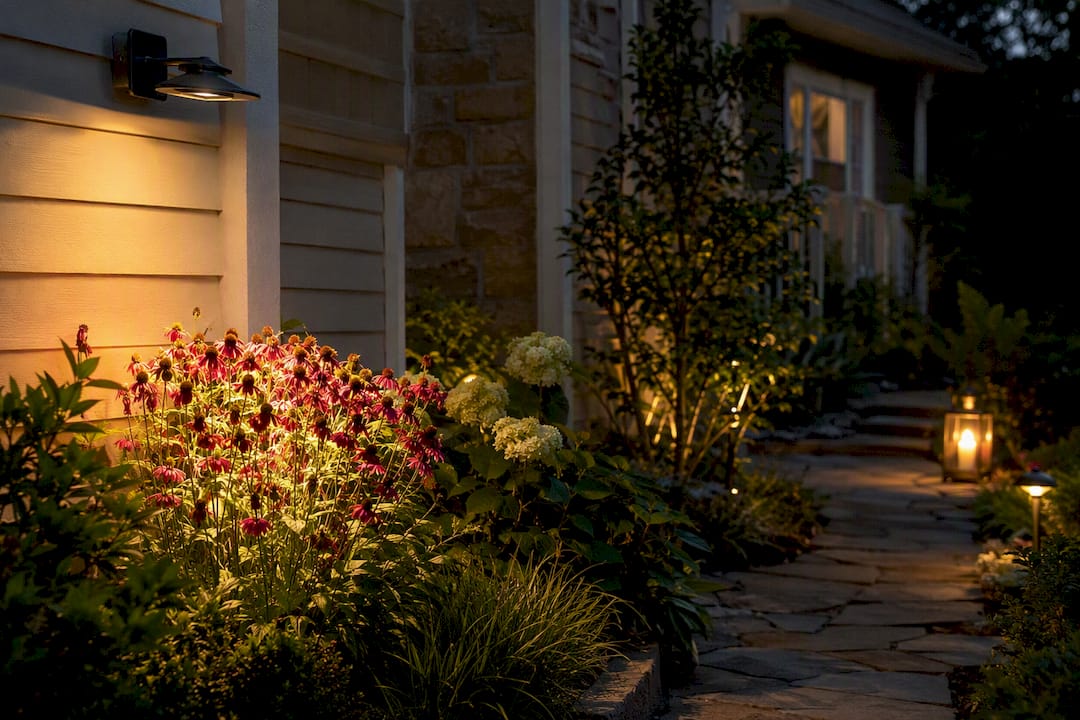
Beam angle is the width of the cone of light a fixture throws, measured in degrees, and it is the single biggest factor in how bright a spot looks, how far light spreads, and how much glare a fixture creates outdoors. Before you spec a single fixture, three things to know:
- Narrow angles (10 to 25 degrees) punch light a long way for spotlighting and tree uplighting; wide angles (60 to 120 degrees) spread it out for floodlighting and area washes.
- Mounting height and aiming angle change your actual coverage just as much as the beam angle spec on the box.
- The technical definition, the math behind coverage, and scenario recommendations for trees, facades, patios, and paths all follow below.
Key Takeaways
Beam angle, not lumen count, determines whether outdoor lighting looks dramatic and focused or soft and evenly spread across a space.
| Point | Details |
|---|---|
| Beam angle is measured at 50% intensity | The IES defines it as FWHM, the angle where light output drops to half of peak intensity. |
| Narrow beams throw farther and brighter | Angles from 10 to 25 degrees suit tree trunks, columns, and focused accents. |
| Wide beams spread coverage, not intensity | Angles from 60 to 120 degrees suit patios, pergolas, and general floodlighting. |
| Math estimates coverage, testing confirms it | Use beam diameter ≈ 2 × (distance × tan(angle ÷ 2)), then verify at night before permanent install. |
| Professional aiming closes the gap | Foreverglowlighting tests and adjusts beam angles on-site during permanent lighting installation. |
Table of Contents
- What Does Beam Angle Mean Outdoors, Technically?
- How Do Beam Angle and Lumen Output Work Together?
- What Are the Standard Beam Angle Ranges for Outdoor Fixtures?
- How Does Beam Angle Affect Brightness, Coverage, and Glare?
- How Do You Calculate Beam Diameter at a Given Distance?
- Which Beam Angle Works Best for Trees, Facades, and Patios?
- What Should You Check Before Finalizing an Outdoor Fixture?
- Why Beam-Angle Planning Matters More for Permanent Installations
- A Simple Rule of Thumb for Homeowners
- Get Beam Angles Right the First Time With Professional Aiming
- Frequently Asked Questions
- Sources
What Does Beam Angle Mean Outdoors, Technically?
Homeowners usually just need “wide” versus “narrow,” but the number on a spec sheet comes from a precise measurement. The Illuminating Engineering Society defines beam angle as the angle between the two directions where intensity drops to 50% of the fixture’s peak output, a measurement engineers call Full Width at Half Maximum, or FWHM.
Beam angle measures the angle at the point where intensity falls to half of maximum. Anything past that point is considered spill, not the working beam.
Don’t confuse beam angle with field angle, a related term that some datasheets use instead. When beams aren’t perfectly round, makers often list two separate angles for the two perpendicular planes. Always check which definition a spec sheet is using before you compare two products.
How Do Beam Angle and Lumen Output Work Together?
Beam angle and lumen output are two different specs that get confused constantly, and mixing them up leads to disappointing results outdoors. Lumens tell you total light output. Beam angle tells you how that light gets distributed across space. The same lumen count spread over a narrow beam concentrates into a bright, punchy spot; spread over a wide beam, it softens into gentler, more even coverage.
- A 500-lumen fixture at 15 degrees creates a tight, intense pool of light for dramatic tree uplighting.
- That same 500 lumens at 60 degrees washes a much larger area, but each square foot gets noticeably less light.
- At 10 feet away, the narrow fixture can read two to three times brighter at its center than the wide one, even though both started with identical output.
As one lighting resource on beam-angle selection puts it, choosing the right angle often matters more for a successful-looking result than simply cranking up lumens.
What Are the Standard Beam Angle Ranges for Outdoor Fixtures?
Landscape lighting fixtures cluster around a handful of standard angles, and each one has earned its place for a specific job. Learning these ranges lets you shop by function instead of guessing.
- 10 to 25 degrees (spot): Tight, dramatic beams built for uplighting a single tree trunk, a statue, or a narrow architectural feature. A 25-degree fixture works well for trunk uplighting on a 12-foot tree, keeping the light concentrated on the bark and lower canopy rather than blowing out into the sky.
- 25 to 40 degrees (narrow accent): A step up in spread, common for architectural accents like columns, gables, and smaller trees where you still want defined shadowing.
- 40 to 60 degrees (medium wash): The workhorse range for patios, pergolas, and mid-size shrubs. A 60-degree fixture mounted around a 9-foot pergola ceiling delivers an even wash across a dining or seating area without harsh hot spots.
- 60 to 120 degrees (wide flood): Used for general floodlighting, broad garden beds, and security-style coverage where even, wide illumination matters more than drama. Fixtures branded 25°, 38°, 60°, and 120° are common industry standards you’ll see across most landscape catalogs.
How Does Beam Angle Affect Brightness, Coverage, and Glare?
A narrow beam concentrates the same energy into a smaller circle, so the center of that circle reads brighter, and the light throws farther before it fades. That’s why spotlights use narrow angles: you get punch and distance from the same wattage. Widen the angle, and center brightness drops even as the covered area grows. This is a tradeoff, not a flaw. You are choosing between drama and evenness.
- Narrow beams can create harsh, distracting hot spots and glare if improperly aimed at eye level.
- Wide beams spread light more evenly but have a greater risk of causing light spill onto neighboring property or upward if not properly shielded.
- Correct mounting height and downward aiming reduce spill from either type of beam.
Pro Tip: Add a glare shield or louver to any fixture visible from a seating area or the street. It costs little and eliminates the single most common complaint homeowners have about landscape lighting.
How Do You Calculate Beam Diameter at a Given Distance?
You don’t need a lighting degree to estimate coverage before you buy. The formula lighting designers use is straightforward:
- Beam diameter ≈ 2 × (distance × tan(beam angle ÷ 2))
- Keep distance and diameter in the same unit, feet to feet, and enter the beam angle in degrees.
- Example one: A 25-degree beam at 12 feet of mounting height gives 2 × (12 × tan(12.5°)) ≈ 2 × (12 × 0.222) ≈ 5.3 feet across at that distance.
- Example two: A 60-degree beam at 9 feet gives 2 × (9 × tan(30°)) ≈ 2 × (9 × 0.577) ≈ 10.4 feet across, which is why 60 degrees suits a wider patio wash than a trunk uplight.
Treat these numbers as close estimates rather than exact figures. Real-world results shift slightly with lens type and fixture optics, and mounting height plus aiming angle will always shift your final lux reading, so a quick on-site test still beats math alone.
Which Beam Angle Works Best for Trees, Facades, and Patios?
Every outdoor scenario has a beam angle range that tends to work, though mounting height and target distance always adjust the final call.
- Tree trunks and foliage: 15 to 25 degrees, mounted low and aimed up through the canopy, keeps the uplight focused on bark texture instead of washing out into branches.
- Facade wash and grazing: 25 to 40 degrees, positioned close to the wall, creates the shadow-and-highlight texture that makes brick or stone pop; wider angles flatten that texture.
- Columns and steps: Narrow 15 to 25 degree beams paired with careful hardscape lighting placement prevent glare on stair treads while still marking the edge.
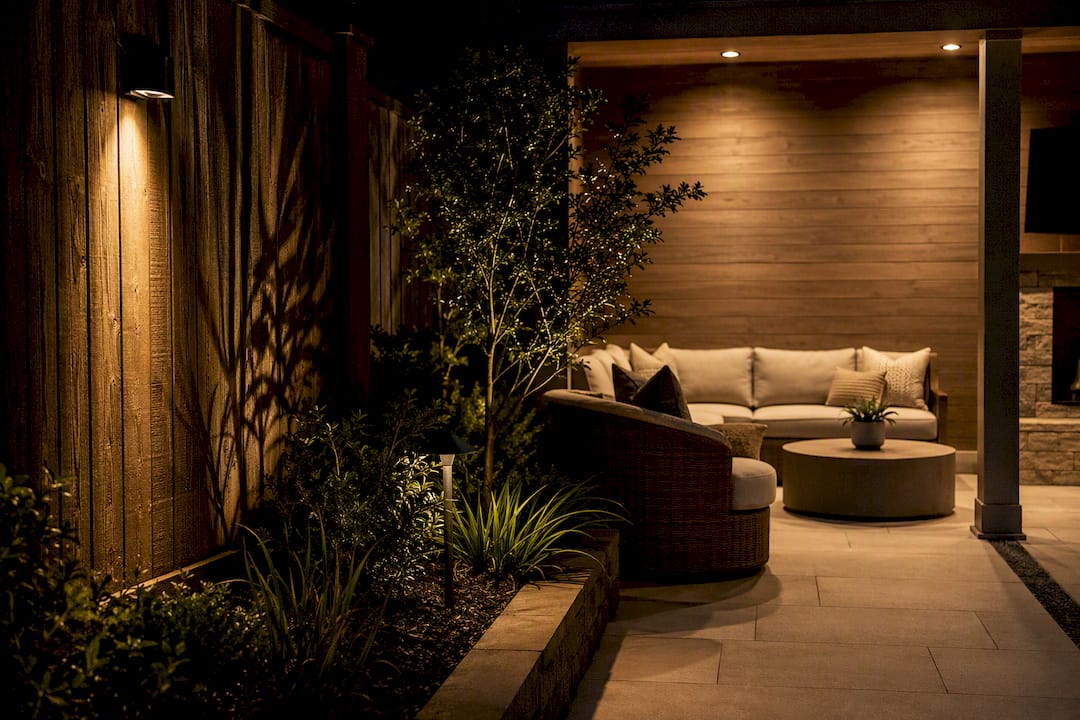
- Patios and pergolas: 40 to 60 degrees overhead gives even coverage across a seating area without a single blinding hot spot.
- Pathways: Narrower 25 to 40 degree path fixtures spaced 8 to 10 feet apart, with slight beam overlap at the edges, avoid the “dot, dot, dot” look of isolated pools separated by dark gaps.
Overlap is the detail people miss most.
What Should You Check Before Finalizing an Outdoor Fixture?
A spec sheet number is only useful if you verify it matches reality on your property.
- Pull the photometric file (IES or LDT format) from the manufacturer and confirm the published beam angle and center-beam candela match what you need.
- Ask about accessories like lenses, louvers, or snoots that can narrow or widen a fixture’s stock beam angle after purchase.
- Tape a rough template on the ground or wall at the planned mounting height to visualize expected coverage before drilling anything.
- Test at night with a temporary setup, checking both the lit target and any spill onto windows, walkways, or a neighbor’s yard.
Pro Tip: Most reputable manufacturers will email you an IES file on request even if it isn’t posted online. If a supplier won’t provide one, that’s a red flag on the fixture’s documentation.
Why Beam-Angle Planning Matters More for Permanent Installations
A permanent system doesn’t get re-aimed every season, so getting beam angle right the first time carries more weight than it does with seasonal stake lights.
- Verify photometrics on-site, not just on paper, since tree growth, hardscape reflectivity, and mounting brackets all shift real-world results.
- Plan for smart control integration early, since dimming and color changes interact with how a given beam angle reads at night.
- Confirm wiring, surge protection, and concealment are built around the final fixture placement, not adjusted after the fact.
- Bring in a professional when a property involves HOA lighting rules, multiple fixture types, or asymmetric optics for uneven facades. Professional design accounts for all of these variables at once, something a single homeowner testing fixtures one at a time rarely catches before installation day.
A Simple Rule of Thumb for Homeowners
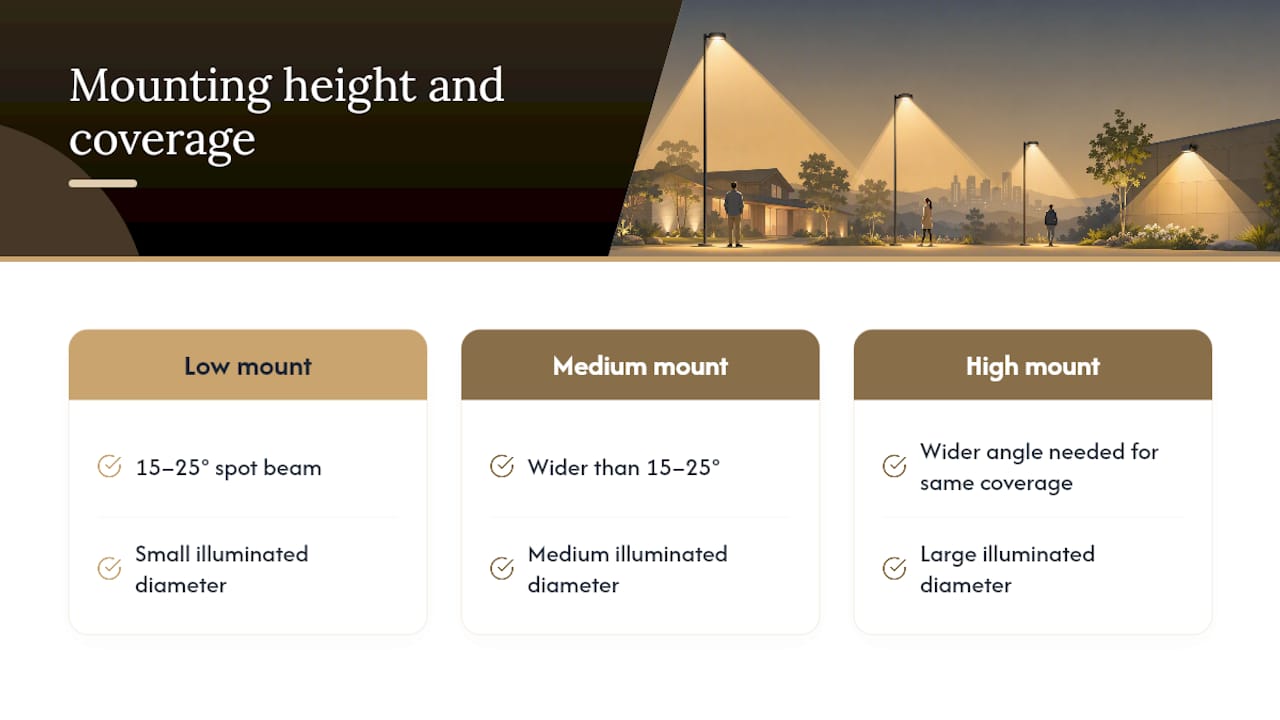
Balancing drama and evenness on a home exterior comes down to restraint more than technical skill. The exteriors that look best rarely use one beam angle everywhere. A rule worth keeping: as mounting height increases, widen your beam angle slightly to hold the same coverage diameter, since a narrow beam mounted higher just makes a smaller, harsher circle. Match the angle to the job, not the other way around.
Get Beam Angles Right the First Time With Professional Aiming
Guessing at beam angles from a spec sheet is a reasonable starting point, but real trees, facades, and patios rarely match the math exactly. Foreverglowlighting closes that gap with on-site photometric aiming during installation, so every fixture gets tested and adjusted for your actual mounting height and target before anything is permanent.

Our design process includes on-site aiming and prototyping rather than shipping fixtures and hoping the numbers hold up, HOA-compliant layouts for neighborhoods with lighting restrictions, GlowCare maintenance plans that keep beam alignment correct as trees grow and settle, and full smartphone control over brightness and color once the system is live. If you’re planning a patio, facade, or tree-lighting project and want the beam spread to look right the first night it’s switched on, start with our outdoor lighting scene-setting guide and request a free on-site estimate.
Frequently Asked Questions
What does beam angle mean outdoors in simple terms?
It’s the width of the cone of light a fixture casts, measured in degrees, and it determines how concentrated or spread out that light looks once it hits a tree, wall, or patio.
What is the best beam angle for outdoors on a small tree?
A 15 to 25 degree spot beam usually works best for uplighting a trunk or narrow canopy without washing out surrounding foliage.
Does a wider beam angle mean brighter light?
No. A wider angle spreads the same lumens over more area, which usually lowers brightness at the center compared to a narrow beam with identical output.
How does mounting height affect beam angle results?
Raising a fixture increases the beam diameter at the target, so a beam angle that worked at one height may need adjusting, or a temporary on-site test, once mounting height changes.
Is field angle the same as beam angle?
Not quite.