
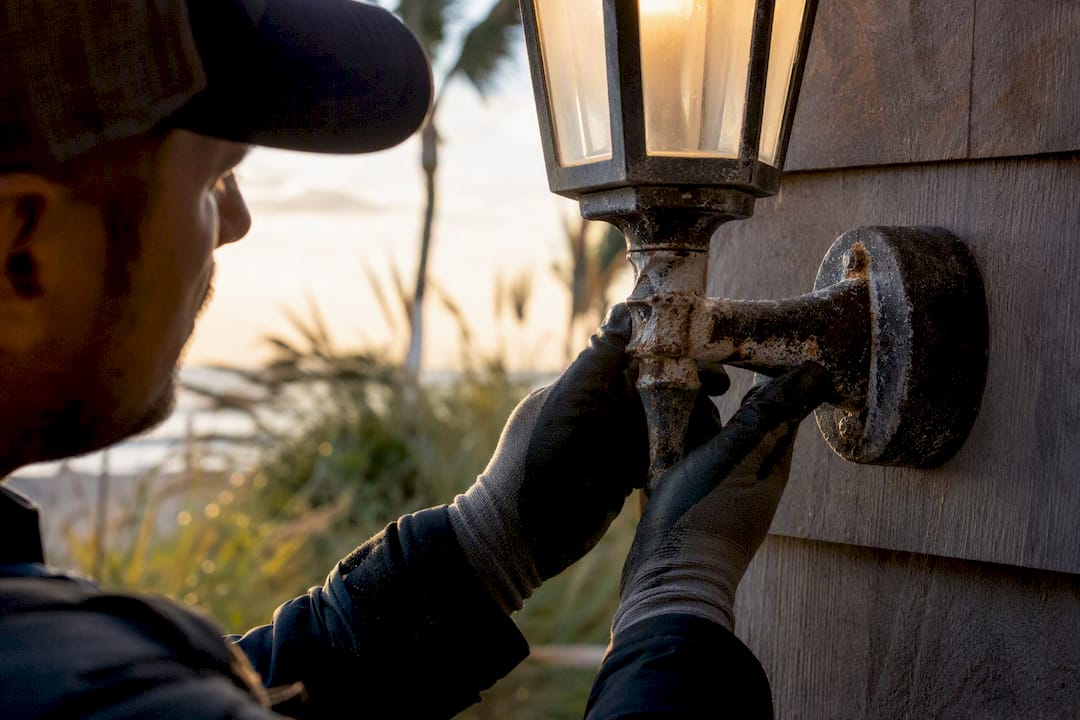
Corrosion is prevented, not cured. Stopping coastal lighting corrosion means specifying the right base materials, tested finishes, correct installation details, and a maintenance routine, in that order. Skip any one of the four and salt air finds the gap.
Copy this checklist before you talk to any supplier or installer:
- ASTM B117 salt spray test results showing minimal corrosion after at least 1,000 hours of exposure
- NEMA 4X listing (or equivalent documented corrosion testing), not just an IP rating
- Grade 316 stainless steel fasteners and brackets
- Type III hardcoat anodizing on aluminum housings, or an equivalent marine finish
- Downward or 45° conduit entry with conformal-coated internal electronics
An IP66 or IP67 rating tells you a fixture keeps water out. It tells you nothing about whether the housing will still look and function like new after two Charlotte-area summers of salt-laden coastal air.
Key Takeaways
Coastal lighting corrosion is prevented by combining Grade 316 stainless hardware, Type III hardcoat anodized or equivalent housings, documented ASTM B117 and NEMA 4X testing, correct installation orientation, and a scheduled freshwater rinse routine.
| Point | Details |
|---|---|
| Materials come first | Specify Grade 316 stainless fasteners and marine-grade aluminum with Type III hardcoat anodizing. |
| IP rating isn’t enough | Pair IP66/IP67 with NEMA 4X or documented ASTM B117 salt spray results. |
| Demand 1,000+ hour testing | Ask for salt spray reports showing minimal corrosion after at least 1,000 hours of exposure. |
| Installation details decide lifespan | Downward conduit entry, drainage tilt, and proper gasket seating prevent most premature failures. |
| Maintenance is cumulative | A quarterly freshwater rinse and annual close inspection interrupt the wet-dry salt cycle. |
| Professional installation closes the gaps | Forever Glow Lighting verifies material grades, test reports, and installation orientation, then maintains fixtures through GlowCare. |
Table of Contents
- How Coastal Lighting Corrosion Actually Happens
- Which Materials Actually Hold Up Near the Ocean?
- What Do ASTM B117 and NEMA 4X Actually Guarantee?
- Installation Details That Cause Most Premature Failures
- How Often Should You Rinse and Inspect Coastal Fixtures?
- What to Put in Your Lighting Spec or RFP
- Why an IP Rating Alone Won’t Save Your Fixtures
- What Installers See on the Ground
- How a Professional Installer Prevents Costly Specification Gaps
- Sources
How Coastal Lighting Corrosion Actually Happens
Salt air is an electrolyte delivery system. Once airborne salt settles on a metal surface and picks up ambient moisture, it forms a conductive film that turns ordinary metal into a small battery, and that battery eats itself alive through electrochemical corrosion.
Three failure modes drive most fixture deaths near the ocean:
- Galvanic corrosion, where two dissimilar metals in contact (say, a steel screw in an aluminum housing) create a circuit that sacrifices the less noble metal
- Pitting corrosion, where chloride ions punch through thin spots in a protective oxide layer and burrow inward
- Crevice corrosion, where trapped moisture behind gaskets or under washers stays wet long after the visible surface has dried
The wet-dry cycle is what makes coastal exposure worse than constant submersion. Salt crystallizes during dry spells, then rehydrates with morning dew or fog and re-concentrates into a stronger brine right in the crevices you can’t see.
Pro Tip: Check the underside of mounting brackets and the back of junction boxes twice a year. Salt concentrates in shadowed, low-airflow spots long before it shows up on the visible face of a fixture.
Which Materials Actually Hold Up Near the Ocean?
Specify Grade 316 stainless steel, marine-grade aluminum with Type III hardcoat anodizing, solid bronze or brass, or a genuinely marine-rated composite. Everything else is a maintenance problem waiting to happen.
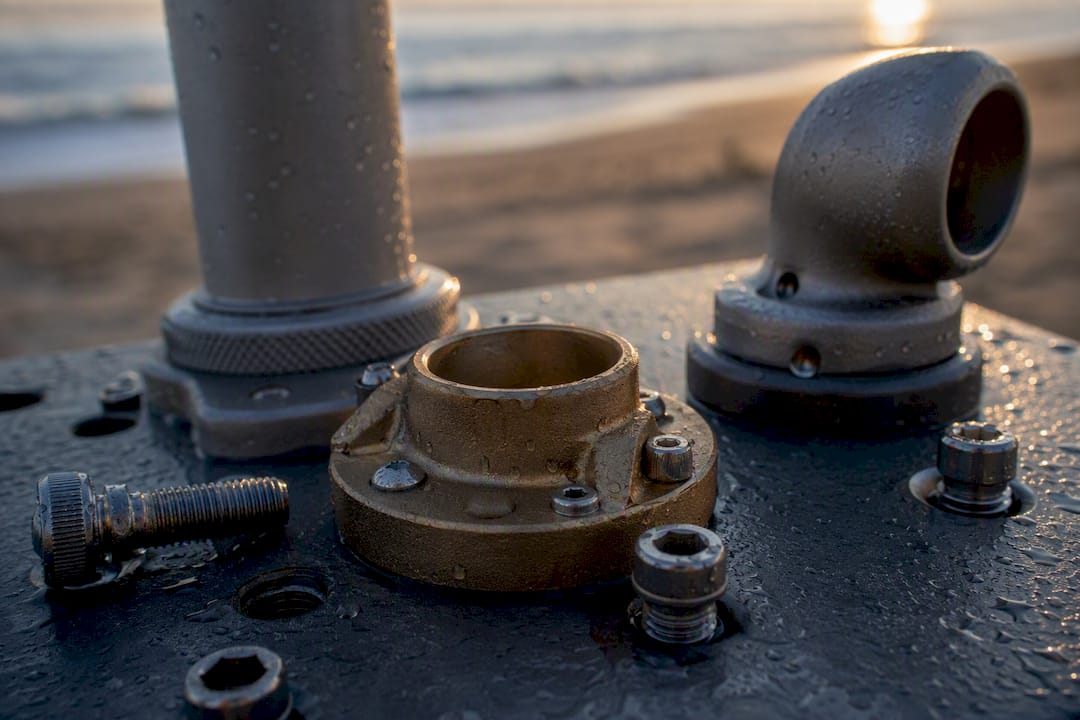
316 stainless steel contains molybdenum, which is the actual reason it resists chloride attack far better than standard 304. Fastener spec sheets that just say “stainless” without a grade number are a red flag; 304 hardware rusts visibly within a season or two on an oceanfront property.
Marine-grade aluminum, typically 5000 or 6000 series alloy, needs Type III hardcoat anodizing to perform. Without it, even good aluminum pits quickly once salt spray breaches the natural oxide layer.
Solid bronze or brass fixtures develop a stable patina rather than active corrosion, which makes them a strong option for high-end architectural accents, provided every fastener touching them is compatible metal.
Avoid these on any coastal project:
- Standard 304 stainless marketed simply as “stainless steel”
- Zinc-plated or galvanized steel, which sacrifices its coating quickly in salt air
- Untreated or mill-finish aluminum
- Mixed-metal assemblies with no dielectric isolation between parts
Pro Tip: Match your fastener metal to your housing metal. A steel screw in an aluminum housing turns your fixture into a battery, and the aluminum loses that fight every time.
What Do ASTM B117 and NEMA 4X Actually Guarantee?
Require documented corrosion testing, not just an ingress rating. An IP66 fixture and a corroding fixture can be the exact same product, because IP testing measures water and dust exclusion, not chemical durability.
The ASTM B117 salt spray test exposes samples to a continuous saline fog and tracks how long the finish and base metal resist pitting and coating breakdown. Industry guidance points to a minimum of 1,000 hours of exposure before a fixture qualifies as genuinely marine-grade, and any manufacturer worth buying from can produce that report on request.
Industry guidance sets 1,000 hours of ASTM B117 exposure as the practical floor for marine-grade lighting. Fixtures tested for only 250 or 500 hours are being marketed to a lower bar than the coastal environment actually demands.
NEMA 4X is the standard that actually references corrosion resistance, typically tying back to salt-fog testing like ASTM B117. For higher-assurance projects, ask about MIL-A-8625 Type III hardcoat anodizing, AAMA 2605 powder coatings rated for coastal exposure, conformal-coated circuit boards, and ISO corrosion classification C4 or C5-M for the site’s severity level.
Pro Tip: Ask for the third-party lab report, and confirm the tested sample includes the actual fasteners and brackets that ship with your fixture. A housing tested alone tells you nothing about the hardware holding it together.
Installation Details That Cause Most Premature Failures
Good materials fail fast when installed poorly. Most coastal lighting complaints trace back to five installation mistakes, not defective products.
- Top or side conduit entries create a gravity-fed path for salt spray to wick straight into the electrical housing; entries should run downward or at 45°
- Flat-mounted fixtures with no drainage tilt, which trap water and salt against gasket seals
- Compressed or UV-degraded gaskets that no longer seal after a year or two of sun exposure
- Unsealed or low-grade cable glands at wire penetration points
- Tight crevices and mating surfaces where dissimilar metals touch without an isolating gasket
During a site walk-through, physically check conduit orientation and gasket compression rather than trusting a spec sheet. A downward conduit entry is a five-second visual check that separates a fixture built to last from one built to look good on installation day.
How Often Should You Rinse and Inspect Coastal Fixtures?
A quarterly freshwater rinse and one close annual inspection do more to extend fixture life than any single material upgrade. Salt buildup is cumulative; regular rinsing interrupts the wet-dry concentration cycle before it starts pitting metal.
A workable maintenance schedule:
- Rinse fixtures with fresh water every three months, more often during storm season or heavy wind-driven spray
- Inspect gaskets, fasteners, and housings closely once a year, looking for white powdery aluminum oxide or orange rust bleed
- Plan on replacing gaskets every three to five years, sooner in harsh, direct-onshore locations
- Remove light surface corrosion with mild detergent, fresh water, and a soft brush; never use a high-pressure washer near seals or lenses
Surface discoloration on a properly specified 316 fastener is usually cosmetic. Rust bleed staining the housing around a fastener means water has reached bare steel underneath, and that calls for a licensed electrician, not a garden hose.
Keep your ASTM B117 test reports, installation photos, and warranty paperwork together. Coastal warranty claims live or die on documentation showing the fixture installed matches the fixture tested.
What to Put in Your Lighting Spec or RFP
Send suppliers this exact language rather than a general request for “corrosion-resistant” fixtures, a phrase with no enforceable meaning on its own:
- Housing: marine-grade aluminum with Type III hardcoat anodizing (MIL-A-8625), or Grade 316 stainless
- Fasteners: Grade 316 stainless steel throughout, no exceptions for internal hardware
- Testing: ASTM B117 salt spray report showing minimal degradation at 1,000+ hours, sample matching delivered configuration
- Rating: NEMA 4X listing in addition to IP66/IP67
- Electronics: conformal-coated PCBs
- Warranty: explicit language covering coastal salt corrosion, not just general defects
Add a serviceability clause requiring dated installation photos of conduit orientation, gasket seating, and grounding connections before final acceptance. That paperwork is what protects you if a warranty claim comes up in year three, and it’s the same landscape lighting checklist approach any careful specifier should use for a coastal property.
Why an IP Rating Alone Won’t Save Your Fixtures
IP66 and IP67 confirm a fixture resists water and dust intrusion. Neither number says anything about whether the housing, fasteners, or internal coating will survive years of chloride exposure, which is why pairing IP with NEMA 4X or a documented ASTM B117 result matters more than the IP number itself.
- IP66/IP67: describes sealing against water jets and dust, tested in a lab with clean water
- NEMA 4X: adds enclosure corrosion resistance, typically referencing salt-fog testing
- ASTM B117: the actual salt spray exposure test, with 1,000+ hours as the practical benchmark for marine-grade reliability
Properly specified fixtures using 316 stainless, Type III hardcoat anodizing, and correct installation orientation routinely outlast budget fixtures by several years in identical coastal conditions, largely because the failure points (fasteners, glands, crevices) were addressed at the component level rather than papered over with a single ingress rating.
What Installers See on the Ground
Most callback issues trace back to the same three mistakes: conduit run in from the top instead of down, a mixed-metal fastener swapped in because it was on the truck, or a gasket that never got fully seated during install. None of those show up on a spec sheet. They show up eighteen months later as a corroded bracket or a flickering fixture.
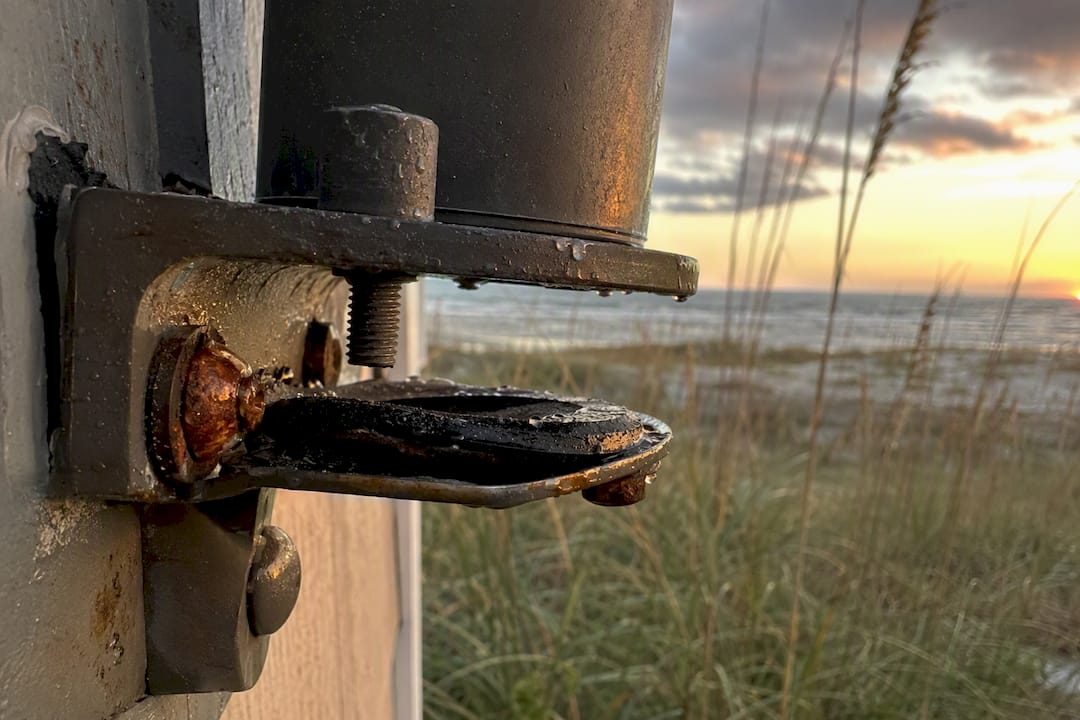
Before you sign a contract, ask for the material list by name, the salt spray test report for the exact fixture model, and a written maintenance plan. If a contractor can’t produce a test report on request, treat that as your answer.
How a Professional Installer Prevents Costly Specification Gaps
Hiring a qualified installer closes the gap between what a spec sheet promises and what actually gets bolted to your house. A professional verifies material grades against the actual delivered hardware, confirms third-party test reports match the shipped fixture, and sets conduit orientation and gasket seating correctly the first time.

At Forever Glow Lighting, coastal and lakefront projects, including our marine-grade dock lighting installations, go through the same material verification process outlined in this guide: 316 stainless fasteners, properly rated housings, and documented warranty coverage. We also handle the part most homeowners forget entirely, ongoing maintenance, through GlowCare, so gaskets, seals, and fasteners get inspected on a schedule instead of after something fails. If you’re weighing coastal finish options for the property itself, coordinating your lighting with your exterior design upfront saves a second round of decisions later. Ready to see what correct installation looks like for your property? Learn more about how our permanent lighting installation process works and request a consultation.
Sources
- ASTM B117: The salt spray test
- Understanding 316-grade stainless steel
- Coastal Perimeter Lighting: Preventing Salt Spray Corrosion