
Three formulas get you to an installer-ready estimate: Number of fixtures can be estimated by dividing run length by spacing and adding one, total wattage equals the number of fixtures times watts per fixture, and transformer size is chosen with a safety margin above total watts. That last step, sometimes called the 80% rule, keeps a transformer from running at full capacity around the clock. Use these to build a rough plan before you ever pick up the phone.
Start with spacing ranges that already reflect how most permanent systems get installed: path lights run 8–15 feet apart, flood lights 15–25 feet apart, well lights 6–12 feet apart, and roofline LED strip modules 6–9 inches apart for a soft, even wash of light along the fascia.
Pro Tip: Before you calculate anything, walk the property once with a notepad and just count doors, corners, and columns. Those are almost always where spacing rules break down.
Whoever installs your system will also need:
- Run-by-run lengths for every path, bed edge, and roofline segment
- Desired density: minimal, standard, or dense
- Fixture types and assumed wattage per fixture
- Preferred voltage system (12V, 24V/48V, or 120V)
- Preferred controller or zoning setup
Key Takeaways
| Point | Details |
|---|---|
| Use the core formulas | Fixtures = (run ÷ spacing) + 1; watts = fixtures × watts each; transformer = watts ÷ 0.8, rounded up. |
| Match spacing to fixture type | Path lights 8–15 ft, floods 15–25 ft, well lights 6–12 ft, roofline strips 6–9 in. |
| Wire gauge prevents dimming | Use 16 to 10 AWG based on run length and add power injection on long roofline runs. |
| Roofline hardware determines lifespan | Aluminum hat track with concealed wiring outlasts face-mounted strips with no channel. |
| Forever Glow Lighting applies this on-site | Their free estimate process measures runs, sizes transformers, and programs zoning to these same rules. |
Table of Contents
- How Do You Measure Your Property for Outdoor Lighting Coverage?
- What Fixture Spacing Do You Need by Application?
- How Do You Calculate Power and Transformer Size?
- What Roofline Hardware Determines the Finished Look?
- Front Yard Example: 150 Feet of Roofline Plus a Walkway
- What Should a Professional Lighting Quote Include?
- Why Most DIY Lighting Estimates Fall Apart in the First Season
- How Forever Glow Lighting Turns This Math Into a Finished System
- Sources
How Do You Measure Your Property for Outdoor Lighting Coverage?
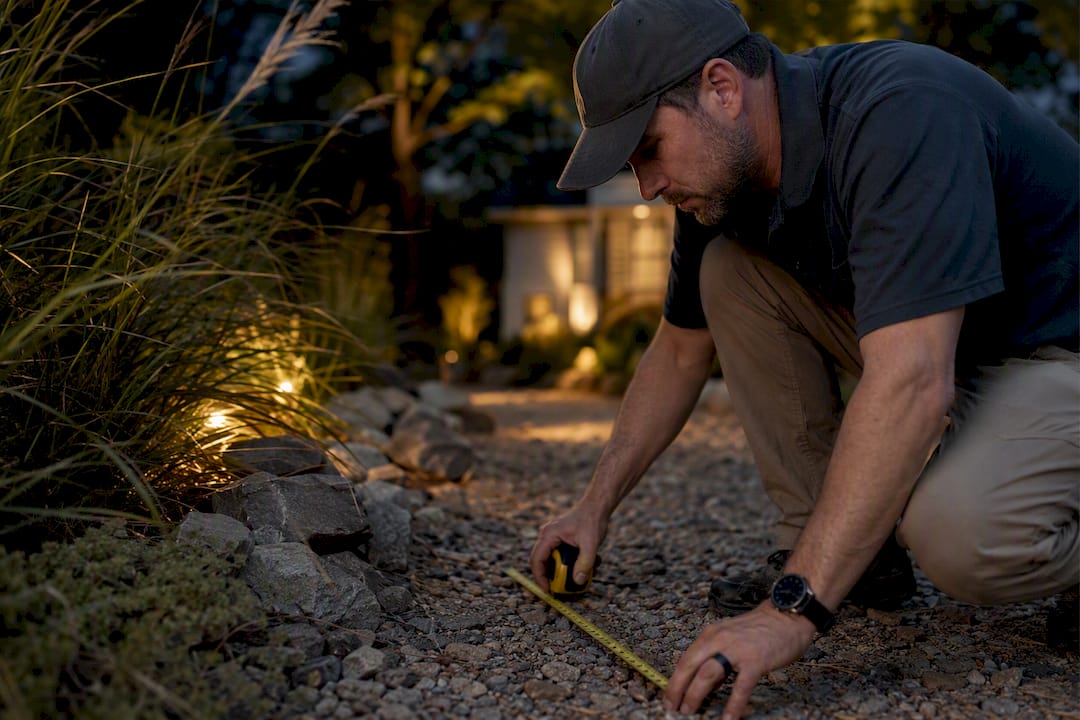
Grab a tape measure or a laser measure and walk the perimeter before you calculate anything. Accurate inputs are what separate a real estimate from a guess.
- Measure every linear run separately. Roofline segments, path lengths, patio perimeters, driveways, and planting bed edges each need their own number, not a combined guess.
- Note anything that affects spacing or aiming. Trees, columns, steps, doors, and hedges change how light falls and often call for their own fixture count.
- Divide the property into zones. A front yard, backyard, and roofline are usually separate zones because each one needs its own wiring run and control group. Zoning also determines how you’ll operate the smart landscape lighting app once it’s installed.
- Photograph every run and mark the power entry point. A photo with a pin dropped at the outlet or panel location saves an installer a second site visit.
This same measuring exercise doubles as a safety audit. Dark walkways and blind corners are exactly where landscape lighting improves safety the most, so mark those spots as priority zones on your sketch.
What Fixture Spacing Do You Need by Application?
Every fixture type has a spacing range that balances even coverage against fixture cost. Go tighter than these ranges and you’re overspending on hardware. Go wider and you get dark gaps.
- Path lights: 8–15 feet apart, tighter on curved walkways or steps
- Spotlights (uplighting): count depends on beam angle, not just distance
- Flood lights: 15–25 feet apart depending on beam spread
- Well lights: 6–12 feet apart for grazing effects on walls or trees
- Roofline LED strip/module spacing: 6–9 inches for a subtle glow, tighter for a brighter, more saturated color wash
For spotlights and floods, distance matters more than spacing alone. The formula Coverage Diameter = 2 × Distance × tan(Beam Angle ÷ 2) tells you how wide the light actually spreads at a given mounting height, which is far more useful than eyeballing it.
Once you know your spacing target, the counting rule is simple: Number = (Run length ÷ spacing) + 1. Round up, not down. A patio walkway measuring 42 feet at 10 foot spacing needs 5 fixtures (42 ÷ 10 = 4.2, plus 1 = 5.2, rounded up), not 4. Rounding down leaves a gap at the end of the run every time.
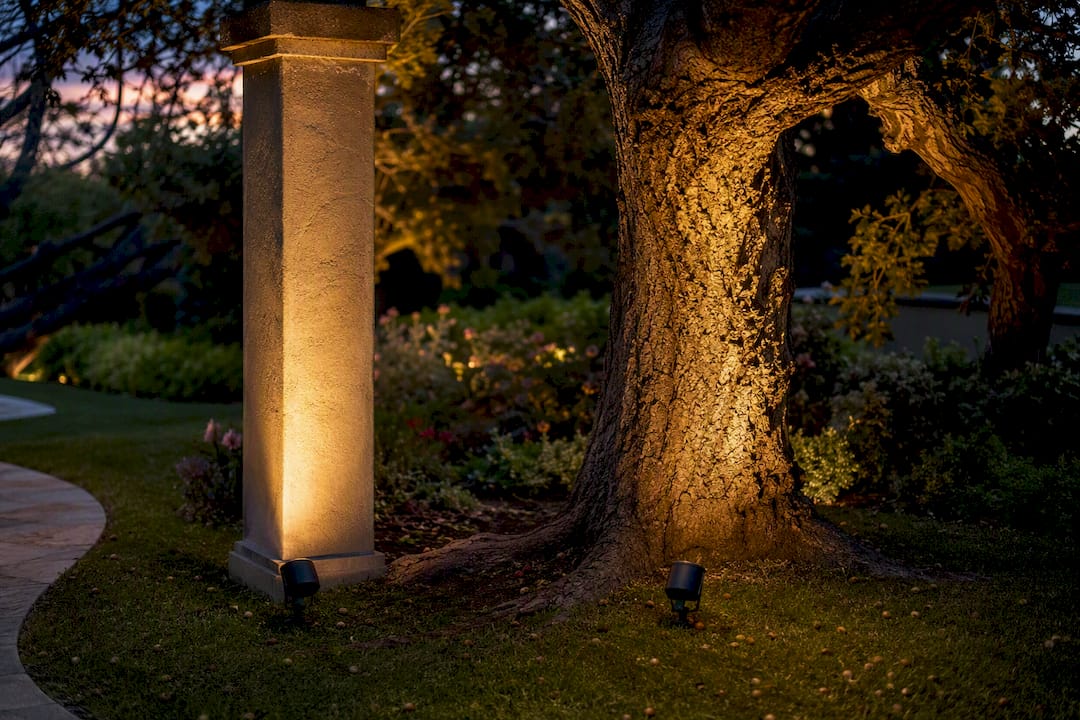
Trees and columns typically need 2 to 3 fixtures each to eliminate harsh shadowing on one side, a detail a lot of DIY plans miss entirely.
How Do You Calculate Power and Transformer Size?
Add up every fixture’s wattage first: total watts = sum of (fixtures × watts per fixture). Then pad that number by 20 to 30% for future expansion, since almost every homeowner adds fixtures within the first two years.
Transformer sizing follows from there. Divide your padded wattage by 0.8, then round up to the next standard transformer size. If your fixtures total 150 watts, landscape lighting calculators confirm the math: 150 ÷ 0.8 = 187.5, so you’d select a 200 watt transformer, never one rated exactly at your total load.
Wire gauge matters just as much as transformer size, because voltage drop causes dimming and color shift over long runs:
- 16 AWG: short, low-wattage runs under 50 feet
- 14 AWG: medium runs with moderate wattage
- 12 AWG: longer runs or heavier fixture loads
- 10 AWG: the longest runs or highest-wattage zones
Professionals keep fixture voltage above roughly 10.8V on a 12V system by calculating expected voltage drop per circuit and adding power injection points partway down long runs rather than feeding everything from one end.
Pro Tip: If a quote doesn’t mention wire gauge or voltage drop at all, ask about it directly. That single question tends to separate a careful installer from one who’s guessing.
System choice matters too. 12V low-voltage setups are the most common for landscape fixtures and easiest to modify later. 24V and 48V options, increasingly common for roofline runs, tolerate longer distances with less visible brightness loss. 120V line-voltage systems handle commercial-scale runs but require licensed electrical work and conduit in most jurisdictions. Splitting a property into multiple circuits or zones, rather than one giant loop, limits voltage drop and makes control simpler regardless of which voltage you choose.
What Roofline Hardware Determines the Finished Look?
Roofline lighting lives or dies on the track, not just the LEDs. A purpose-built aluminum channel, often called hat track, keeps modules running in a dead-straight line, conceals wiring completely, and resists the weather cycling that causes cheaper mounts to warp or discolor within a season or two.
- Module spacing: tighter spacing (closer to 6 inches) creates smoother color blending for effects lighting; wider spacing saves on fixture count for simple white accent
- Mounting position: below-fascia mounting hides hardware and improves serviceability; face-mounting is more visible but sometimes necessary on certain roof profiles
- Fastening and finish: stainless fasteners at consistent intervals and a channel finish color-matched to your trim
- Serviceability: extruded aluminum track with access channels lets a technician swap a single module section without repainting or damaging fascia
When you’re comparing quotes, ask each vendor to specify the exact track brand or class, the finish color match, and the warranty term in writing. “Roofline lights included” without those details is not a specification.
Front Yard Example: 150 Feet of Roofline Plus a Walkway
Here’s a small property worked through the formulas above.
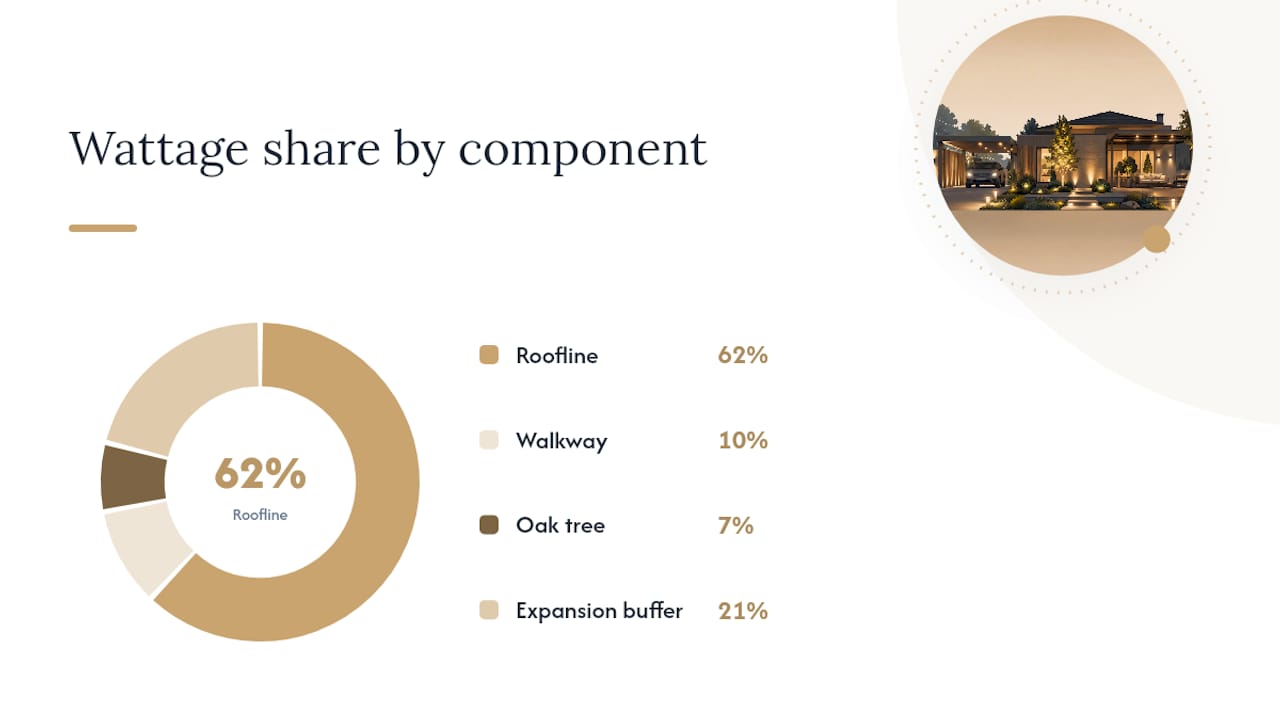
Assumed inputs: 150 foot roofline run, 45 foot front walkway, one large oak tree, path lights at 5 watts each, roofline modules at roughly 1.2 watts per foot.
- Walkway fixtures: 45 ÷ 10 foot spacing + 1 = 5.5, rounded up to 6 path lights at 5 watts = 30 watts.
- Roofline wattage: 150 feet × 1.2 watts per foot = 180 watts.
- Tree uplighting: 3 well lights at 7 watts = 21 watts.
- Total system load: 30 + 180 + 21 = 231 watts, plus 25% expansion buffer = about 289 watts.
- Transformer sizing: 289 ÷ 0.8 = 361, rounded up to a 400 watt transformer.
| Zone | Fixtures | Watts | Notes |
|---|---|---|---|
| Front walkway | 6 path lights | 30 W | 12 AWG recommended for runs over 75 ft |
| Roofline | 150 ft strip | 180 W | Power injection at midpoint for even brightness |
| Oak tree | 3 well lights | 21 W | Grouped on its own zone for separate dimming |
| Total | 9 fixtures + strip | 231 W (289 W buffered) | 400 W transformer, split into 2 circuits |
An installer will still want a marked photo of the power entry point and confirmation of access under the fascia before finalizing this plan.
What Should a Professional Lighting Quote Include?
A serious quote reads like a spec sheet, not a sales flyer. It should list run-by-run quantities and lengths for every zone, the fixture model or class used, the transformer rating, controller and zoning details, the exact track or channel specification for roofline work, mounting details, and a written warranty and maintenance plan.
Before signing anything, ask about HOA compliance, whether permits are needed for your municipality, the installation schedule, ongoing maintenance options like GlowCare, and whether post-install testing is included to confirm every zone works as designed.
Watch for a few red flags: vague fixture descriptions with no model or wattage listed, no transformer or wire gauge specified anywhere, no service plan mentioned, or a roofline quote that never names the track or channel product. Any one of these usually means the estimate was built quickly rather than measured properly, and a professional design closes those gaps before installation day, not after.
Why Most DIY Lighting Estimates Fall Apart in the First Season
The conventional advice tells homeowners to count fixtures and call it a plan. That’s the part most guides get wrong. Fixture count is the easy 20% of the math. Voltage drop, transformer headroom, and zoning are the 80% that actually determines whether your lighting still looks even and bright two summers from now.
I’d also push back on the idea that beam-angle formulas are precise enough to finalize a plan. They’re a solid starting estimate, but real photometric data accounts for beam shape and intensity distribution in ways a simple angle calculation can’t, which is why quotes sometimes shift after a site visit rather than before one.
If you take one thing from this math, prioritize the transformer and wire gauge decisions before you fall in love with a fixture layout. A gorgeous spacing plan running on an undersized transformer or thin-gauge wire will dim and color-shift within a year, and no amount of fixture selection fixes that after the fact.
How Forever Glow Lighting Turns This Math Into a Finished System
Doing the math yourself gets you close. Getting it right on a property with mature trees, HOA restrictions, or a 150 foot roofline usually takes a site visit, because slope, shadow, and existing wiring change the numbers every time.

Forever Glow Lighting is Charlotte’s top choice for permanent outdoor lighting, and every estimate we build starts with the same process outlined in this article, just done with a laser measure and photometric software instead of a tape measure and a napkin sketch. We measure every run, apply beam-angle and IES-aware aiming for spotlights and floods, calculate total wattage and transformer sizing to the 80% rule, select the right track and channel for roofline work, and program zoning through your smartphone app. Every install can also roll into GlowCare, our ongoing maintenance subscription, so voltage drop and bulb wear get caught before you notice them.
Request a free estimate and see how the permanent lighting installation process works from first measurement to final walkthrough.
Sources
A few tools let you double-check the math before hiring anyone:
- Landscape lighting calculators and guidance (transformer sizing and wiring)
- Voltage-drop calculation and mitigation (installation blog)