
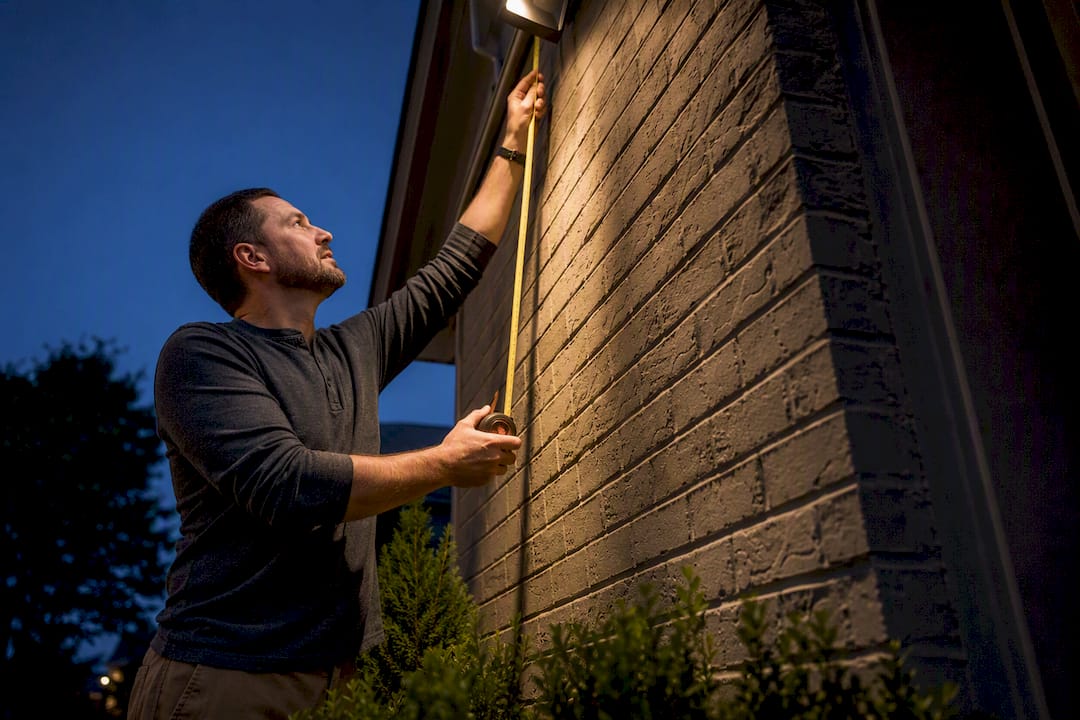
Prioritize entry points and approach routes first: front door, driveway, garage, side gates, and rear access. Mount flood or spot fixtures 8 to 10 feet high, aimed downward with slightly overlapping beams so no path or door sits in shadow. From there, match each zone’s activation mode, motion or dusk to dawn, to how people actually move through it, and make sure every fixture works with your cameras instead of against them.
TL;DR:
- Mount floodlights 8 to 10 feet high and aim them downward at 30 to 45 degrees to ensure proper coverage without glare or tampering risk.
- Use dusk-to-dawn lighting for main entries and driveways, and rely on motion sensors for side gates, back doors, and less visible approach routes.
- Overlap light beams slightly and adjust spacing to prevent dark gaps along pathways, stairs, and perimeter lines, ensuring continuous coverage.
- Position lights and fixtures to avoid shining directly into security camera lenses, instead offsetting them to prevent glare and footage washout.
- Conduct a nightly walk-through to identify shadowed areas, misaligned lights, or nuisance triggers, then adjust aiming, sensitivity, or add low-level path lighting accordingly.
Table of Contents
- Security Lighting Placement: Where Every Zone Needs Light
- What Height and Angle Should Security Lights Be Mounted At?
- Should Security Lights Run on Motion Sensors or Stay on All Night?
- How Do You Position Lights so They Don’t Blind Your Security Cameras?
- Common Security Lighting Mistakes and a Five-Minute Fix-It Walk
- What a Site Survey Looks Like Before Installing Permanent Lighting
- A Straight Answer on DIY Tweaks vs. Calling a Pro
- How Forever Glow Lighting Handles the Zones That Matter Most
- Sources
- FAQ
Security Lighting Placement: Where Every Zone Needs Light
Good security lighting placement starts with a simple question: where would someone try to avoid being seen? Answer that honestly and the priority list writes itself. Security lighting only earns its name when it exposes approach routes and erases the deep shadows near doors, windows, driveways, and garages. Light that just makes the yard look nice but leaves those spots dark is landscape lighting wearing a security costume.
Here’s the zone-by-zone breakdown that covers the ground most homeowners miss.
- Front entry: A recessed or wall-mounted fixture near the door, installed high enough to resist tampering but low enough to light faces clearly, works better than a single overhead porch bulb. Look for tamper-resistant housings if the entry is easily reached from ground level.
- Driveway and garage: A motion-activated floodlight mounted above the garage door, aimed down the length of the driveway, catches vehicles and foot traffic as they approach. This is one of the most overlooked zones because homeowners assume the porch light covers it. It rarely does.
- Side and back doors, gates: These deserve motion-activated fixtures aimed at the actual walk path, not the surrounding lawn. A wide floodlight that lights up grass but skips the two feet of concrete next to the door misses the point entirely.
- Fence lines and perimeter: Mounting lights on poles or trees set back from the fence line, rather than directly on the fence itself, makes the fixture harder to reach and tamper with while still lighting the boundary.
- Paths, steps, and basement window wells: These need low-level task lighting, not floodlights. A stumble hazard in the dark is its own kind of security problem, and a small path light does more good here than a bright fixture that creates harsh shadows on stairs.
Driveways in particular reward a closer look, since the approach to a garage is often the first place a fixture gets the aim wrong. If you’re planning that zone specifically, a closer look at driveway lighting placement is worth the extra five minutes. And if your property has several vulnerable points, a broader review of landscape lighting security strategies can help you sequence which zone to tackle first.
What Height and Angle Should Security Lights Be Mounted At?
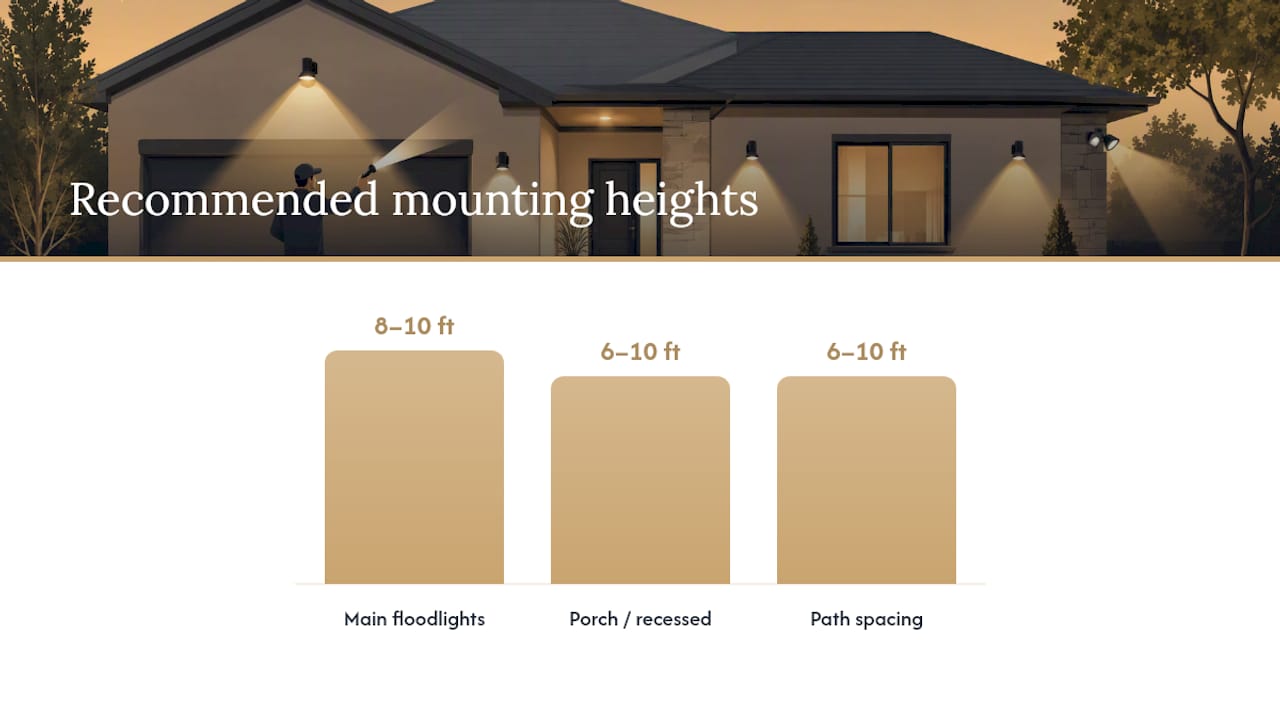
Numbers make this section useful, so here they are. Mount flood-style fixtures roughly 8 to 10 feet above the ground, with porch and recessed fixtures typically installed between 6 and 10 feet. That range keeps fixtures out of easy reach for tampering while still throwing light where it matters, on the ground and on faces, not into the treetops.
Angle matters as much as height. Aim floodlights downward at roughly 30 to 45 degrees. Use narrower spotlight beams where you need to see a face clearly, like a front door or gate, and reserve wider floodlight beams for open areas like driveways and side yards where general coverage matters more than detail.
- Mount main floodlights 8 to 10 feet high, angled 30 to 45 degrees downward
- Use narrow beams at entries and gates; wide beams for driveways and yards
- Space path lights 6 to 10 feet apart, tightening that gap near steps
- Overlap adjacent beams slightly rather than leaving a gap between them
Rule of thumb: if you can stand at any point along your driveway, walkway, or side yard at night and see your own shadow stretching into darkness, that’s a gap in coverage. Move the fixture, adjust the angle, or add a second light rather than cranking up the brightness on the one you have.
Should Security Lights Run on Motion Sensors or Stay on All Night?
The zone decides the mode, not personal preference. Main entries and the primary driveway usually work best on dusk to dawn settings, since constant visibility deters casual snooping and helps guests find the door without triggering anything. Side gates, back doors, and hidden approach routes are where motion sensors earn their keep, since the sudden light both startles an intruder and exposes them right when they expect privacy.
- Set dusk-to-dawn lighting on the front entry and main driveway for constant visibility.
- Use motion activation on side gates, back doors, and any route not visible from the street.
- Start with medium sensitivity outdoors and a 30-second to 3-minute timeout, adjusting based on how often it’s tripped by wind or passing cars.
- Avoid aiming any motion sensor at windows, busy streets, or trees that sway in the wind, since all three cause nuisance triggers.
Pro Tip: If a motion light keeps firing at 2 a.m. for no obvious reason, check the sensor’s field of view before assuming it’s broken. Nine times out of ten, it’s picking up a tree branch or a neighbor’s porch light through an ambient-light threshold that’s set too low.
How Do You Position Lights so They Don’t Blind Your Security Cameras?
This is where a lot of otherwise solid setups fall apart. A bright fixture aimed straight into a camera’s field of view creates glare that washes out everything behind it, turning your $200 camera into an expensive way to record a white blur. The fix is straightforward: never point a light directly at the lens, and instead place it beside or behind the camera so it illuminates the same area the camera is watching without shining into it.
- Offset the light source from the camera’s line of sight, not in front of it
- Position lights to illuminate the target area, not the lens itself
- Test with the camera’s live night view and adjust brightness or beam spread until you see faces, not silhouettes
- For infrared cameras, avoid strong warm-toned lights nearby, since they can interfere with how the camera’s IR mode reads the scene
Small adjustments matter more here than big purchases. A minor re-aim of an existing fixture often does more for footage quality than buying a new camera, and testing that adjustment while watching the live feed takes minutes. If glare or washed-out footage is a recurring issue, it’s also worth reading up on how outdoor lighting can reduce glare without sacrificing the brightness you actually need.
Common Security Lighting Mistakes and a Five-Minute Fix-It Walk
Most placement problems fall into a short list, and they’re the same ones over and over: overlighting one area while leaving another dark, aiming a motion sensor at a window or busy street, skipping side and back access points entirely, and setting a floodlight so it blinds the very camera it’s supposed to support. None of these require new equipment to fix. They require a walk-through.
- Turn on every exterior light and camera after dark.
- Walk each approach route, front, side, back, and driveway, the way a stranger would.
- Pull up your camera’s live feed and check for glare, silhouettes, or washed-out frames.
- Note every shadow deep enough to hide in and every motion sensor that fires on something harmless.
- Re-aim, add a low-level path light, dial back sensitivity, or stagger timers based on what you find.
| Mistake found | Quick fix |
|---|---|
| Camera shows a silhouette, not a face | Offset the light from the lens; test again on live view |
| Motion light fires on wind or traffic | Lower sensitivity or narrow the sensor’s field of view |
| Dark gap between two path lights | Tighten spacing to the 6 to 10 foot range, or add a fixture |
| Side gate has no coverage at all | Add a motion-activated fixture aimed at the walk path |
This kind of hands-on check catches problems that no amount of guesswork solves from inside the house, and it takes less time than most people spend deciding where to eat dinner.
What a Site Survey Looks Like Before Installing Permanent Lighting
A DIY fixture swap solves a lot of problems, but some properties need a real site survey before anything goes on the wall. That survey usually covers power access near each mounting point, the fixture’s IP rating for its level of exposure, and any HOA rules about visible hardware or brightness. Permanent LED track systems remove the recurring ladder work altogether and give you smartphone control over brightness, color, and timing once installed.
- Confirm power access at each planned fixture location
- Match fixture IP rating to exposure, with IP65 as a practical minimum for anything fully exposed to weather
- Check HOA guidelines before mounting anything visible from the street
- Decide on preferred control method: app, schedule, or voice automation
A property with a straightforward single driveway and one entry point rarely needs more than a weekend of adjustments. A larger lot with multiple gates, a long fence line, and HOA restrictions is a different project, and that’s where permanent lighting tends to outperform a box of hardware-store floodlights.
A Straight Answer on DIY Tweaks vs. Calling a Pro
If your property has one or two entry points and a single approach route, a weekend of re-aiming and sensor tuning will likely get you most of the way there. Once you’re dealing with multiple gates, a long perimeter, or HOA rules on visible fixtures, a professional site survey saves you from months of trial and error. Either way, retest your setup after any change, since one moved shrub or new camera angle can undo a fix you made last season.
— Dave
How Forever Glow Lighting Handles the Zones That Matter Most
This service is an option for homeowners who’ve done the flashlight walk-through, found three dark corners and a camera that’s catching silhouettes, and would rather have it solved once than keep re-aiming clamp lights every few months. Custom-installed LED track systems can mount directly to the roofline and be controlled remotely, avoiding the need for a ladder to adjust brightness, color, or timing for a specific zone.

A site survey looks at power access, fixture exposure, and any HOA rules before we design layout and aim around your actual entry points, driveway, and side yards, not a generic template. This is especially worth it for properties with multiple access points or restrictions on visible hardware, where DIY fixture swaps tend to hit a ceiling fast. If that sounds like your situation, take a look at how our installation process works and request a free estimate to see what a permanent setup would look like on your property.
Sources
- The best places for security lights: tips from an FBI agent
- How To Decide Where To Place Home Security Lights for Optimal Protection
- Security Lighting: The Complete 2026 Guide (Motion Sensors, Outdoor Floodlights, Smart Bulbs)
FAQ
Where Should Security Lights Go on a House?
Prioritize the front entry, driveway, garage approach, side gates, and rear doors first, since those are the routes someone would use to reach your house unseen. Fence lines and path lighting come next for full perimeter coverage.
What Is the 5’7" Lighting Rule?
There’s no standardized “5’7 rule” in professional lighting guidance. The more reliable benchmark is mounting height: 8 to 10 feet for floodlights and 6 to 10 feet for porch or recessed fixtures, angled downward to light faces without blinding anyone.
Should a Security Camera Go Above or Below a Light?
Neither position is a fixed rule; what matters is offset, not stacking. Place the light beside or behind the camera so it illuminates the monitored area without shining into the lens, then confirm the result using the camera’s live night view.
What Is the Rule of Thumb for Outdoor Lighting?
Overlap your coverage slightly instead of leaving gaps between fixtures, and match each zone’s activation mode to its function, dusk to dawn for main entries, motion for hidden approach routes. If you can stand anywhere on your property at night and see a shadow stretching into darkness, that’s the gap to fix.