
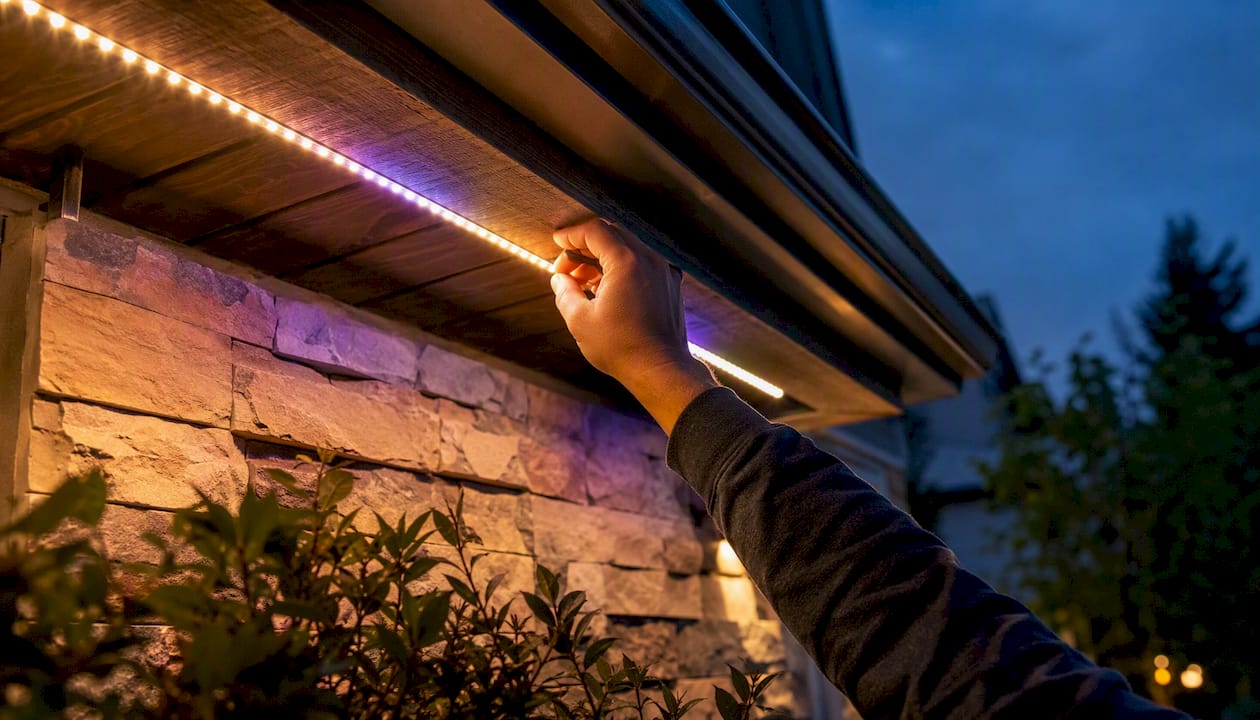
RGBW outdoor lighting combines a red, green, and blue LED cluster with a fourth, dedicated white diode in each fixture or strip segment. That single addition changes what the system can do every night. If you need reliable, high-quality white light for security, architecture, or daily ambiance, plus the option to shift into color modes for events, RGBW is the right choice. If you only need festive color a few times a year, standard RGB may be enough.
Three factors determine whether RGBW is worth the extra investment for your project:
- White light quality. Security lighting, pathway illumination, and architectural accents all benefit from a clean, warm white that RGB color mixing cannot reliably produce.
- Outdoor durability. The system must carry an appropriate IP rating (IP65 minimum for most outdoor locations) and be installed in sealed enclosures.
- Controller compatibility. RGBW requires a 4-channel controller that drives the white LED independently. An RGB controller will leave the white chip dark.
Pro Tip: Plan your controller first. Buying an RGBW strip and pairing it with an RGB controller is one of the most common and most avoidable mistakes in outdoor LED installations.
Key Takeaways
RGBW outdoor lighting delivers reliable daily-use white light plus full color capability, but only when the controller, IP rating, power supply, and wiring are all matched correctly to the installation environment.
| Point | Details |
|---|---|
| Choose RGBW for permanent installs | RGBW provides a dedicated white chip for nightly use; RGB suits seasonal color only. |
| IP rating must match location | Use IP65 for covered areas, IP67 for exposed outdoor spots, and IP68 for submerged applications. |
| Size your PSU with 20% headroom | Undersized power supplies cause dimming and overheating on full-load RGBW runs. |
| Plan power injection on long runs | For 12V runs over 5 meters or 24V runs over 10 meters, inject power at the far end or mid-run. |
| Foreverglowlighting handles the full workflow | Professional installation covers voltage-drop calculations, IP-rated components, color calibration, and GlowCare maintenance. |
Table of Contents
- How does RGBW outdoor lighting differ from RGB?
- How do RGBW LEDs actually produce white light?
- What hardware do you need for an outdoor RGBW system?
- Wiring, power injection, and voltage drop for outdoor RGBW
- How do you weatherproof an outdoor RGBW system?
- What controls and smart-home protocols work for outdoor RGBW?
- Which specs matter when you’re shopping for outdoor RGBW strips?
- Where does RGBW lighting work best outdoors?
- What are the most common outdoor RGBW mistakes and how do you fix them?
- How professionals install permanent outdoor RGBW systems
- Permanent RGBW outdoor lighting, professionally installed in Charlotte
- Sources
How does RGBW outdoor lighting differ from RGB?
RGB stands for red, green, and blue. A standard RGB LED mixes those three channels to produce millions of colors. The problem is white. When you push all three channels to full power, you get a cool, slightly bluish white that looks washed out against warm architectural surfaces. Pastels suffer too — a soft blush or cream tone is nearly impossible to reproduce accurately with RGB alone.
RGBW solves this by adding a fourth, physically separate white LED chip to each pixel or strip segment. That chip produces a true, single-phosphor white rather than a blended approximation. According to a practical guide on outdoor RGB and RGBW LED lighting, the dedicated white diode commonly runs at 2700–3000K warm white, delivers truer whites and better pastels than RGB mixing, and is more efficient when producing white light because only one channel is active instead of three.
A useful scenario: imagine a home where warm white accent lighting runs every night from dusk to midnight for security and curb appeal, then shifts to a deep blue or amber scene during a weekend party. An RGB system struggles with the nightly white. An RGBW system handles both without compromise.
The connector and channel count also change. Standard RGB strips use a 4-pin connector (one common positive plus R, G, and B). RGBW strips add a fifth pin for the white channel and require a controller with four independent output channels, not three.
| Feature | RGB | RGBW |
|---|---|---|
| White light quality | Approximate (color mix) | True dedicated white chip |
| Pastel color accuracy | Limited | Noticeably better |
| Controller channels needed | 3 (R/G/B) | 4 (R/G/B/W) |
| Connector pins | 4-pin | 5-pin |
| Power efficiency for white | Lower (3 channels active) | Higher (1 channel active) |
| Best use case | Seasonal color only | Daily white + color events |
How do RGBW LEDs actually produce white light?
Additive color mixing works by blending wavelengths of light. Red plus green plus blue at full intensity produces something close to white, but the spectral gaps between those three narrow wavelengths mean the result lacks the continuous spectrum of a true white source. Colors rendered under that mixed white look slightly off, and the light has a lower Color Rendering Index (CRI) than a dedicated phosphor-converted white LED.
The white chip in an RGBW strip uses a blue LED coated with a yellow phosphor, the same technology behind standard white LED bulbs. That process produces a smooth, broad spectrum. Common color temperature options for the white chip are:
- Warm white (2700–3000K): Matches incandescent and halogen tones; best for residential facades, decks, and cozy outdoor living areas.
- Neutral white (4000K): Clean and balanced; suits commercial facades and modern architectural styles.
- Cool white (6000K): Crisp and bright; used in task lighting, security applications, and contemporary minimalist designs.
Two extended variants are worth knowing. RGBWW strips add a second warm white chip alongside the standard white, giving you two tunable white points. RGBCW strips pair a cool white and a warm white chip, allowing smooth color temperature adjustment across the full Kelvin range. Guides comparing RGB, RGBW, RGBCW, and RGBIC recommend RGBW or RGBCW for permanent outdoor installations because they deliver daily-use white capability alongside color modes for events.
Running the white chip for white output rather than driving R, G, and B simultaneously also reduces heat generation in the strip, which matters for longevity on long outdoor runs.
What hardware do you need for an outdoor RGBW system?
Getting the component list right before ordering saves significant time and money. Every outdoor RGBW installation requires these core elements:
- RGBW LED strip (12V or 24V, IP65–IP68 rated): Choose silicone-coated or fully encapsulated strips for outdoor use. IP65 suits walls and covered soffits; IP67 handles rain and splashing; IP68 is required for submerged or pool-edge applications.
- RGBW controller (4-channel output): The Shelly RGBW2 is a widely used example of a multi-channel Wi-Fi controller. Note: it is not outdoor rated on its own and must be housed in an IP66 enclosure.
- Power supply (PSU) or LED driver: Match the strip’s voltage (12V or 24V) and size the PSU with at least 20% headroom above the strip’s total wattage draw.
- Weatherproof enclosure: An IP66-rated junction box for the controller and any splices that are not factory-sealed.
- Wago 221-413 lever connectors: These tool-free, reusable connectors create secure, moisture-resistant joins and are far more reliable than twist-on wire nuts for outdoor wiring. Shelly’s RGBW2 documentation specifically recommends Wago 221-413 connectors alongside 16 AWG wire for V+/V- runs and crimped ferrules on stranded conductors.
- Feed wire: 16 AWG for power supply runs; 20 AWG is typically sufficient for short LED lead connections.
- Aluminum mounting channels: These serve double duty as a clean mounting surface and a heat sink, extending strip life on high-density runs. Practical installation guides consistently recommend aluminum channels for heat dissipation and a professional finish.
- Strain reliefs and cable glands: Prevent mechanical stress at enclosure entry points and block moisture ingress.
On voltage: 12V strips are widely available and work well for runs up to about 5 meters before voltage drop becomes visible. 24V strips carry the same wattage at half the current, which reduces drop significantly and makes them the better choice for runs beyond 5 meters. For low-voltage landscape lighting, 24V is generally the smarter long-run option.
Pro Tip: Always buy strips and controllers from the same voltage family. Mixing a 12V strip with a 24V driver will destroy the strip immediately.
Wiring, power injection, and voltage drop for outdoor RGBW
Solid wiring is where most outdoor RGBW failures originate. Follow this sequence before pulling a single wire:
- Lay out the strip run. Measure the total length and note any corners, gaps, or direction changes where you will need connectors or solder joints.
- Calculate total wattage. Multiply the strip’s watt-per-foot rating by the total run length. A typical outdoor RGBW strip draws roughly 2–4 watts per foot depending on LED density.
- Size the PSU with headroom. Add 20% to the calculated wattage and select a PSU at or above that figure. A 100-watt strip run needs at least a 120-watt PSU.
- Plan power injection points. For 12V runs longer than 5 meters, plan to inject power at both ends or at mid-run intervals. Shelly’s documentation notes that the RGBW2 controller does not support power injection from the controller itself on long strip runs, so a separate injection point fed directly from the PSU is required.
- Route V+ and V- correctly. Use an appropriately heavy gauge wire for PSU-to-controller and PSU-to-injection-point power runs to ensure minimal voltage drop. Confirm polarity before connecting the strip.
- Verify earth/ground connections. For any mains-powered Class I fixture, an earth connection is mandatory. The Precision Pro RGBW floodlight installation manual specifies mandatory earth connections and correct cable terminations as non-negotiable safety requirements.
- Use ferrules on stranded conductors. Crimping a ferrule onto stranded wire before inserting it into a terminal block prevents stray strands from causing shorts.
- Test before sealing. Power the system and check all four channels (R, G, B, W) individually before closing enclosures or applying sealant.
Voltage drop is the most common cause of uneven brightness on long outdoor runs. The fix is either a thicker feed wire, a shorter run, or a mid-run power injection point fed directly from the PSU.
| Run length | Recommended voltage | Suggested wire gauge | Power injection needed? |
|---|---|---|---|
| Up to 5 m | 12V or 24V | 20 AWG | No |
| 5–10 m | 24V preferred | 18 AWG | Possibly at far end |
| 10–20 m | 24V | 16 AWG | Yes, at mid-run or far end |
| Over 20 m | 24V | 16 AWG | Yes, multiple points |
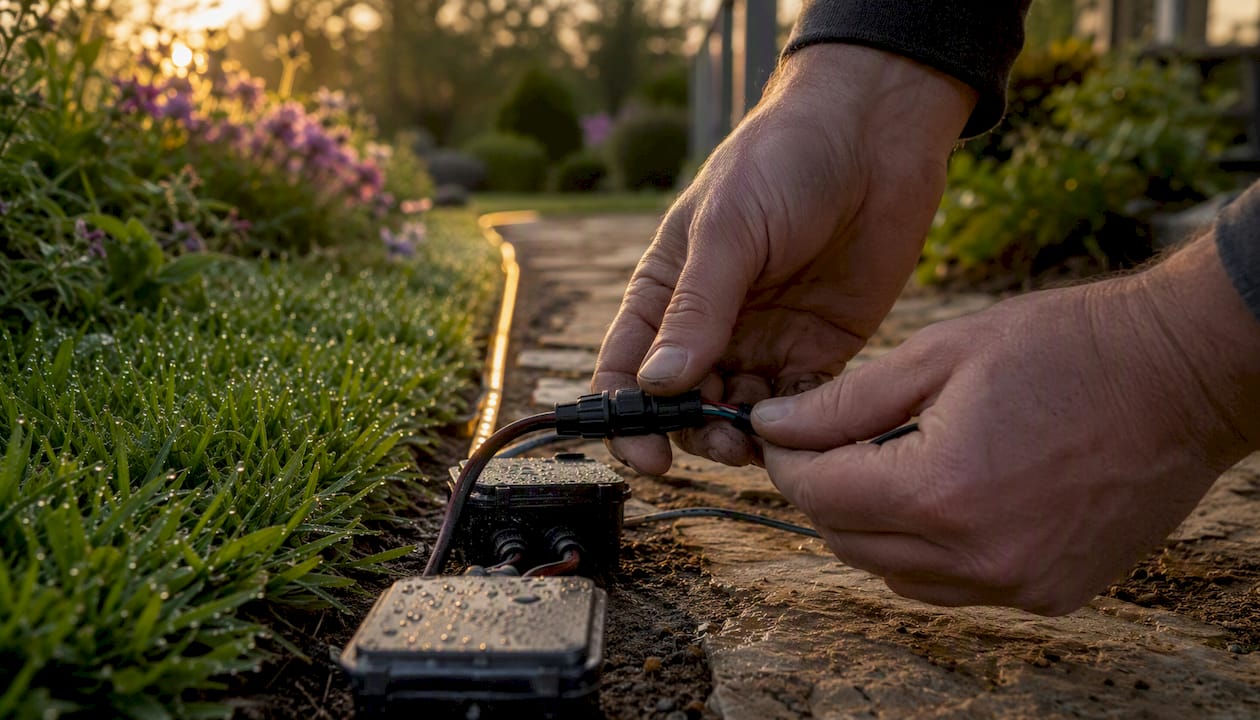
Pro Tip: Check voltage at the far end of the strip with a multimeter before sealing everything up. If the reading is more than 0.5V below the PSU output, add a power injection point.
For a deeper look at landscape lighting wiring best practices, including conduit routing and junction box placement, that guide covers the full field workflow.
How do you weatherproof an outdoor RGBW system?
IP ratings tell you exactly how much protection a product offers against solid particles and water. For outdoor RGBW installations, the rating you need depends on where the fixture or strip sits:
- IP65: Protected against low-pressure water jets from any direction. Suitable for walls, soffits, and covered outdoor areas where rain may splash but not pool.
- IP66: Handles powerful water jets. A good minimum for controllers in exposed enclosures and fixtures on exposed walls.
- IP67: Withstands temporary immersion up to 1 meter for 30 minutes. Use near pool edges, in ground-level step lighting, and anywhere standing water is possible.
- IP68: Rated for continuous submersion beyond 1 meter. Required for strips installed inside pool walls, water features, or submerged landscape elements.
RC Lighting’s outdoor LED guide recommends IP65 as the minimum for general outdoor fixtures, with IP67 or IP68 for any installation near water or subject to temporary immersion.
Beyond the IP rating of the strip itself, field sealing practices determine whether a system survives its first winter:
- Apply dielectric grease to every connector opening, cable gland thread, and enclosure gasket before closing. This displaces moisture and prevents corrosion on terminals.
- Use IP66-rated junction boxes for all controllers and splice points. The Shelly RGBW2, for example, is not outdoor rated and requires an appropriate enclosure.
- Install strain reliefs at every point where a cable enters an enclosure. Without them, vibration and wind load work the cable back and forth until the insulation cracks.
- Leave a small service loop of wire inside each enclosure. That slack makes it possible to re-terminate a connection without pulling new cable.
- Near coastal or marine environments, use stainless steel hardware for mounting brackets and cable clips. Standard zinc-plated hardware corrodes within one season in salt air.
Pro Tip: After the first heavy rain, open each enclosure and check for condensation. A small bead of moisture inside a box that was “sealed” is a sign the gasket was pinched or the cable gland was under-tightened. Fix it before the second season.
What controls and smart-home protocols work for outdoor RGBW?
The controller is the brain of an RGBW system, and the protocol it uses determines how reliably you can automate and integrate it. Four options cover most residential and commercial outdoor installations:
- Wi-Fi controllers (like the Shelly RGBW2) connect directly to your home network and are controllable via smartphone apps. Setup is straightforward, and most support color wheels, scene presets, and scheduling. The trade-off is that Wi-Fi range and network stability matter outdoors, and the controller must live in a weatherproof enclosure.
- Zigbee and Z-Wave controllers form a local mesh network that does not depend on internet connectivity. They tend to be more stable for always-on outdoor lighting and integrate well with platforms like Home Assistant, SmartThings, and Amazon Alexa. Community experience with outdoor RGBW strip installations highlights the value of local mesh protocols for reliability when Wi-Fi signals are weak at the far end of a property.
- DMX controllers are the professional standard for architectural and commercial installations. DMX512 allows pixel-level control of individual LED segments, precise color calibration across multiple fixtures, and integration with show-control software. It requires more planning but delivers the most consistent results on large facades.
- Proprietary ecosystems (manufacturer-specific apps and hubs) offer polished user interfaces but lock you into one brand’s hardware. Useful for simple residential installs; limiting for complex multi-zone systems.
When selecting a controller, confirm it supports four independent output channels, not just three. An RGB controller will ignore the white channel entirely. Also verify the controller’s maximum load per channel against your strip’s wattage, and check whether it needs an enclosure for outdoor use. For a broader look at how outdoor lighting automation integrates with smart-home systems, that resource covers controller compatibility and scheduling in detail.
Which specs matter when you’re shopping for outdoor RGBW strips?
Reading a product spec sheet confidently comes down to four numbers:
CRI (Color Rendering Index) measures how accurately a light source renders colors compared to natural daylight, on a scale of 0–100. For the white channel specifically, a CRI of 80 is the minimum acceptable for residential use; 90+ is noticeably better for architectural accents where skin tones and natural materials need to look their best. RGB color output is not rated by CRI, but the white chip’s CRI directly affects how the space looks during everyday white-light use.
Lumens per foot tells you how bright the strip is. Pathway and step lighting typically needs 150–300 lumens per foot. Wall washes and tree uplighting can work with 100–200 lumens per foot depending on throw distance. Security-focused perimeter lighting benefits from 300+ lumens per foot.
LED density (LEDs per meter or per foot) affects how smooth the light output looks. Low-density strips (30 LEDs/meter) show visible hot spots and gaps at close viewing distances. High-density strips (60–120 LEDs/meter) produce a smooth, even wash. For architectural applications where the strip is visible, higher density is worth the added cost.
White chip color temperature sets the mood. Warm white (2700–3000K) suits residential facades and living areas. Neutral white (4000K) works for commercial exteriors and modern homes. Cool white (6000K) is best reserved for task and security applications where brightness matters more than ambiance.
When comparing products, look for these fields on every spec sheet:
- Input voltage (12V or 24V)
- Watts per foot or watts per meter
- Lumens per foot at full white
- CRI of the white chip
- LED density (LEDs/meter)
- White chip CCT (color temperature in Kelvin)
- IP rating
- Strip width (affects channel compatibility)
RC Lighting’s buying guide specifically calls out lumens per foot, CRI, and LED density as the three most important spec fields for comparing outdoor RGB and RGBW products.
Where does RGBW lighting work best outdoors?
RGBW earns its value in applications where the system runs nightly in white mode and occasionally shifts to color. The LED role in landscape lighting matters most in these specific settings:
- Architectural wall washes: Warm white grazes textured stone, brick, or wood siding to reveal depth and shadow. Color modes add drama for holidays or events without requiring a separate fixture.
- Pathway and deck lighting: Warm white at 2700–3000K creates a safe, welcoming walkway. IP67-rated strip in aluminum channels along deck risers handles foot traffic and weather reliably.
- Pool and water feature lighting: IP68-rated RGBW strip inside pool walls or water features shifts from white for evening swims to color for parties. This is one of the few applications where the color capability justifies the IP68 premium on every night of use.
- Tree and shrub uplighting: A narrow-beam RGBW spotlight in warm white highlights bark texture and canopy structure. Switching to amber or deep green for seasonal events takes seconds from a smartphone.
- Entertainment areas: Patios, pergolas, and outdoor entertaining spaces benefit from layered RGBW: ambient overhead white, accent color on a feature wall, and task white over a grill or bar.
A few design principles separate professional-looking results from amateur ones. Match the white chip temperature to the dominant material: warm white for wood and stone, neutral white for concrete and metal. Keep color temperature consistent across all fixtures in a single zone. Plan three layers — ambient, accent, and task — rather than relying on a single strip to do everything. And for scene design, outdoor lighting scene setting offers a practical framework for building presets that work across seasons.
Pro Tip: Set white as your default scene and reserve color modes for specific events. Homes that run saturated colors every night tend to feel garish within a few weeks, and the color LEDs accumulate more run hours than the white chip. White-first use extends the life of the color channels.
What are the most common outdoor RGBW mistakes and how do you fix them?
Most outdoor RGBW failures trace back to a short list of predictable errors. Here are the most frequent ones and their fixes:
- RGB controller paired with an RGBW strip. The white channel stays dark. Fix: replace the controller with a 4-channel RGBW-compatible unit. Verify channel count before ordering.
- Reversed color wires. Red and green channels swapped produce wrong colors across the whole run. Fix: check the strip’s wiring diagram, swap the wires, and test each channel individually before sealing.
- Undersized PSU. The system dims under full load or the PSU overheats and shuts down. Fix: recalculate total wattage and replace the PSU with one sized at 120% of the strip’s draw.
- Voltage drop causing uneven brightness. LEDs near the controller are bright; the far end is dim. Fix: add a power injection point at the far end fed directly from the PSU, or upgrade to 24V and thicker feed wire.
- Inadequate IP rating. Strips rated IP44 or lower fail within one season outdoors. Fix: replace with IP65 minimum for covered areas, IP67 for exposed locations, IP68 for submerged applications.
- Loose connectors allowing moisture ingress. Intermittent flickering or dead sections after rain. Fix: reseat all connectors, apply dielectric grease to each opening, and verify that all cable glands are hand-tight plus a quarter turn.
For quick diagnostics: check polarity first (reversed V+ and V- will prevent the strip from lighting at all), then measure voltage at the far end of the strip with a multimeter, then test each color channel individually with a bench supply or the controller’s test mode. If a section goes dark after heavy rain, inspect the nearest connector and enclosure seal before assuming the strip has failed.
When a fix requires opening a sealed enclosure or re-routing conduit, calling a professional installer is the faster and safer path. Landscape lighting safety considerations, particularly around mains-voltage components, are not areas where a temporary band-aid is acceptable.
How professionals install permanent outdoor RGBW systems
A permanent RGBW installation follows a structured workflow that eliminates the guesswork that causes DIY callbacks. Here is the sequence professionals use:
- Site survey and photometric planning. Walk the property, identify mounting surfaces, measure run lengths, note water proximity, and sketch fixture positions. Calculate lumen requirements per zone.
- Specify IP-rated fixtures and drivers. Select strip IP rating based on location (IP65 for soffits, IP67 for ground-level, IP68 for water features). Match driver voltage to strip voltage.
- Voltage-drop and circuit calculations. Calculate wattage per run, determine wire gauge, and identify power injection points. For runs over 10 meters, plan injection at the far end.
- Cable routing and mechanical protection. Run cables in conduit where exposed. Use UV-rated cable sheathing outdoors. Secure every 12–18 inches to prevent wind movement.
- Controller placement and enclosures. Mount controllers in IP66 junction boxes in accessible but protected locations. The Shelly RGBW2, for example, requires an enclosure because it carries no outdoor rating on its own.
- Commissioning and color calibration. Power each zone, test all four channels, and calibrate white balance across fixtures so color temperature is consistent from one end of a wall to the other.
- Client training. Hand over the app with pre-built scenes, a backup schedule, and simple maintenance tasks: quarterly seal checks, annual firmware updates, and a note on when to call for service.
Professional installers also handle HOA compliance documentation, long-run power injection planning, and enrollment in maintenance programs like GlowCare, which covers annual inspections and seal replacements. Permanent lighting saves homeowners time precisely because a well-engineered system requires almost no seasonal intervention.
Pro Tip: Color calibration across multiple fixtures is the step most DIY installs skip. Two strips from different production batches can have slightly different white points. Calibrate them together at commissioning so the wall looks uniform, not patchy.
A practical perspective on balancing budget and durability
The most expensive mistake in outdoor RGBW is spending money in the wrong order. Homeowners often invest in high-end color features and then cut corners on weatherproofing and power sizing. The result is a system that looks impressive for one season and fails by the second.
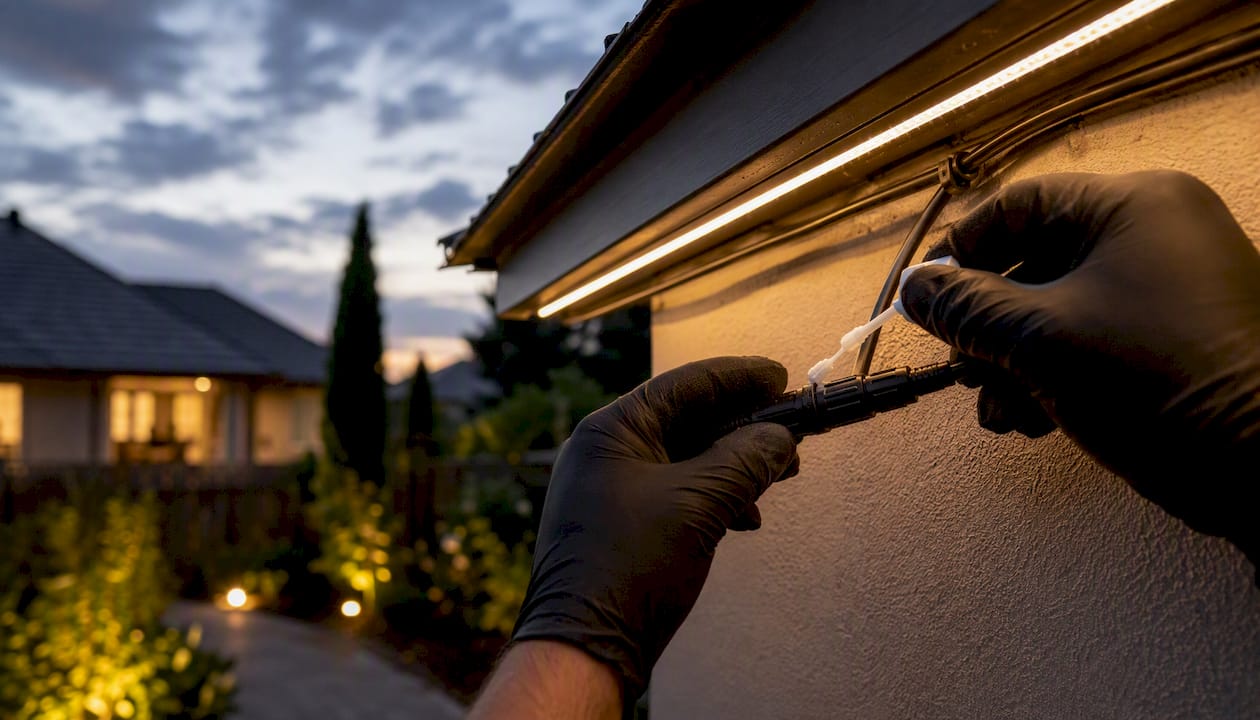
The right spending priority is weatherproofing first, then correct power sizing, then optics and color fidelity. An IP68 strip in an aluminum channel with a properly sized PSU and sealed enclosures will outlast a premium-density strip installed with undersized wire and no dielectric grease.
For temporary party lighting, a budget IP65 strip and a basic Wi-Fi controller are perfectly reasonable. For a permanent system that runs nightly in white mode and handles Charlotte summers and winters, RGBW or RGBCW with professional-grade components is the only sensible choice. The upfront cost of a professional install is higher, but the reduction in maintenance calls, seal failures, and voltage-drop callbacks makes it the lower-cost option over a five-year horizon.
Permanent RGBW outdoor lighting, professionally installed in Charlotte
Foreverglowlighting installs permanent, weatherproof LED track systems across the Charlotte area that run in warm white every night and shift to millions of colors for holidays, events, or seasonal accents, all from a smartphone. Every system is engineered for the specific run lengths, IP requirements, and voltage-drop conditions of your property, so you get consistent brightness from the first fixture to the last.

For homeowners who want RGBW done right the first time, the permanent lighting installation process starts with a site survey that covers voltage-drop calculations, IP-rating decisions, and controller placement before a single wire is pulled. GlowCare maintenance keeps seals, firmware, and connections in good shape year after year. For architectural and landscape lighting across Charlotte and the surrounding area, contact Foreverglowlighting today to schedule your free estimate.
Sources
The following resources were used to support the guidance in this article. Consult product datasheets and installation manuals for your specific components before purchasing or installing.
- Shelly Solutions RGBW2 Outdoor Lighting
- A Practical Guide to Outdoor RGB & RGBW LED Lighting
- Outdoor RGB LED Lighting Guide: Types, Benefits & How to Choose – RC Lighting
- RGB vs RGBW vs RGBCW vs RGBIC: Permanent Outdoor Lighting Ambiance