
Before you schedule a site visit, send your installer this core landscape lighting checklist: a site plan with fixture types and control zones, LED fixtures with documented lumen and Kelvin specs, a signed transformer sizing schedule, surge protection at the transformer, GFCI protection on all outdoor circuits, IP-rated weatherproof enclosures, and a written estimate that includes warranty terms and a quarterly maintenance plan. CAST Lighting’s outdoor maintenance guidance confirms that modern LED components can last significantly longer than halogen lamps, but only when connections and seals are inspected regularly. Foreverglowlighting is a useful reference point for what a complete, professional permanent LED system looks like before you compare bids.
- Require a site plan showing fixture types, control zones, and transformer location
- Specify LED fixtures with lumen, Kelvin, and CRI documentation
- Demand a signed transformer sizing schedule with circuit amp ratings and run lengths
- Insist on surge protection, weatherproof enclosures, and IP ratings for every fixture
- Confirm GFCI protection on all outdoor circuits per NEC requirements
- Request a written, itemized estimate with warranty terms and a maintenance schedule
Table of Contents
- What should you prepare before the installer arrives?
- What technical specs should your contractor sign off on?
- What energy efficiency and smart control features should you require?
- How do you get attractive, low-glare results from fixture placement?
- What does a solid inspection and maintenance schedule look like?
- How do you vet and hire a professional installer?
- What drives cost and timeline on a landscape lighting project?
- How do you plan for permanent holiday and accent lighting?
- Key Takeaways
- What most installers get wrong, and how to protect yourself
- Foreverglowlighting: permanent smart LED systems with a free estimate
- Useful references for planning and vetting installers
What should you prepare before the installer arrives?
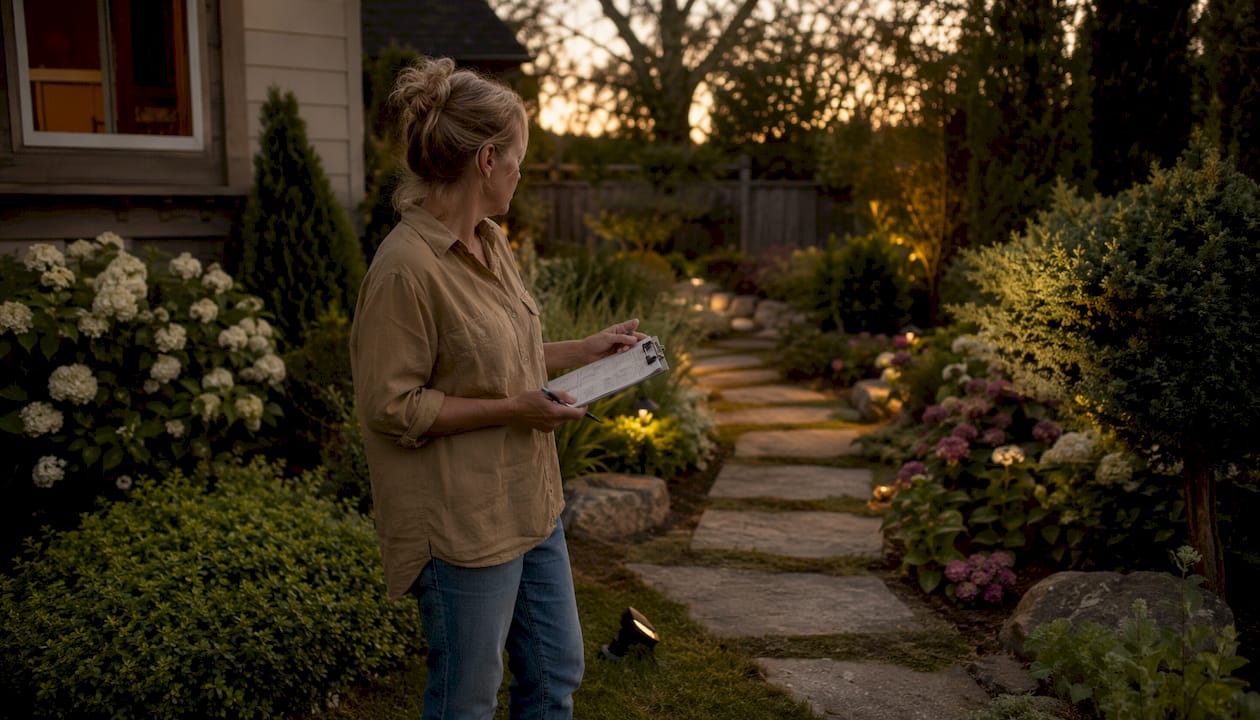
Good preparation cuts installation time and prevents costly re-work. Start by walking your property at dusk and photographing rooflines, entry points, paths, plantings, and existing power sources. Note windows and neighboring sightlines where unshielded fixtures could cause glare. A roofline map and night testing help avoid poor placement and uneven spacing before a single stake goes in the ground.
Define your goals in writing: primary uses (ambience, security, entertaining, holiday integration), preferred color temperature, and whether you want smartphone control or color-scene capability. Locate and label existing outdoor circuits, GFCI breakers, and interior panel positions. If you have landscape or irrigation plans, hand them to the installer so wire runs avoid sprinkler heads and root zones.
Pro Tip: Clear access paths before the crew arrives. Trim vegetation, mark hardscape edges, and flag sprinkler heads. Debris removal around beds and access paths prevents damage to existing wiring and speeds up the job considerably. A tidy site also helps the installer spot existing conduit or buried cable that might affect routing.

| Preparation Task | Why It Matters |
|---|---|
| Photograph property at dusk | Reveals dark zones, glare risks, and sightline issues |
| Document existing circuits and GFCI locations | Prevents overloaded breakers and code violations |
| Supply irrigation or landscape plans | Protects sprinkler heads and root zones during wire runs |
| Note HOA or permit rules | Avoids fixture style or color-change restrictions after install |
| Define lighting goals in writing | Gives the installer a clear brief and reduces change orders |
Bring any HOA rules or local permit requirements that affect fixture styles, light trespass, or color-changing capability. Ask the installer upfront who pulls the permit. That single question tells you a great deal about how they operate.
What technical specs should your contractor sign off on?
The written scope is your protection. Every item below should appear on paper before work begins.
- Transformer sizing schedule: signed document showing total circuit load in watts, amp ratings per circuit, and planned run lengths. Undersized transformers are the most common cause of premature driver failure.
- Wire gauge and routing plan: ask for maximum run length per gauge and how circuits will be balanced. Voltage-drop calculators help size conductors so distant fixtures stay as bright as those nearest the transformer. Correcting voltage drop after installation often means new trenching.
- Surge protection and weatherproofing: surge protection at the service entrance or transformer, weatherproof enclosures on all junction points, and IP ratings documented for every fixture.
- Connector sealing: require heat-shrink or gel-filled connectors at every splice. Moisture intrusion at connection points is the primary long-term failure mode for outdoor systems.
- LED and driver specs: nominal lumen output, color temperature in Kelvin, CRI, expected driver lifetime, and warranty terms for both drivers and fixtures.
- Acceptance test procedure: voltage readings at the transformer and at the furthest fixture on each circuit, confirmed beam angles, and a live run of all smart-control scenes before the crew leaves.
Pro Tip: Ask the installer to hand you the voltage readings from the acceptance test in writing. If a fixture dims or fails six months later, those baseline numbers tell you immediately whether voltage drop or a bad driver is the cause.
What energy efficiency and smart control features should you require?
Specify LED fixtures and efficient drivers from the start. Compare lumen-per-watt and CRI rather than raw wattage. A well-designed LED system delivers consistent color rendering and long driver life without the heat output that shortens fixture lifespans in halogen setups.
LED landscape lighting uses a fraction of the energy of halogen equivalents while delivering comparable or superior lumen output, making it the practical choice for permanent, always-on systems.
For smart controls, ask specifically about protocol compatibility: Zigbee, Z-Wave, Wi-Fi, or a proprietary gateway. Confirm the system supports scheduling, remote app scenes, and a local override switch for power interruptions. Photocell scheduling reduces energy use automatically as daylight changes through the seasons. Ask for documented driver and transformer efficiency ratings, and get a clear answer on how firmware updates are handled after installation.
How do you get attractive, low-glare results from fixture placement?
Layered lighting creates depth and reduces the need for high-output fixtures that cause glare. The structure is straightforward: path lights for navigation, uplights for focal trees and architectural features, downlights for entries and steps, and wall washes for facades.
- Place path lights 6–10 feet apart and confirm you cannot see the light source directly from standing height.
- Use shielded, downward-facing fixtures wherever possible. Design professionals consistently prefer soft, shielded downlighting over maximum brightness because it achieves safety and aesthetics without producing light pollution.
- Keep fixtures at least 12 inches from plant material and document expected re-aiming points as plants mature.
- Ask for beam angles and shielding notes on the site plan, and request that the installer mark viewing positions (street, driveway, patio) so beam angles are tested from real sightlines at night.
For homeowners concerned about neighbor impact, night-sky-friendly fixtures with full cutoff shielding keep light on your property and off your neighbor’s windows.
What does a solid inspection and maintenance schedule look like?
Routine maintenance is the most cost-effective long-term strategy for protecting fixtures and electrical components from moisture and corrosion. Build the following schedule into your service contract before signing.
Quarterly tasks: wipe lenses, trim vegetation blocking beam paths, inspect seals and splice boxes, test photocells and timers, and verify circuit load balance. After any severe weather, add a check for lens fogging, fixture misalignment, and connector integrity.
Seasonal focus: spring cleaning and realignment after winter, summer growth management around fixtures, fall leaf and debris clearing from transformers, and winter seal checks on connectors and enclosures. A seasonal maintenance cadence aligns tasks to environmental risk and plant growth cycles.
Annual electrical audit: at least once per year, a licensed electrician should test voltage across long runs, inspect surge protection, and confirm GFCI functionality. Start every audit at the power source: confirm breaker operation, GFCI function, and tight transformer terminal connections before touching any fixture.
Pro Tip: Keep a simple maintenance log: date, task performed, any voltage readings, and parts replaced. That record protects your warranty and gives a new technician an instant picture of the system’s history.
How do you vet and hire a professional installer?
Ask every candidate for license and insurance documentation, NEC familiarity, and references with before-and-after photos of permanent, smart LED installs similar to yours. Professional installation ensures clean trenching, proper wire protection, and weather-sealed connections that hold up over years, not months.
On-site questions to ask:
- How do you size the transformer and plan for voltage drop on long runs?
- Which fixture and driver brands do you specify, and why?
- How do you seal splices, and what connector type do you use?
- What does your written acceptance test include?
Contract red flags: vague scopes with no fixture or wiring specs, no voltage or load documentation, no warranty on drivers, and refusal to provide a written maintenance plan. Request a line-by-line estimate that separates fixtures, wiring, transformer, controls, and labor. A contractor who resists itemizing is a contractor who expects to adjust the price later.
What drives cost and timeline on a landscape lighting project?
| Cost or Timeline Factor | What to Ask the Installer |
|---|---|
| Fixture quality and driver specs | Request brand names and warranty periods |
| Number of control zones | Ask for a zone map and per-zone circuit load |
| Trenching and conduit work | Get a separate line item for underground work |
| Transformer capacity | Confirm sizing allows for future fixture additions |
| Smart-control gateway | Ask whether the gateway is proprietary or open-protocol |
| Permitting | Confirm who pulls the permit and the expected lead time |
| Specialty fixtures or color components | Ask for lead times and whether they affect the start date |
Ask for a phased timeline with milestones: site prep, wiring and conduit, fixture installation, programming, and acceptance testing. Request cost allowances in the estimate for variables that may change, such as additional trenching, rock removal, or unexpected conduit repairs. A contractor who builds allowances into the estimate is being honest about uncertainty.
How do you plan for permanent holiday and accent lighting?
Permanent holiday integration requires modest additional planning at the design stage. Specify separate control zones for color-capable fixtures so everyday landscape scenes and seasonal color-changing looks operate independently. Adding color-changing modules only where needed keeps baseline costs lower than specifying color capability across the entire system.
Confirm that fixture finishes and attachment methods can handle frequent color-scene changes and any seasonal hardware mounting. Ask about year-round permanent lighting uses and whether the installer will program scene presets and walk you through app controls before the job closes out.
Key Takeaways
A permanent, smart LED landscape lighting system delivers reliable performance only when transformer sizing, voltage-drop planning, surge protection, and a quarterly maintenance schedule are documented in writing before installation begins.
| Point | Details |
|---|---|
| Start with a written scope | Require a signed transformer schedule, wire gauge plan, and itemized estimate before work begins. |
| LED lifespan depends on maintenance | LEDs last significantly longer than halogen lamps, but only with regular seal and connection inspections. |
| Voltage drop must be solved at design | Correcting it after installation typically requires new trenching or additional transformers. |
| Quarterly inspections protect your investment | Schedule post-storm checks and seasonal tasks; include an annual electrical audit by a licensed electrician. |
| Foreverglowlighting delivers turnkey systems | Foreverglowlighting installs permanent smart LED landscape and roofline systems with written estimates, warranties, and maintenance plans. |
What most installers get wrong, and how to protect yourself
The most common install mistakes are not exotic. Undersized transformers, ignored voltage-drop planning, poorly sealed splices, and over-bright unshielded fixtures account for the majority of callbacks and early failures. What makes them frustrating is that every one of them is preventable at the design stage.
A documented load calculation takes thirty minutes and prevents years of dim fixtures and premature driver replacements. Heat-shrink or gel-filled connectors at every splice cost almost nothing compared to the labor of re-pulling wire after moisture destroys a connection. Surge protection at the transformer is a one-time cost that protects every driver and LED module downstream. And testing beam angles from the street and driveway at night, before the crew packs up, catches glare problems that look obvious in the dark but invisible on a daytime site plan.
The checklist in this article exists because these mistakes are predictable. A contractor who pushes back on any item in the written scope is telling you something worth hearing before you sign.
Foreverglowlighting: permanent smart LED systems with a free estimate
Foreverglowlighting installs permanent smart LED roofline and landscape systems across the Charlotte area, with smartphone control over millions of colors, written service agreements, and free estimates. The difference from a standard lighting contractor is the level of documentation: every project includes itemized fixture and wiring specs, a signed transformer sizing schedule, warranty terms on drivers and fixtures, and a maintenance plan you can hold them to.

To get started, send Foreverglowlighting your property photos and the BLUF checklist from the top of this article. Request a site visit, ask to see sample scene presets, and confirm the estimate includes a phased timeline with an acceptance test. Whether you want landscape lighting in Charlotte or a full permanent lighting system with holiday integration, the process starts with a free estimate and a conversation about what your property actually needs.
Useful references for planning and vetting installers
- CAST Lighting outdoor maintenance guidance: quarterly inspection benchmarks and LED lifespan data
- FXL voltage-drop calculator: conductor sizing tool installers should use during design
- Industrial Monitor Direct connector sealing guide: dielectric grease and heat-shrink connector guidance
- Golden Lighting seasonal maintenance schedule: seasonal task cadence and electrical audit procedures
- Lighting Warehouse layered lighting guidance: shielding, beam angle, and layering principles
- Review manufacturer IP ratings and driver warranty documents before signing any installation contract; ask your installer to supply these in writing as part of the project scope.