
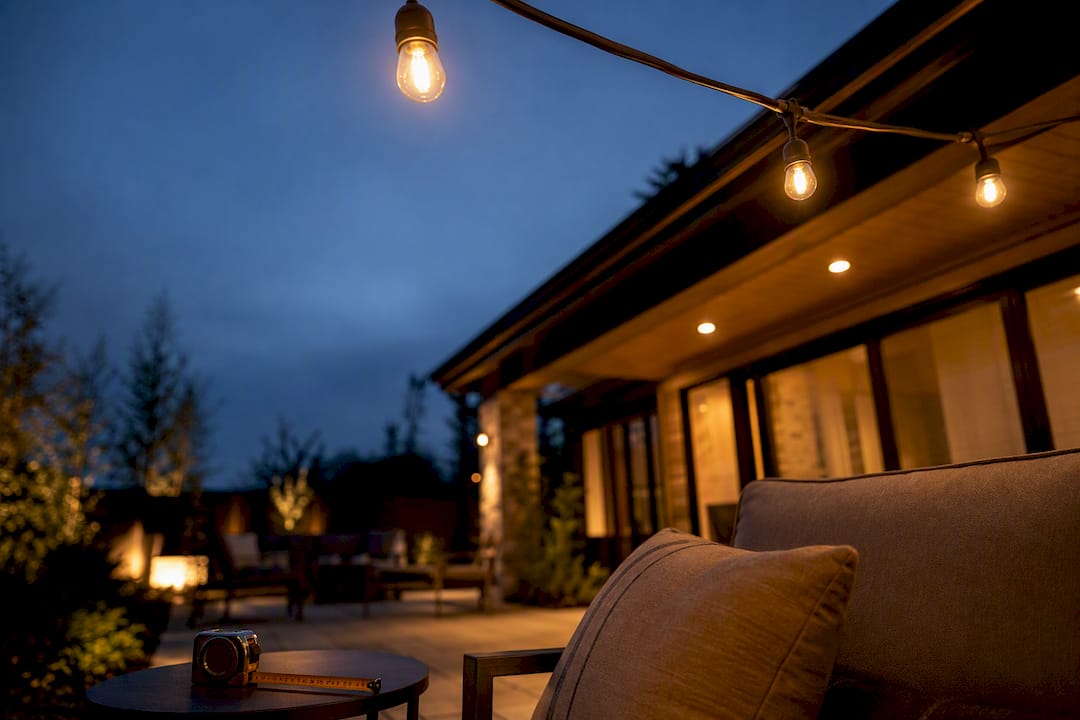
The ideal height for most patio string lights is 8 to 10 feet above ground, high enough to clear heads and furniture but low enough to still feel warm and intimate. Walkways need at least 7 feet of clearance, and anything crossing a driveway or vehicle path should follow the electrical code minimum of 18 feet. Local code and manufacturer specs can override these defaults, so always check both before you drill a single hole.
TL;DR:
- Support support spacing of 15 to 20 feet and add 10 to 15% extra length to account for sag and connection slack.
- Keep support heights at 8 to 10 feet for seating and dining areas, and at least 7 feet for walkways, with 18 feet minimum over driveways.
- Vary support heights by 6 to 12 inches between runs to create depth and avoid uniform, flat lines in the visual layout.
- Use appropriate hardware and secure anchor points—such as lag hooks into studs or trees with protective straps—and avoid mounting into siding or stucco alone.
- For permanent setups, hire licensed professionals to ensure code compliance, proper load calculation, and reliable, weatherproof installation.
Table of Contents
- What Height Should Patio String Lights Be at a Glance?
- How Do You Choose the Right Height for Each Area of Your Yard?
- Do String Lights Need to Be at the Same Height Everywhere?
- What’s the Best Way to Mount Patio String Lights Safely?
- How Deep Should String Light Post Footings Be?
- What Electrical Codes Apply to Outdoor String Lights?
- How Do You Calculate Spacing and Sag for String Lights?
- What Tools and Steps Do You Need to Hang Patio String Lights?
- When Does a Permanent, Professionally Installed System Make More Sense?
- How Forever Glow Lighting Can Help With Your Outdoor Lighting
- Sources
What Height Should Patio String Lights Be at a Glance?
Most homeowners overthink this. The ideal height for string lights comes down to what happens underneath them, not personal preference. A dining table needs different clearance than a side path, and a driveway crossing needs a completely different standard governed by code, not taste.
Here’s how the height recommendations break down by area:
- Seating and dining areas: 8 to 10 feet keeps lights out of reach while still casting warm, close light on the table.
- Walkways and side paths: maintain a minimum of 7 feet so nobody clips a string light with a raised umbrella or a tall hat.
- Driveways or any vehicle crossing: 18 feet minimum, following NEC 225-18 guidance for suspended wiring over vehicular areas.
- Go higher than 10 feet if you’re running larger Edison bulbs, expect heavy foot traffic, or want a more ambient, string-of-stars look rather than café intimacy.
Bulb size matters more than people expect. A strand of oversized G50 globe bulbs sags more and swings more in wind than a thin fairy-light strand, so give heavier bulbs a few extra inches of clearance.
How Do You Choose the Right Height for Each Area of Your Yard?
Not every part of your patio needs the same height, and treating the whole yard as one uniform lighting zone is the most common mistake DIYers make. Break your space into functional zones first, then assign a height range to each one.
- Dining and lounge zones: 8 to 9 feet feels intimate without forcing anyone to duck.
- Open patio or gathering areas: 9 to 10 feet reads as ambient overhead light rather than a single fixture.
- Transitional paths between zones: stay at or above 7 feet, and pair the string lights with low-level path lighting so people aren’t relying on overhead light alone to see their footing.
- Pergolas or covered structures: hang closer to the structure itself, usually 8 feet or less, since the built-in frame already limits swing and sag.
The trade-off is simple: lower heights create a cozier, more dramatic feel but leave less room for error with tall guests or wind gusts. Higher heights are safer and more forgiving but start to feel more like general illumination than mood lighting. For a mixed-use backyard, a decent rule of thumb is to keep the height consistent within each zone, then let the transition between zones do the visual work rather than trying to average one height across the whole space.
Do String Lights Need to Be at the Same Height Everywhere?
No, and flat, uniform lines are actually one of the more common visual mistakes on backyard installs. Varying adjacent runs by 6 to 12 inches creates depth and shadow instead of one flat plane of light, which reads as far more intentional once the sun goes down.
- Alternate rows: run one strand at 8 feet and the next at 9 feet for gentle layering.
- Add sag deliberately: a slight catenary curve, roughly 6 to 12 inches of dip between supports, looks far more natural than a taut, straight line.
- Try a crisscross or fan pattern: crossing runs from multiple anchor points fills more sky and works well over larger, open patios.
- Keep sag above head height: even with intentional dip, the lowest point of the curve should never fall below your 7 foot walkway minimum or 8 foot seating minimum.
Pro Tip: Hang one test run first and stand under it at the lowest sag point before installing the rest. It’s much easier to adjust one string than to redo six.
What’s the Best Way to Mount Patio String Lights Safely?
The anchor points matter as much as the height itself, since a weak mounting point defeats even a perfectly measured layout. Here’s how to think through hardware by surface type:
- House anchors: use lag-screwed eye hooks driven into a stud or fascia board, never just into vinyl siding or stucco alone. Calculate load by adding up bulb weight plus wind resistance across the whole run, and oversize the hook rather than undersize it.
- Trees: wrap a rubber or nylon protective strap around the trunk before attaching a hook or cable, which prevents bark damage and lets the tree keep growing without girdling itself.
- Deck railings: vertical posts with eye bolts work well here, but confirm the railing itself is structurally solid before hanging any real load off it.
- Long spans or open lawns: run a tension wire between two solid anchor points, using turnbuckles to fine-tune tautness, then clip the string lights to the wire rather than letting the lights themselves bear the structural load.
- Short, low-stakes runs: simple rope or zip ties can work for lightweight, seasonal strands, but they’re not a substitute for tension wire on anything spanning more than 20 feet.
Match the fastener to the material: stainless lag screws for wood, masonry anchors for brick or stucco, and stainless hardware anywhere near a pool or sprinkler zone to resist corrosion.
How Deep Should String Light Post Footings Be?
Permanent posts need real footings, not a hole and a prayer. For posts in the 8 to 15 foot range, plan to sink 24 to 36 inches of the post below grade, roughly a quarter to a third of its total length, to resist the lateral pull that comes from tensioned string light runs.
- Pole height: 8 to 10 feet finished height suits most residential patios; go taller only if you’re spanning a large open yard.
- Footing depth: 24 to 30 inches is the common guideline for typical residential setups, with 24 to 48 hours of concrete curing time before you tension any wire.
- Material choice: pressure-treated 4×4 lumber is affordable and easy to work with, while galvanized steel resists rot and holds up better in wet or coastal climates.
- Corrosion protection: seal the base of wood posts where they meet concrete, and use galvanized or stainless hardware throughout to avoid rust streaks down the line.
Rushing the concrete cure is the single most common failure point. A post that gets tensioned too early can lean within a season.
What Electrical Codes Apply to Outdoor String Lights?
This is where DIY enthusiasm needs to meet code reality. NEC 225-18 sets a 10 foot minimum height above finished grade for pedestrian areas and 18 feet for anywhere vehicles pass underneath, and manufacturer installation guides echo those same numbers as hard minimums, not suggestions.
Most residential dining and lounge setups sit comfortably at 8 to 10 feet, which satisfies both the aesthetic goal and, in many jurisdictions, the pedestrian code threshold. Anything crossing a driveway needs the full 18 foot clearance regardless of how it looks.
- GFCI protection is widely recommended for outdoor circuits, though some manufacturer guidance notes that strings mounted above certain heights may not strictly require it at the fixture, since nuisance tripping can become its own headache on long runs.
- Circuit load adds up fast with multiple strands; know your outlet’s amperage before daisy-chaining several runs together.
- Split long runs across separate circuits rather than overloading one outlet with everything you own.
- Hire a licensed electrician for any permanent, hardwired, or concealed wiring work. Permits and inspections exist for a reason, and a failed inspection costs more than the professional visit would have.
Two-thirds of the height minimums that matter here (10 feet pedestrian, 18 feet vehicular) come straight from NEC 225-18, not from personal preference or Pinterest boards.
How Do You Calculate Spacing and Sag for String Lights?
Getting spacing right prevents the two most common complaints: lights that sag too low or lights pulled so tight they look stiff and unnatural.
- Set support spacing between 15 and 25 feet, with 18 to 20 feet being the sweet spot most installers land on for a balanced curve. Closer spacing (around 15 feet) gives a tighter, more formal line, while wider spacing (up to 25 feet) produces a relaxed, deeper swag.
- Add 10 to 15% extra strand length beyond the straight-line distance between supports to account for sag and connection slack at each end.
- Choose wire gauge based on run length: 16 AWG works for most standard runs, but switch to 14 AWG on longer spans to reduce voltage drop and keep bulbs at full brightness end to end.
Wider spacing looks more relaxed but puts more strain on your anchor points, so don’t push past 25 feet unless your hardware is rated for it.
What Tools and Steps Do You Need to Hang Patio String Lights?
Before you climb anything, gather the right gear. You’ll want a stud finder, a tape measure, a ladder rated for outdoor use, eye hooks or S-hooks sized to your strand weight, a tension wire kit if you’re spanning open space, and a simple outlet tester to confirm your power source before you commit to a layout.
- Map your zones first. Decide where seating, walkways, and any vehicle crossings fall, then assign a height to each per the guidance above.
- Test the circuit with an outlet tester before running any wire, confirming GFCI protection where required.
- Install anchors at both ends of each run, using the hardware matched to your mounting surface.
- Hang and tension the strand, checking sag at the lowest point against your minimum clearance.
- Weatherproof connections with rated outdoor connectors or dielectric grease at every plug joint.
- Test the full run at night before calling the job done, and photograph the layout for reference if you ever need to replace a section.
Pro Tip: Walk the entire run at night with the lights on before you tighten the final connections. Sag and glare both look different in daylight than after dark, and it’s much easier to fix now than after everything’s locked down.
Common mistakes: forgetting to account for sag when measuring strand length, mounting into siding instead of a stud, and skipping the outlet test until after everything is hung.
When Does a Permanent, Professionally Installed System Make More Sense?
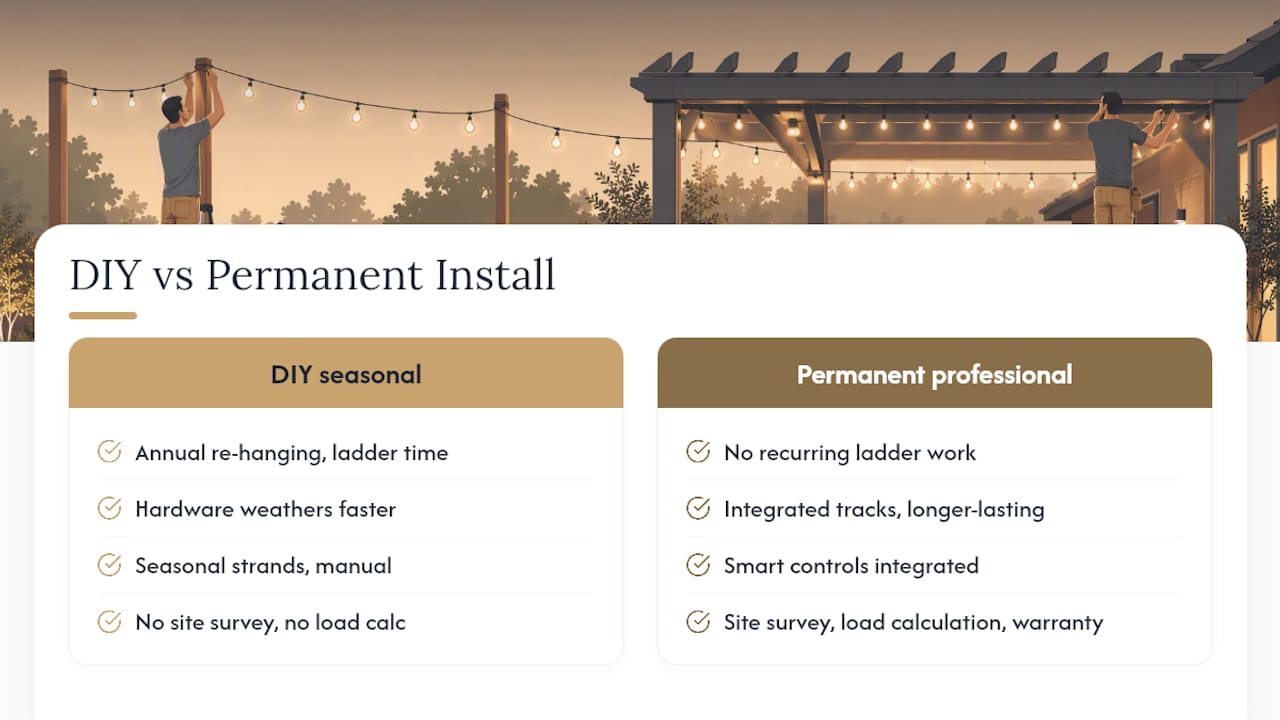
DIY string lights work well for seasonal setups, but they come with real trade-offs: annual re-hanging, ladder time, and hardware that weathers faster than most homeowners expect. A permanent LED installation removes that cycle entirely, using integrated tracks and smart controls instead of seasonal strands.
A solid professional proposal should always include a site survey, a load calculation for your specific fixtures, and a written warranty on both materials and labor. HOA compliance also matters more than most DIYers realize. A permanent system designed around your roofline and existing architecture tends to pass HOA review far more smoothly than temporary strands strung season after season, and it eliminates the recurring ladder work altogether.
— Dave
How Forever Glow Lighting Can Help With Your Outdoor Lighting
If you’d rather skip the ladder, the code lookups, and the annual re-hang, Professional installers provide permanent, code-aware lighting systems designed around the exact heights and clearances your patio needs. Every installation typically starts with an on-site estimate that assesses mounting heights, anchor points, and the home’s existing electrical capacity before any hardware goes up.

That consult covers the same variables this guide walks through, seating clearance, walkway minimums, and vehicular code requirements, but with a licensed team handling the load calculations and the permit questions for you. For patios that call for that warm bistro look without the yearly hassle, our bistro string lighting installs blend directly into your home’s rooflines and control from your phone. See exactly what an install involves on our installation process page, and request your free estimate to get a height and layout plan built specifically for your yard.