

Outdoor motion sensors detect movement around a property to provide early warning, trigger lighting or automation, and deter intruders before they reach a door or window. The most common technology is passive infrared (PIR), which reads heat signatures rather than emitting any signal, though microwave and dual-technology sensors also play a significant role in residential and commercial settings. The right sensor, properly placed and rated to at least IP65 for wet climates, delivers three immediate benefits: security deterrence, on-demand energy savings, and hands-free convenience.
Three things to know before reading further:
- Best first upgrade: Motion-activated lighting is typically the most cost-effective security addition a homeowner can make, requiring no subscription and providing immediate deterrence.
- Where to start on a property: Prioritize driveway approaches and side-yard perimeter paths before entry points. Detection at the boundary gives you more time to respond.
- When to hire a pro: Any installation involving permanent wiring, smart-hub integration, or multi-zone coverage benefits from professional design to avoid false triggers and preserve curb appeal.
Table of Contents
- How do outdoor motion sensors work, and what role do they play?
- What are the main outdoor motion-sensing technologies?
- What can outdoor motion sensors do for your home?
- How do outdoor sensors differ from indoor models?
- Where and how should you place outdoor motion sensors?
- Which specs matter when choosing an outdoor motion sensor?
- How do you maintain and troubleshoot outdoor motion sensors?
- Expert design note: why perimeter placement outperforms entry-point-only coverage
- Key Takeaways
- The case for getting sensor placement right the first time
- Permanent lighting with motion detection, done right in Charlotte
How do outdoor motion sensors work, and what role do they play?
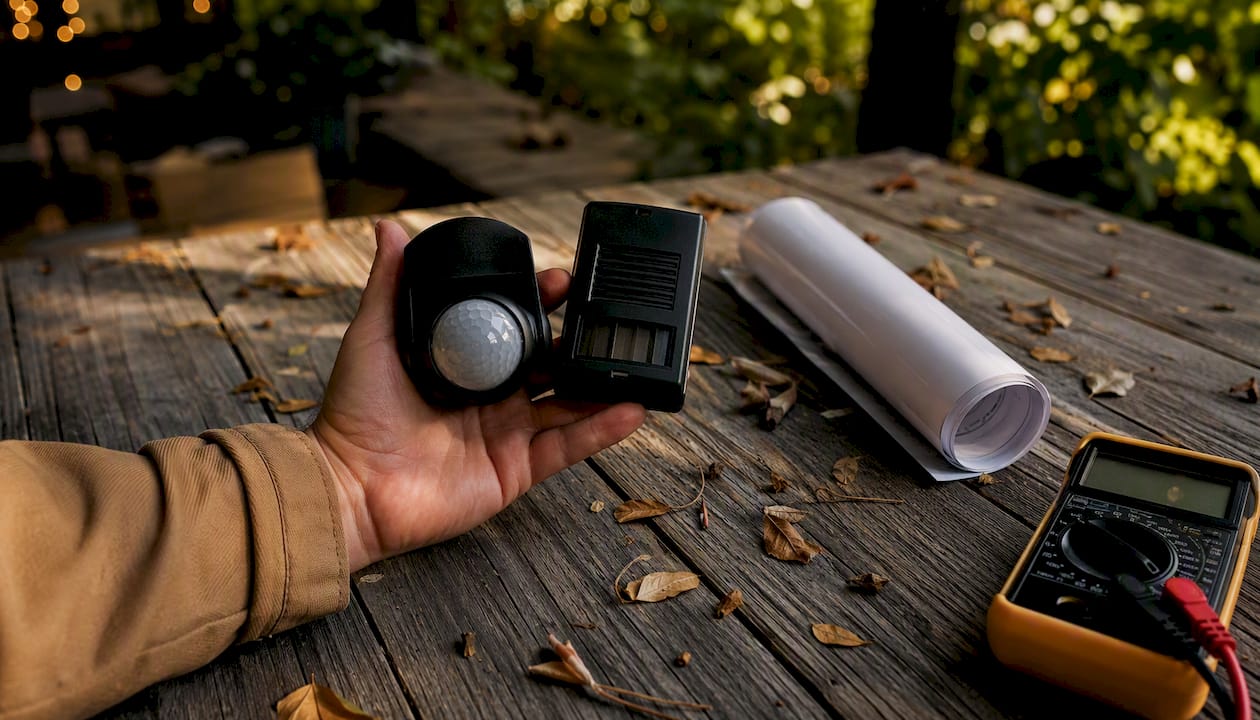
Motion sensors fall into two broad categories: passive and active. Passive infrared (PIR) sensors detect changes in heat energy within their field of view. When a warm body crosses the detection zone, the sensor registers the thermal contrast and sends a signal. No energy is emitted outward, which keeps power draw low and cost minimal. Active sensors, by contrast, emit energy and measure what bounces back. Microwave sensors broadcast radio waves and use the Doppler effect to detect movement; ultrasonic sensors do the same with sound waves.
The signal flow is straightforward once a sensor triggers: the sensor sends a relay signal to a controller, smart hub, or directly to a fixture. That controller then activates a light, sounds an alarm, starts a camera recording, or pushes a notification to a smartphone. The whole sequence typically takes less than a second.
The strategic value of outdoor sensors is not just detection — it is timing. Placing sensors at property boundaries and approach paths shifts detection earlier in an intrusion scenario, giving homeowners and security systems time to respond before anyone reaches a door. Endpoint-only placement (a sensor at the front door alone) leaves the approach path dark and unmonitored.
The early-warning role is what separates a well-designed outdoor sensor system from a reactive one. A sensor at the driveway entrance that triggers soft accent lighting along the path does two things at once: it signals to anyone approaching that the property is monitored, and it gives the homeowner a heads-up before a visitor or intruder reaches the house.
A simple detection chain looks like this:
- Perimeter sensor detects movement at the driveway or side yard
- Signal travels to a smart hub or direct relay
- Landscape accent lights activate along the approach path
- Camera begins recording; smartphone receives a notification
- Entry-point floodlight activates only if movement continues toward the door
What are the main outdoor motion-sensing technologies?
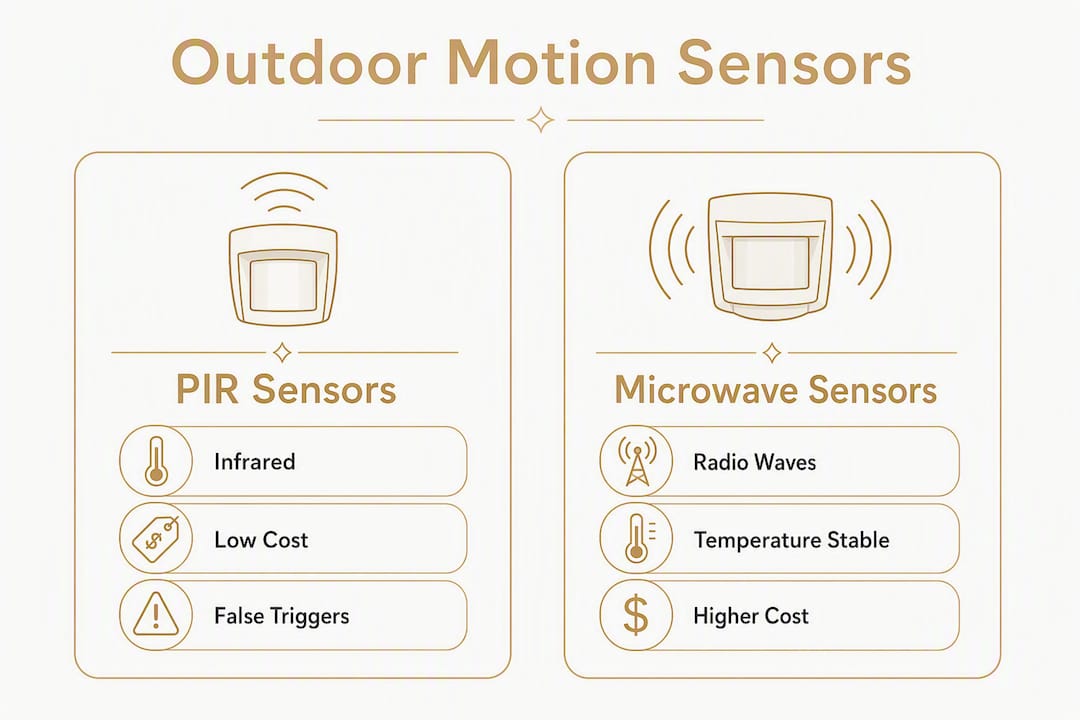
Not every sensor suits every outdoor situation. The technology behind a unit determines how it handles temperature swings, vegetation, animals, and large open areas.
| Technology | How it works | Best for | Key trade-off |
|---|---|---|---|
| PIR | Detects infrared heat changes | Residential yards, walkways, entry points | Struggles in extreme heat; best at lateral crossing |
| Microwave | Emits radio waves, measures Doppler shift | Large commercial areas, garages | Can detect through walls; higher false-positive risk |
| Ultrasonic | Emits sound waves, measures reflection | Enclosed or covered spaces | Sensitive to air movement; less common outdoors |
| Dual-technology (PIR + microwave) | Both sensors must agree before triggering | High-nuisance environments, open yards | Higher cost; significantly fewer false alarms |
| LiDAR / optical | Uses laser pulses to map distance changes | Commercial perimeters, precision zones | High cost; typically professional-grade only |
PIR sensors dominate residential outdoor lighting because they balance cost, low power draw, and acceptable false-trigger performance for typical yards. PIR units commonly cost $15–30 and cover typical residential distances up to roughly 40 feet, though performance varies by temperature and installation.
Dual-technology sensors (PIR + microwave) cost more—often in the $40–80 range—but the requirement that both detectors agree before triggering makes them the right choice for large open areas or properties near busy roads where nuisance trips are frequent. If a yard has heavy wildlife traffic or sits adjacent to a parking lot, dual-tech is worth the premium.
Microwave sensors perform consistently across temperature ranges, which gives them an edge in climates with wide seasonal swings. The downside is their tendency to detect movement beyond the intended zone, including through fences or walls, which can generate false alarms from neighboring activity.
What can outdoor motion sensors do for your home?
The benefits of motion sensors outdoors extend well beyond simple security. When integrated with a permanent lighting system, they become a practical automation layer that works every night without any manual input.
Core benefits:
- Deterrence and early warning: Lighting that activates on approach signals that a property is monitored. Most opportunistic intruders avoid well-lit, active environments.
- Energy savings: Motion-activated outdoor lighting can significantly reduce runtime compared to always-on fixtures. Pairing sensors with LED bulbs can lead to notable savings per light per year versus older always-on incandescent setups.
- Occupant safety: Paths, stairs, and driveways that illuminate automatically reduce trip hazards at night without requiring anyone to find a switch.
- Task lighting convenience: Sensors at garage entries, side doors, and trash areas activate light exactly when it is needed, then turn off automatically.
Practical use cases:
- A driveway sensor triggers warm-toned landscape accent lights along the approach path, welcoming guests while alerting the homeowner.
- A side-yard perimeter sensor activates a camera and sends a smartphone notification when movement is detected after dark.
- Patio accent lights triggered by a sensor near the gate create a welcoming atmosphere for arriving guests without leaving lights on all evening.
- A sensor paired with architectural accent lighting along the roofline provides consistent visibility across the front facade without the harshness of a single floodlight.
Motion sensor lighting is also one of the most cost-effective first security upgrades available. Unlike cameras, sensors require no subscription and provide immediate deterrence without relying on footage review after the fact. Sensors do not record or identify anyone, which is why pairing them with cameras gives homeowners both immediate deterrence through lighting and documentation through video.
How do outdoor sensors differ from indoor models?
Outdoor sensors face conditions that would disable or overwhelm a standard indoor unit within weeks. The differences matter when selecting a product and when deciding where to mount it.
Weatherproofing and temperature compensation
An IP65 rating is the practical minimum for most U.S. climates. IP65 means the unit is fully dust-tight and protected against water jets from any direction. Wet coastal regions or areas with heavy seasonal rain warrant IP66 or higher. Temperature compensation is equally important: PIR sensors can generate false triggers when ambient air temperature approaches body temperature (around 98°F), because the thermal contrast the sensor relies on disappears. Quality outdoor PIR units include temperature compensation circuitry to account for this.
Common outdoor false-trigger sources:
- Swaying tree branches and tall grass moving in wind
- Vehicle headlights sweeping across the detection zone
- Wildlife, including deer, raccoons, and neighborhood cats
- Reflected heat from pavement or metal surfaces on hot days
- Neighboring movement detected by microwave sensors through fences
Mitigation strategies include masking the sensor’s lens to exclude known problem zones, reducing sensitivity settings, and zoning coverage so that low-traffic areas use a higher trigger threshold. Strategic placement that keeps the detection zone away from vegetation and road-facing angles eliminates most nuisance trips before they start.
Where and how should you place outdoor motion sensors?
The single most important placement rule: cover perimeter paths and approach routes first, then entry points. A sensor that detects movement at the driveway entrance gives you more response time than one mounted directly above the front door.
Installation checklist:
- Mounting height: Install sensors at a suitable height above grade that maximizes lateral cross-detection (the movement pattern PIR sensors read best) and keeps the unit out of easy reach to prevent tampering.
- Tilt angle: Aim the sensor downward at a moderate angle to cover walkways and reduce triggers from ground-level heat sources or small animals.
- Avoid direct sun exposure: Mounting a sensor where it faces west or southwest can cause false triggers from solar heat in the late afternoon. A shaded north or east-facing position is preferable where coverage allows.
- Distance from heat sources: Keep sensors at a reasonable distance from HVAC vents, grills, or dryer exhausts to prevent thermal interference and false triggers.
- Mask blind spots intentionally: Use the sensor’s built-in masking tape or adjustable lens shields to block zones that face roads, neighboring yards, or dense vegetation.
- Test before finalizing: Walk the detection zone at the expected approach angle after mounting. Adjust tilt and sensitivity before securing all wiring.
Proper height and angle increase lateral cross-detection and limit triggers from small pets or ground-level heat sources — two of the most common complaints from homeowners who install sensors without guidance.
DIY vs. professional installation
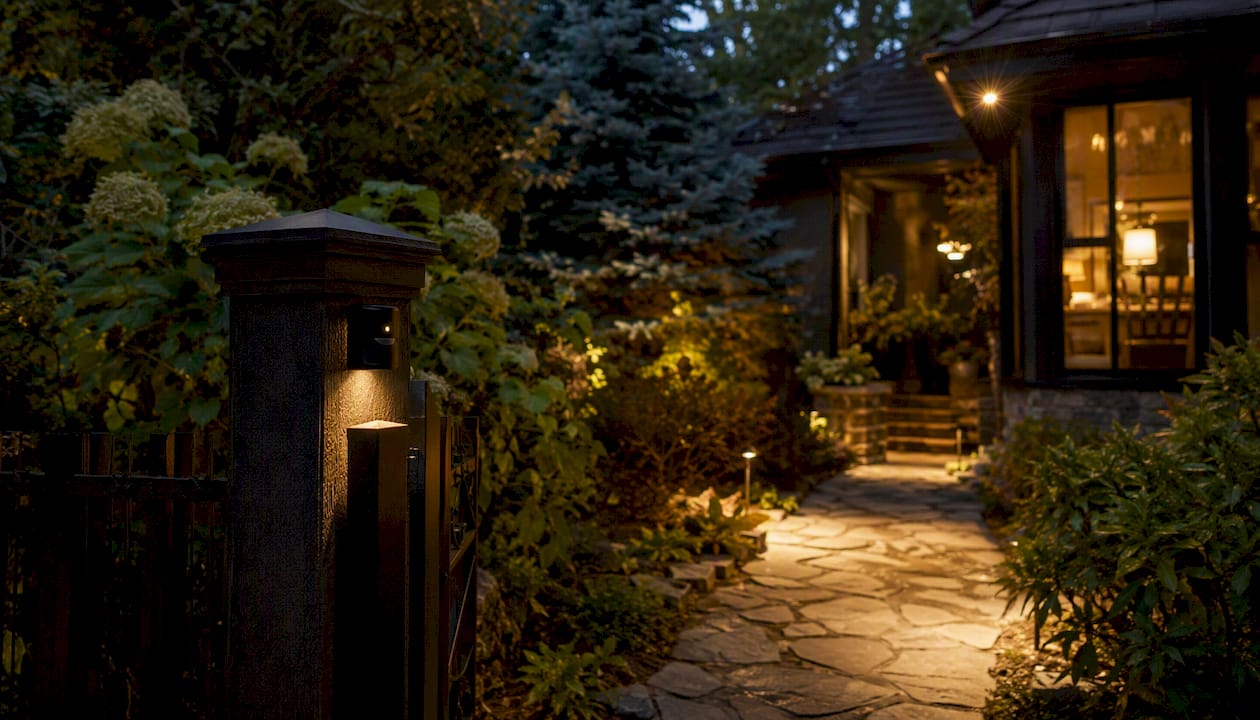
A basic plug-in or surface-mount PIR fixture is a straightforward DIY project for most homeowners and can be completed relatively quickly per fixture. Hardwired installations require working with your home’s electrical system, which carries safety risks and may require a permit depending on your municipality. Multi-zone systems with smart-hub integration, camera coordination, and permanent wiring are best handled by a professional installer. The permanent lighting installation process involves a site survey, zone mapping, and coordinated wiring that ensures every sensor covers its intended area without overlap or gaps.
If you are unsure whether a project is within DIY scope, the challenges of DIY home improvement apply to sensor installation too: mistakes in wiring or placement are harder to fix after the fact than getting the design right the first time.
Which specs matter when choosing an outdoor motion sensor?
Buying the wrong sensor for a specific location is the most common homeowner mistake. A unit rated for a 30-foot corridor will not reliably cover a 60-foot driveway, and a sensor without lux adjustment will trigger in daylight.
Minimum specs by scenario:
- Front door / entry point: 180-degree field of view, 20–30 foot range, IP65 rating, adjustable lux threshold
- Driveway approach: 40–70 foot range, narrow beam angle (90–120 degrees) to focus on the lane, dual-tech recommended if near a road
- Wide open yard or perimeter: Dual-technology PIR + microwave, 70+ foot range, adjustable sensitivity zones
Key specs to check before purchasing:
- Detection range: Match the spec to the actual distance you need to cover, with a 20% buffer for real-world conditions.
- Field of view (FOV): Wide-angle (180–360 degrees) for open areas; narrower for corridors and driveways.
- IP rating: IP65 minimum for most U.S. climates; IP66 for coastal or high-rain regions.
- Lux threshold: Adjustable day/night sensitivity prevents daytime false triggers.
- Timer duration: Adjustable from 10 seconds to 10+ minutes depending on the application.
- Smart connectivity: Wi-Fi or Z-Wave integration for smartphone alerts and hub control.
Quality sensors allow adjustment of sensitivity, duration, and lux threshold, which reduces false triggers and extends lamp life. A basic PIR unit without these adjustments will frustrate most homeowners within the first season.
Price and lifespan guidance:
- Simple PIR fixtures: $15–$30, lifespan of 5–10 years with basic maintenance
- Smart Wi-Fi PIR sensors: $30–$60, with app control and scheduling
- Dual-technology units: $40–$80, recommended for high-nuisance environments
- Professional-grade systems with zoned control: priced per project, typically as part of a permanent lighting installation
Smart outdoor lighting integration adds scheduling, remote override, and scene control that consumer-grade fixtures cannot match.
How do you maintain and troubleshoot outdoor motion sensors?
A sensor that worked perfectly at installation can drift over time. Lens contamination, seasonal temperature shifts, and vegetation growth are the most common culprits.
Routine maintenance checklist:
- Clean the lens: Wipe the PIR lens with a soft, dry cloth every 3 months. Dust, spider webs, and water spots reduce sensitivity and cause missed detections.
- Check seals and gaskets: Inspect IP-rated gaskets annually, especially after winter. A cracked seal allows moisture into the housing and causes intermittent failures.
- Verify timer and lux settings after seasonal changes: Longer summer days mean the lux threshold may need adjustment so the sensor does not activate in late-afternoon light.
- Clear vegetation: Trim any branches or shrubs that have grown into the detection zone since installation.
- Test the detection zone: Walk the perimeter every 6 months to confirm coverage has not shifted due to mounting loosening or bracket movement.
Troubleshooting common problems:
- Persistent false triggers: Check for nearby heat sources, reduce sensitivity, and mask the zone facing the road or vegetation.
- Missed detections: Clean the lens, verify the mounting angle has not shifted, and confirm the lux threshold is set for nighttime activation.
- Intermittent power or connectivity: Inspect wiring connections for corrosion, especially at outdoor junction boxes. For smart sensors, check Wi-Fi signal strength at the mounting location.
Pro Tip: At the start of each fall, lower the sensor’s sensitivity by one setting. Animals are more active in cooler weather and generate stronger thermal contrast against the cooling air, which increases false triggers. Restoring sensitivity in spring takes less than a minute and prevents months of nuisance activations.
Expert design note: why perimeter placement outperforms entry-point-only coverage
Placing sensors at property boundaries and approach paths is more effective than mounting them only at doors and windows. Entry-point sensors detect an intruder who has already crossed the yard. Perimeter sensors detect the same person at the driveway entrance or side-yard gate, giving the homeowner 15–30 additional seconds to respond and giving the intruder a clear signal that the property is monitored.
Two scenarios illustrate this clearly. In the first, a driveway approach sensor activates warm-toned landscape accent lights along the path when a vehicle pulls in. The lighting is welcoming, not alarming, and the homeowner receives a smartphone notification before the car reaches the garage. In the second scenario, a sensor mounted directly above the front door activates a 1,500-lumen floodlight only when someone is already standing at the threshold — too late for a comfortable response and harsh enough to annoy neighbors.
Professional installers coordinate perimeter sensors with cameras and smart hubs so that detection at the boundary triggers a graduated response: soft accent lighting first, camera activation second, and a full notification third. This zoned approach avoids nuisance activation while preserving the property’s visual character after dark.
Pro Tip: When coordinating sensors with a smart hub, set a 3–5 second delay between the perimeter sensor trigger and any audible alert. This window filters out brief passes (a car on the street, a neighbor’s dog) and reserves the alert for sustained movement toward the property.
Key Takeaways
Outdoor motion sensors work best when placed at property boundaries and approach paths, paired with the right detection technology, and maintained seasonally to stay reliable.
| Point | Details |
|---|---|
| Early warning over endpoint coverage | Place sensors at driveway entrances and perimeter paths, not just at doors, for maximum response time. |
| Match technology to the site | PIR suits most residential yards ($15–$30); dual-tech (PIR + microwave, $40–$80) is better for open or high-nuisance areas. |
| Check these specs before buying | Confirm IP65+ rating, adjustable lux threshold, detection range, and field of view for your specific location. |
| Maintain sensors seasonally | Clean lenses, inspect gaskets, and adjust sensitivity settings at the start of each fall and spring. |
| Foreverglowlighting integrates sensors professionally | Foreverglowlighting designs permanent lighting systems in Charlotte that coordinate motion detection, smart control, and GlowCare maintenance in one installation. |
The case for getting sensor placement right the first time
Most homeowners underestimate how much placement matters relative to the sensor itself. A $25 PIR unit mounted at the right height, aimed at the right angle, and masked to exclude the neighbor’s driveway will outperform a $70 smart sensor bolted to a wall without any thought given to the detection zone.
The industry tends to focus on product specs because specs are easy to compare. What does not show up in a spec sheet is the design decision: where does detection need to happen on this specific property, at what time of night, and in response to what kind of movement? Those questions require a site survey, not a product page.
There is also a real aesthetic argument for getting this right. A sensor that triggers a blinding floodlight every time a car passes on the street is not a security asset — it trains everyone around the property to ignore the light. Subtle, well-placed activation that responds to genuine approach movement is both more effective as a deterrent and far less disruptive to neighbors and curb appeal. Warm-color LEDs triggered at the perimeter create a welcoming, monitored environment. A harsh white flood at the door creates a nuisance.
The landscape lighting safety benefits that homeowners actually experience come from thoughtful design, not from buying the most powerful sensor available.
Permanent lighting with motion detection, done right in Charlotte
Foreverglowlighting brings together permanent LED lighting and motion sensor integration into a single, professionally designed system for Charlotte-area homeowners and commercial properties. Rather than a standalone fixture that may or may not cover the right zone, every installation begins with a site survey that maps approach paths, perimeter boundaries, and entry points before a single bracket is mounted.

The result is a system where perimeter sensors trigger warm-toned landscape or roofline lighting along approach paths, cameras activate on sustained movement, and the homeowner receives a smartphone notification — all without a single nuisance trip from passing cars or neighborhood wildlife. GlowCare maintenance keeps sensors clean, seals intact, and sensitivity settings calibrated through every season.
For homeowners ready to move beyond a single plug-in fixture and into a coordinated, permanent solution, the next step is straightforward: schedule a site survey and let the Foreverglowlighting team design a system built around your property’s actual layout and security priorities.