
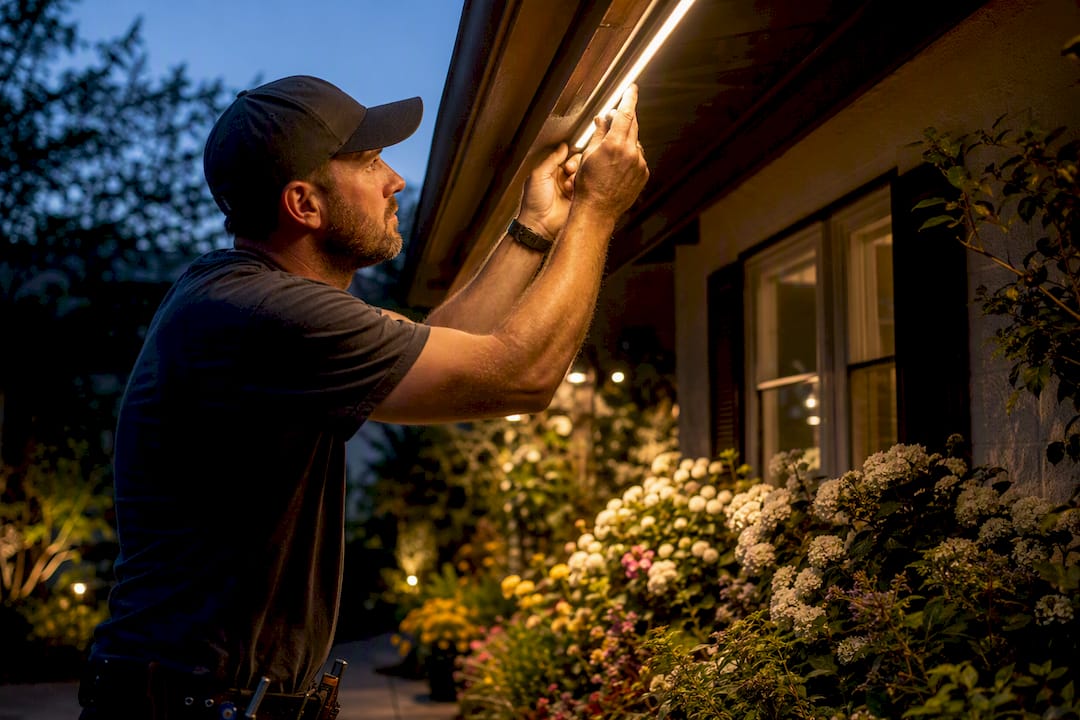
Spread lighting, more precisely called beam spread, is the angular width of the light a fixture actually throws onto your yard. A narrow spread concentrates light into a tight, bright cone; a wide spread fans it out into a soft, even wash. Matching that spread to your target, whether it’s a Japanese maple or a stone facade, is what separates clean landscape lighting from a yard full of harsh hotspots and stray glare.
- Narrow spread: tight focal accents on trees, statues, or columns
- Wide spread: even washes across hedges, beds, and walls
- The rule: measure your target’s size and shape first, then pick the angle
Key Takeaways
Beam spread determines whether outdoor lighting looks like a designed feature or a collection of harsh spots, and matching angle to target is the single most important decision in any layout.
| Point | Details |
|---|---|
| Definition matters | Beam angle marks the 50% brightness point; field angle marks the 10% point, and both shape the real footprint. |
| Match band to target | Narrow (10° to 30°) suits trees and columns; extra-wide (60°+) suits wall washing and broad facades. |
| Distance changes everything | Longer setback widens the footprint and thins intensity, so long throws often need narrower beams. |
| Distribution isn’t the same as angle | Type I through V patterns shape where light lands, which matters most for paths and walls. |
| Verify before installing | A photometric (IES) report confirms real-world spread better than a printed spec number. |
Table of Contents
- What Is Spread Lighting Outdoors in Technical Terms?
- Common Beam Spread Ranges and What Each One Does
- How Mounting Height and Distance Change What You See
- Fixture Types: When Shape Matters More Than Angle
- A Practical Checklist for Choosing Beam Spread
- Recommended Spreads for Common Yard Features
- How a Professional Installer Applies These Beam Choices
- Ready to See It Done Right?
- What Homeowners Get Wrong About Beam Spread
- Frequently Asked Questions
- Sources
What Is Spread Lighting Outdoors in Technical Terms?
Manufacturers describe beam spread using two related numbers: beam angle and field angle. Beam angle marks the point where light intensity drops to 50% of its center-beam value. Field angle marks the wider point where it drops to 10%. Both appear on spec sheets because the beam angle tells you where the light looks brightest, while the field angle tells you where it becomes visible at all, including the softer edges most homeowners mistake for spill.
The IES definitions for beam angle set the industry standard for how these figures get measured, and the organization recommends never trusting a single printed angle in isolation.
- Beam angle: where brightness falls to half its peak value
- Field angle: where brightness falls to a tenth of its peak value
- “Useful beam” usually falls somewhere between the two, not at either edge
- A photometric report (an IES file) shows the real footprint and intensity curve, not just one number
That last point matters more than any spec sheet claim. Two fixtures labeled “30 degrees” can throw noticeably different patterns depending on the reflector and lens design, which is why installers cross-check the IES file before finalizing a layout.
Common Beam Spread Ranges and What Each One Does
Beam spread generally falls into four practical bands, and each one has a job it does well.
- Narrow: Built for tall trees, statues, and columns where you want a defined shaft of light climbing a trunk or highlighting a single vertical feature. This range is also what long-throw applications lean on, since a tight beam holds its intensity over distance.
- Medium: The workhorse for small ornamental trees, medium shrubs, and focal garden elements. It covers enough width to look natural without smearing light past the plant’s edges.
- Wide: Suited to large shrub beds, low hedges, and general accent coverage where you’re lighting a mass rather than a single object.
- Extra-wide: Used for wall washing, broad facades, and ambient area lighting where even, shadow-free coverage across a flat surface matters more than punch.
As spread widens, the same lumen output gets stretched over a larger area, so brightness per square foot drops. VOLT Lighting’s guidance on beam spreads confirms this tradeoff: narrow beams concentrate lumens for bright centers, wide beams distribute them for softer, more even fields. That’s why swapping a fixture’s spread without also reconsidering its lumen output is one of the most common layout mistakes homeowners make. For more on how these techniques stack together across a property, our layering techniques guide walks through combining several spreads in one design.
How Mounting Height and Distance Change What You See
Distance and spread work together, not separately. As a fixture sits farther from its target, the beam’s footprint grows wider and its intensity thins out, the same way a flashlight beam looks like a tight dot up close and a soft circle across a room. That’s practical intuition, not a formula you need to memorize.
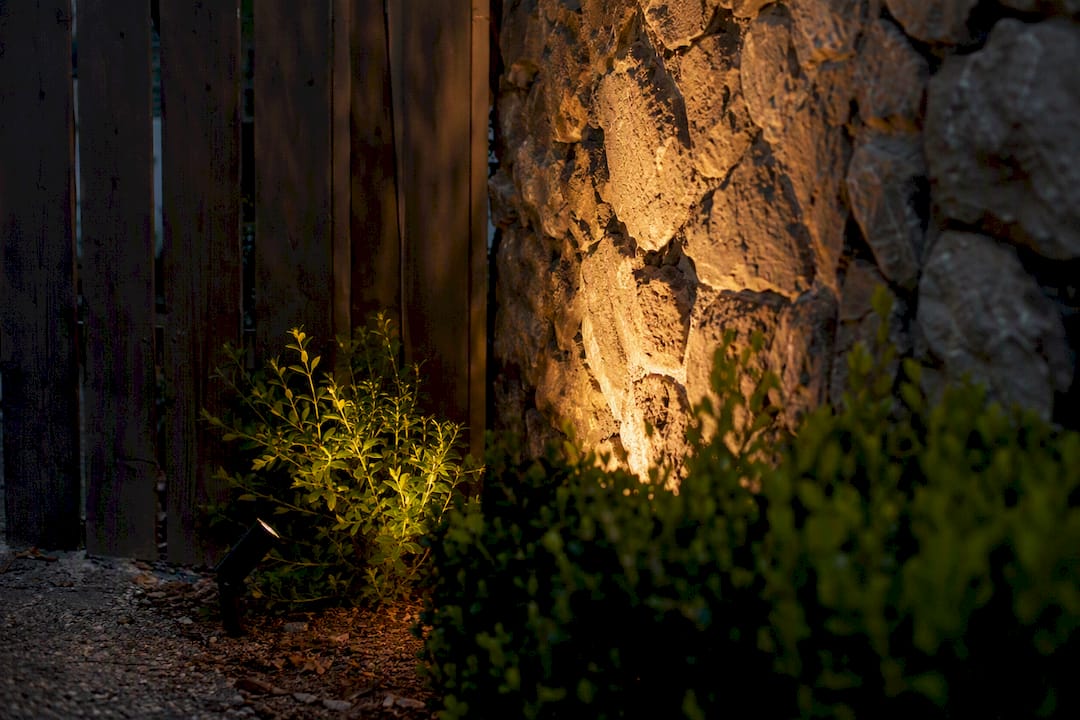
Setback decisions follow from this. If a fixture has to sit ten or fifteen feet from a tall tree, a narrower beam holds its punch over that throw. If it’s tucked close to a low hedge, a wider spread avoids creating one blinding hotspot on the nearest branch.
Pro Tip: Before committing to a final fixture, stake a temporary light in place, run it after dark, and walk the yard from every angle you’d normally view it from, including from inside the house. Ten minutes of testing catches problems no spec sheet will show you.
- Aim tests reveal glare you won’t see from a spec sheet
- Measuring spill (light landing outside the intended target) helps you catch trespass onto a neighbor’s property early
- Flood fixtures often need narrower optics than expected when setback is long, according to ProLighting’s explainer on beam spread and NEMA types
Fixture Types: When Shape Matters More Than Angle
A round beam angle only tells part of the story. Many outdoor fixtures produce asymmetric optics, meaning the horizontal spread and vertical spread differ on purpose. A wall-wash fixture might throw 90 degrees horizontally but only 30 degrees vertically, shaping the light into a flat band instead of a circle.
This is where distribution type comes in, and it’s a different concept from beam spread even though the two get confused constantly. Cary Lighting’s guide to beam spread and distribution types explains that distribution (classified as Type I through V, plus VS for vertical square patterns) describes the shape and direction of the light pattern on a surface, not just its angular width. A path light needs a distribution that throws light down and outward without shining into anyone’s eyes. A facade needs a controlled vertical spread paired with a wide horizontal one so the wash reads as even from top to bottom.
- Spotlights: narrow, focused, built for single objects
- Floods: wider, asymmetric optics common
- Distribution types: shape and direction of the pattern, separate from angle width
Our guide to outdoor spotlight types breaks down which optics fit which fixture families in more detail.
A Practical Checklist for Choosing Beam Spread
Selecting the right spread isn’t guesswork once you follow a sequence.
- Size up the target. Measure the height, width, and distance from the mounting point before you look at a single spec sheet.
- Pick the beam band. Match narrow, medium, wide, or extra-wide to what you measured, using the ranges above as a starting point.
- Check lumens against spread. A narrow beam with excessive lumen output creates a blinding hotspot instead of a clean accent; a wide beam with too few lumens looks weak and washed out.
- Ask for the IES file. A reputable manufacturer or installer can provide the photometric report, which shows the actual footprint and intensity curve rather than a rounded marketing number. DOE’s guide to understanding photometric reports explains how to read one.
- Test aiming and shielding. Confirm glare control and dark-sky friendliness with a nighttime mock-up before final installation.
Watch for these red flags: visible spill crossing onto a neighbor’s property, fixtures with mismatched spreads creating uneven brightness across a bed, and glare visible from the street or a front window. Every one of these traces back to a spread that was chosen without checking the photometric data first.
Recommended Spreads for Common Yard Features
- Small ornamental tree uplight: medium spread, mounted close with modest setback for a natural, contained glow.
- Tall tree canopy: narrow spread, since the beam has to hold intensity climbing higher elevations.
- Wall washing: extra-wide spread, typically mounted low and angled to graze the surface evenly from top to bottom.
- Shrub and hedge masses: medium to wide spread to avoid one bright hotspot in a sea of shadow.
- Paths and steps: distribution matters as much as angle here; a downward, forward-throwing pattern with a wide horizontal spread keeps footing visible without shining into anyone’s eyes.
Fixture shape plays a role too. A gooseneck sconce’s shade or a wall light’s arm length physically shapes how far and wide the light falls before it even leaves the housing, something worth checking on any surface-mounted fixture you’re considering.
How a Professional Installer Applies These Beam Choices
A trained installer doesn’t start with a fixture catalog. The process runs target survey first (measuring every tree, wall, and bed on the property), then optics selection based on those measurements, then a photometric verification pass to confirm the chosen fixtures actually deliver the spread the spec sheet promises, and finally a nighttime commissioning walk to fine-tune aiming and shielding.
That sequence is why professionally designed systems tend to run more efficient over time: correctly matched spreads mean fewer over-lit fixtures burning excess wattage, easier scene adjustments since every fixture is doing its intended job, and less maintenance from glare complaints or hotspot callbacks. Our breakdown of why professional design pays off covers the cost side of this in more depth.
- Target survey before fixture selection, not after
- Photometric verification instead of trusting a printed angle
- Commissioning walk to catch glare and spill before it becomes permanent
Ready to See It Done Right?
Choosing the correct spread on paper is one thing, but getting expert permanent outdoor lighting installation makes all the difference. Getting it to look right after dark, with zero glare into your windows and zero spill onto a neighbor’s lawn, takes fieldwork most homeowners don’t have the tools or time for. Forever Glow Lighting builds every landscape lighting project around exactly this process: measuring targets, verifying photometrics, and running a live nighttime commissioning walk before calling a project finished. If you’re weighing beam spread options for your own property, our permanent lighting installation process page walks through what to expect from a free estimate through final walkthrough.
What Homeowners Get Wrong About Beam Spread
Most advice on beam spread treats it as a spec-sheet number to match against a plant type, and that’s backward. The angle printed on a box is a rounded average; the actual footprint on your lawn depends on the fixture’s optics, the mounting height, and how far the light has to travel before it hits anything. Two “30-degree” fixtures from different manufacturers can produce visibly different results once they’re staked into real ground.
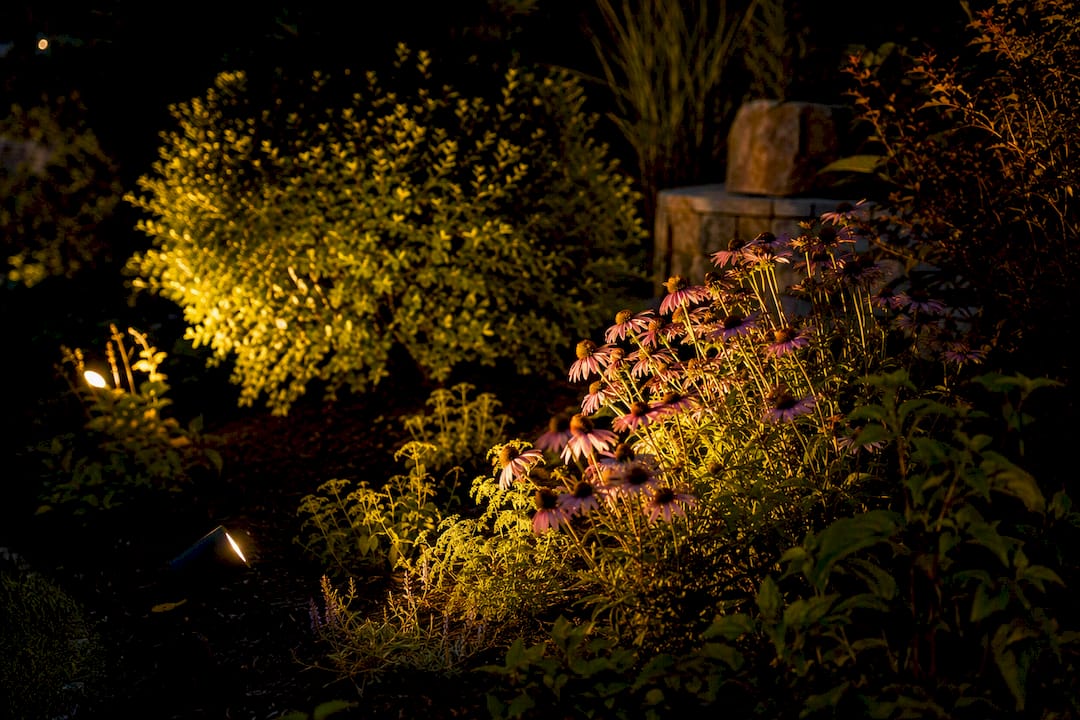
The conventional advice to “pick wide for hedges, narrow for trees” isn’t wrong, but it skips the step that actually prevents callbacks: checking the photometric file and running a nighttime mock-up before finalizing anything. Homeowners who skip that step end up with the two most common complaints in landscape lighting, hotspots on the nearest branch and glare bouncing off a window, and both are avoidable with ten minutes of testing.
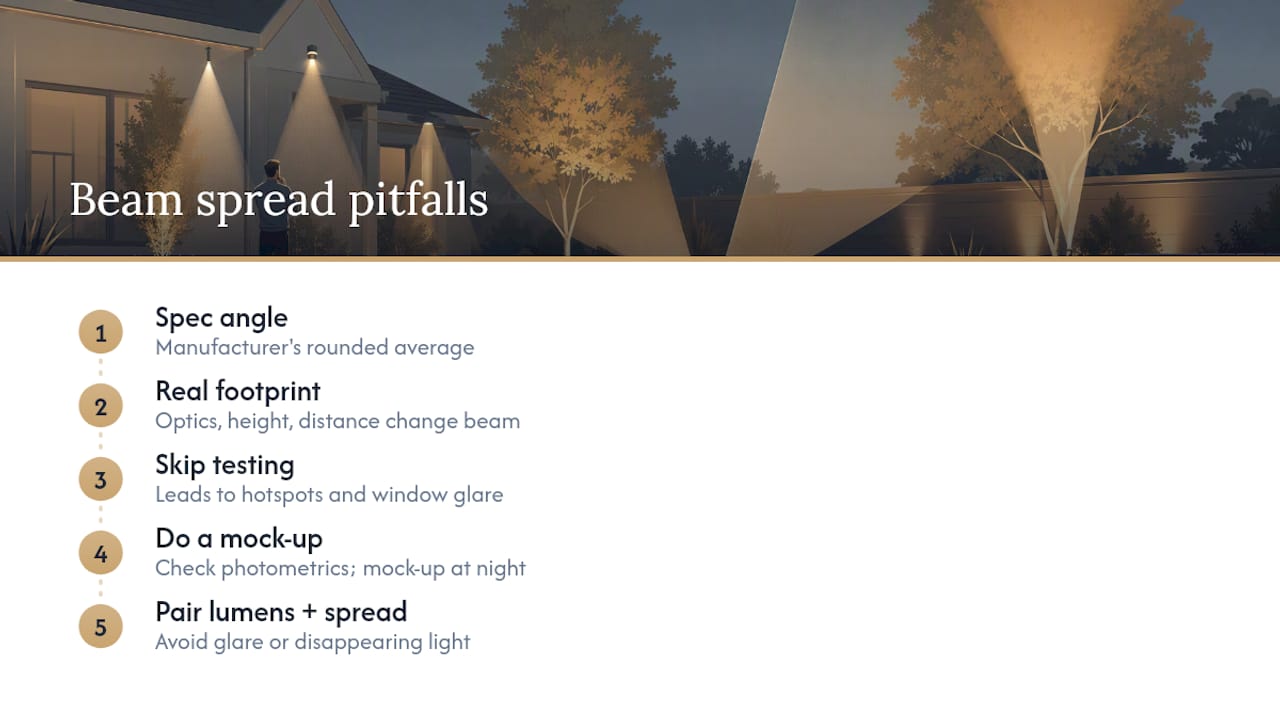
If there’s one thing worth prioritizing above all else, it’s this: buy lumens and spread together, never separately. A narrow beam with too much output is just glare with better marketing. A wide beam with too little output disappears the moment fog or rain rolls in. Get that pairing right, and the angle band you choose almost takes care of itself.
Frequently Asked Questions
What is spread lighting outdoors, in simple terms?
It’s the width of the light pattern a fixture produces, ranging from a tight, narrow beam for single objects to a wide, even wash for broad surfaces like walls or hedges.
What’s the difference between spread lighting and spotlighting?
Spotlighting is a use case, typically a narrow beam aimed at one object. Spread lighting is the broader concept covering every angle band, from narrow spots to extra-wide washes.
How do I know what spread my fixture actually produces?
Ask for the manufacturer’s IES file or photometric report rather than relying on the single angle printed on the packaging, since real-world optics vary between brands.
Can one fixture work for both a tree and a hedge?
Generally no. A tree favors a narrow to medium beam for a defined vertical accent, while a hedge favors a wider beam to avoid one bright spot in an otherwise shadowed row.
Does mounting height affect beam spread?
Yes. Greater height or distance widens the footprint and reduces intensity, which is why long-throw applications often call for narrower beams than their short-range counterparts.
Sources
IES beam angle definitions, NEMA standards, and Cary Lighting’s distribution guide cover the technical depth beyond this guide.
- LED Beam Spread and Light Distribution Types: How to Choose the Right Beam Pattern | Cary Lighting
- How to Select Beam Spreads for Landscape Lighting | VOLT Lighting