

The professional way to hide landscape lighting wires at grade is permanent, code‑compliant concealment. That means listed direct‑burial cable or raceway/conduit, integrated roofline track systems for architectural runs, and every splice sealed inside a weather box with silicone. It’s not the same job as tucking a cord under mulch. Compliant installs follow NEC Article 600 for grounding and bonding, rely on components carrying certifications like UL 2108, and are exactly what Forever Glow Lighting builds for homeowners and commercial clients across the region.
- At grade: listed direct‑burial cable or conduit under hardscape, buried to the required depth
- On rooflines: integrated track systems that hide wiring inside the mounting channel
- At every splice: a weather box packed with electrical‑grade silicone, never a twist‑and‑tape connection
- Your next move: ask any installer for a site survey and a voltage‑drop plan before signing anything
Key Takeaways
Permanent concealment of landscape lighting wiring depends on listed direct‑burial cable or conduit, NEC Article 600 grounding, and silicone‑sealed weather boxes at every splice.
| Point | Details |
|---|---|
| Choose the right raceway | Use listed direct‑burial cable in open yard runs and conduit under any driveway or hardscape crossing. |
| Seal every splice | Weather boxes filled with electrical‑grade silicone prevent corrosion and moisture failure over decades. |
| Follow code, not shortcuts | NEC Article 600 grounding and pool‑proximity GFCI rules aren’t optional, even on low‑voltage systems. |
| Size wire for the run | Hub wiring and correct conductor gauge prevent voltage drop on longer landscape and roofline runs. |
| Work with a licensed pro | Forever Glow Lighting installs code‑compliant concealed systems backed by a warranty and GlowCare maintenance. |
Table of Contents
- How Professionals Actually Hide Wiring at Grade and on Rooflines
- What Code and Safety Rules Govern Landscape Wiring?
- What Materials Do Installers Use to Conceal Wire Safely?
- What Does a Professional Installation Look Like Day to Day?
- How Often Does a Concealed System Need Maintenance?
- What Drives the Cost of a Concealed Lighting System?
- Getting a Site Survey From Forever Glow Lighting
- Frequently Asked Questions
- Sources
How Professionals Actually Hide Wiring at Grade and on Rooflines
Every method a licensed installer uses solves a specific problem. The choice depends on where the wire runs, how much foot traffic crosses it, and whether it needs to survive a driveway or a flower bed.
For underground runs, pros default to two approaches. The first is listed direct‑burial Class 2 cable, rated to go straight into soil without conduit in most yard applications. The second is rigid or flexible conduit, which is mandatory under driveways, sidewalks, and anywhere mechanical damage is likely. Conduit costs more labor to install but gives you a serviceable raceway you can pull new wire through years later without digging again.
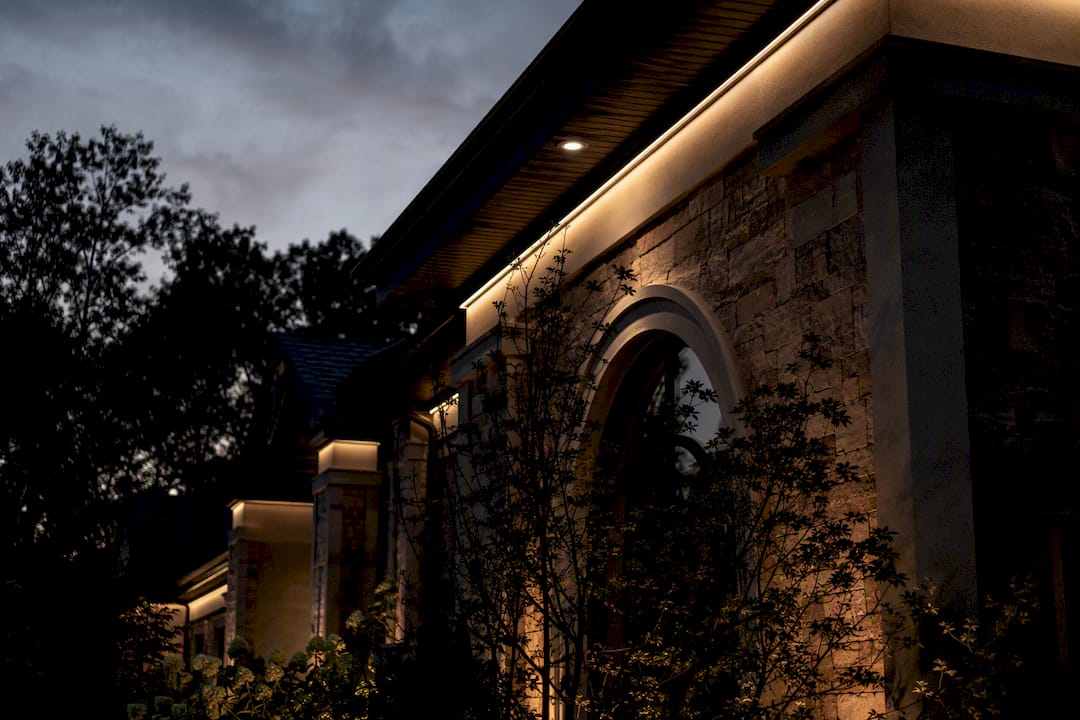
On rooflines and architectural surfaces, the wiring hides inside the track itself. Integrated LED track systems, like the Tetra Contour light engines Forever Glow Lighting installs, route power through the mounting channel so nothing is visible from the ground, day or night. Manufacturer guides for these systems call for mounting clips at consistent intervals, generally one clip every 18 inches for the track and closer spacing for the light engine itself, with small gaps left between segments to allow for thermal expansion.
Wiring topology matters as much as the raceway. Hub, or star, wiring runs each fixture (or small group) back to a central point, rather than daisy‑chaining every light off the last one. That approach confines a failure to a single run instead of an entire loop and keeps voltage drop predictable across long distances.
A field checklist most licensed crews follow:
- Call for utility locates before any trenching begins.
- Use conduit, not bare direct‑burial cable, under any driveway, walkway, or patio crossing.
- Maintain the burial depth specified for the cable type and location.
- Group fixtures into hub runs sized by conductor gauge, not by convenience.
- Document every splice location on a run map before backfilling.
Our approach to wire routing around patios and sprinklers follows the same logic used in hardscape lighting, where wires get channeled into retaining walls and steps rather than left exposed.
Pro Tip: If a run exceeds roughly 50 to 75 feet, upsize the conductor gauge or split it into two hub runs. Fixing voltage drop after installation means digging up cable; sizing for it up front costs almost nothing.
What Code and Safety Rules Govern Landscape Wiring?
Landscape lighting sits at the intersection of two code sections, and a good installer treats both as non‑negotiable, not as suggestions.
NEC Article 600 governs electric signs and outline lighting and sets the grounding and bonding requirements that manufacturers reference directly in their installation instructions. Article 725 covers the Class 2 low‑voltage wiring most landscape systems actually use, which is why the cable itself, the connectors, and the transformer all need to carry a proper listing.
Grounding isn’t optional for LED drivers. Installation manuals for systems like the Tetra Contour series require bonding per NEC Article 600 and specify that certain light engines are rated for dry locations only unless installed exactly per the manufacturer’s waterproofing instructions.
Water features raise the stakes further.
Fixtures within a pool boundary typically need secondary‑side GFCI protection at the fixture itself, not just at the transformer outlet. Relying on the transformer’s own GFCI outlet alone often fails to satisfy the pool‑proximity requirement.
That distinction trips up a lot of otherwise solid installs, according to NEC-based inspection checklists built around Article 411 compliance.
A working compliance checklist:
- Weather boxes rated for outdoor and wet‑location use, filled completely with silicone
- Enclosures with an appropriate NEMA or UL rating for their exposure
- Direct‑burial cable specifically marked for that use, never repurposed indoor‑rated wire
- GFCI protection confirmed at both the transformer and, near pools, at the fixture
- A permit and inspection scheduled before backfilling any trench
Homeowners weighing DIY against a licensed crew should read up on the safety case for professional installation before assuming a low‑voltage system means low stakes.
What Materials Do Installers Use to Conceal Wire Safely?
The parts list on a professional bid tells you almost everything about how long the system will last. Cable, connectors, and enclosures do the actual work of hiding wire and keeping water out, so cutting corners here shows up years later as flickering fixtures or corroded splices.
Standard components on a compliant bid include:
- Cable: listed direct‑burial cable, commonly 12/2 or 16/2 gauge depending on run length and load, never indoor‑rated NM‑B wire buried in soil
- Supply wire: UL‑approved wire meeting the manufacturer’s minimum, often 18 AWG for architectural light engines
- Connectors: silicone‑filled waterproof heat‑shrink splices or listed direct‑burial twist connectors, never electrical tape alone
- Enclosures: weather boxes and NEMA‑rated transformer housings sized for the location’s exposure
IP ratings matter here too. A fixture rated IP54 handles splashing but not submersion, while IP66 or higher tolerates heavy rain and jetting water, a real difference for anything mounted low near irrigation or grade level. High‑quality heat‑shrink connectors and marine‑grade silicone in every weather box are often the actual difference between a system that needs service in five years and one that runs clean for two decades.
What Does a Professional Installation Look Like Day to Day?
A concealed lighting project moves through predictable stages, and knowing them helps you judge whether a contractor’s timeline is realistic or optimistic.
- Site survey and design. The crew walks the property, maps fixture locations, and calculates run lengths for a voltage‑drop plan.
- Layout and marking. Utility locates get called in, and proposed trench lines and mounting points get flagged.
- Trenching or conduit installation. Direct‑burial cable goes into open trench; conduit goes in wherever a driveway, walkway, or hardscape crossing demands mechanical protection.
- Fixture placement and mounting. Track systems and ground fixtures get attached per manufacturer clip spacing.
- Wiring and splices. Every connection gets sealed in a weather box before backfill.
- Transformer mounting and grounding. The driver gets placed within its rated remote‑mounting distance and bonded per code.
- Commissioning. The crew tests voltage drop, polarity, and seal integrity, then walks the client through the finished system.
A single residential yard often wraps in a day; a full roofline plus landscape system with permitting and hardscape work can run several days to a couple of weeks. Before the crew arrives, confirm site access, hold off on any new landscaping in the work zone, and identify the electrical point where the transformer will connect.
How Often Does a Concealed System Need Maintenance?
Buried and integrated wiring is durable, not maintenance‑free. Annual inspection catches small problems before they become trench‑digging problems.
A yearly check should cover weather box condition, fixture seating, transformer load, and any sign of standing water pooling near a splice or enclosure. The most common failures trace back to connector corrosion, voltage drop from an overloaded run, or a conductor nicked by a shovel during unrelated yard work.
A GlowCare maintenance subscription typically bundles these inspections with light engine replacement and seasonal adjustments, so problems get caught on a schedule instead of discovered as a dark section of yard.
Pro Tip: Ask your installer for a run map marking every splice location before they backfill. A documented map turns a two‑hour troubleshooting call into a fifteen‑minute fix.
What Drives the Cost of a Concealed Lighting System?
Price on a concealed installation comes down to a handful of variables, and understanding them helps you compare bids on substance instead of just the bottom line.
- System complexity and total fixture count
- Trenching versus conduit requirements, especially under hardscape
- Wire gauge and total run length
- Fixture and driver quality, including UL‑listed components
- Permit and inspection fees
- Access difficulty, particularly rooflines versus flat yard runs
A permanent, professionally installed system tends to cost less over its life than repeated DIY fixes, since hub wiring, listed direct‑burial cable, and sealed splices cut down on service calls. LED fixtures paired with smart controls also trim ongoing energy costs versus older halogen setups. When comparing quotes, ask specifically whether the bid includes listed connectors, documented as‑built wiring maps, and a written warranty, not just fixture count and a total price.
Why Permanent, Code‑Compliant Wiring Is Worth Insisting On
A concealed lighting system is only as good as the parts nobody sees. We’d rather lose a bid to a homeowner who wanted a cheaper shortcut than install something that fails a pool inspection or corrodes in three years. When you’re evaluating installers, ask about licensing, request proof of NEC and UL compliance, and get the warranty and maintenance plan in writing before any trench gets dug.
Getting a Site Survey From Forever Glow Lighting
Forever Glow Lighting builds concealed lighting systems the way this guide describes: listed direct‑burial cable and conduit at grade, integrated track systems on rooflines, every splice sealed in a silicone‑filled weather box, and grounding done to NEC Article 600. Every install comes backed by a written warranty, and our GlowCare maintenance plan keeps the system inspected and serviced year after year instead of leaving you to discover a failed splice in the dark.

If your yard, patio, or roofline needs a wiring plan that disappears by day and glows exactly where you want it by night, start with our permanent lighting services page and request a site survey. We’ll map your property, calculate voltage drop for every run, and give you a written estimate before anything gets dug.
Frequently Asked Questions
Is it legal to bury landscape lighting wire without conduit?
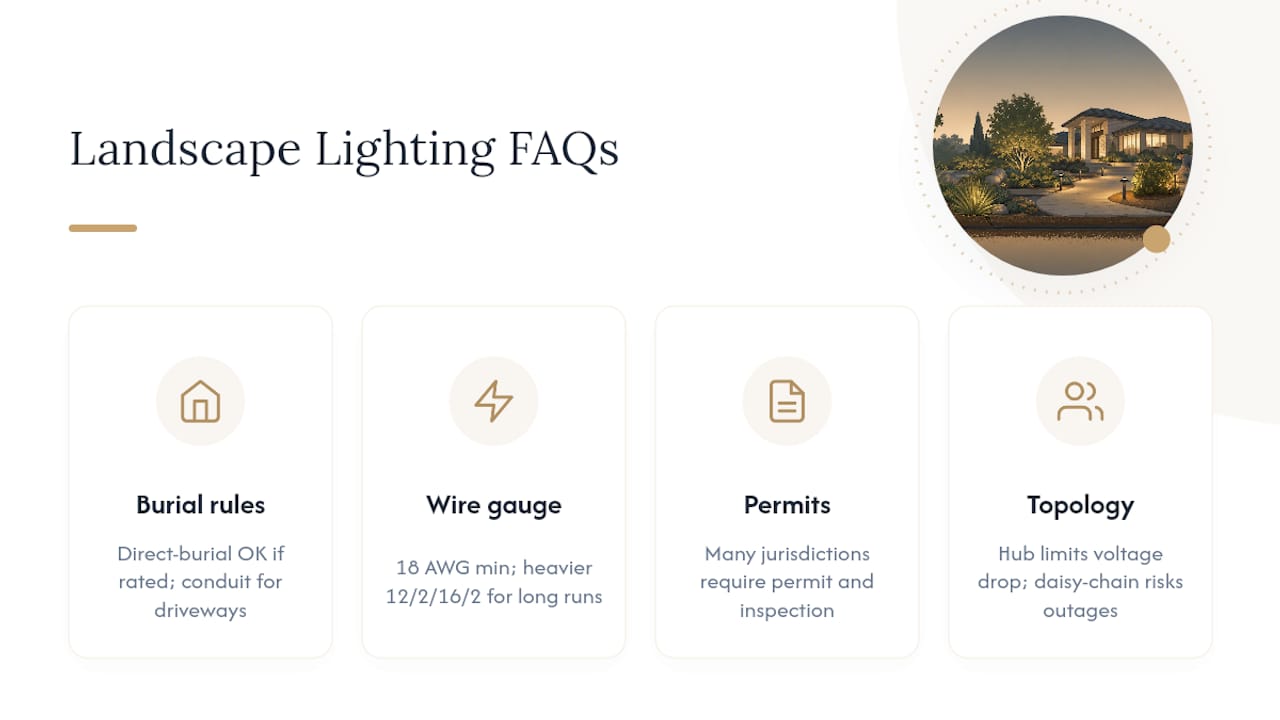
In most yard settings, listed direct‑burial cable can go straight into soil without conduit, provided it’s rated for that use and buried to the required depth. Conduit becomes mandatory under driveways, walkways, and other spots where mechanical damage is likely.
What gauge wire do professionals use for landscape lighting?
Gauge depends on run length and total load, but many architectural light engines specify a UL‑approved 18 AWG minimum, with heavier 12/2 or 16/2 direct‑burial cable used for longer landscape runs to manage voltage drop.
Do I need a permit to hide landscape lighting wires ground level?
Many jurisdictions require a permit and inspection for permanent low‑voltage lighting installations, especially near pools or when tied into a home’s electrical panel. A licensed installer will handle scheduling as part of the project.
How long does a professional concealed lighting installation last?
With listed direct‑burial cable, silicone‑sealed weather box splices, and proper grounding, a professionally installed system commonly runs 15 to 20 years with routine inspection, versus a few seasons for unprotected DIY wiring.
What’s the difference between hub wiring and daisy‑chain wiring?
Hub, or star, wiring runs each fixture group back to a central point, which limits voltage drop and confines any failure to one run. Daisy‑chain wiring links fixtures end to end, so a single bad connection can dim or disable everything downstream.
Sources
Anyone comparing bids or working directly with an electrician should read the underlying installation and code guidance firsthand.
- Lumination Contour Series LED Architectural Lighting Installation Guide | ARCH018
- How to Install Low Voltage Landscape Lighting: Wiring Guide – ExpertCE
Share these with your contractor before signing a contract. A good installer will already know them cold.