
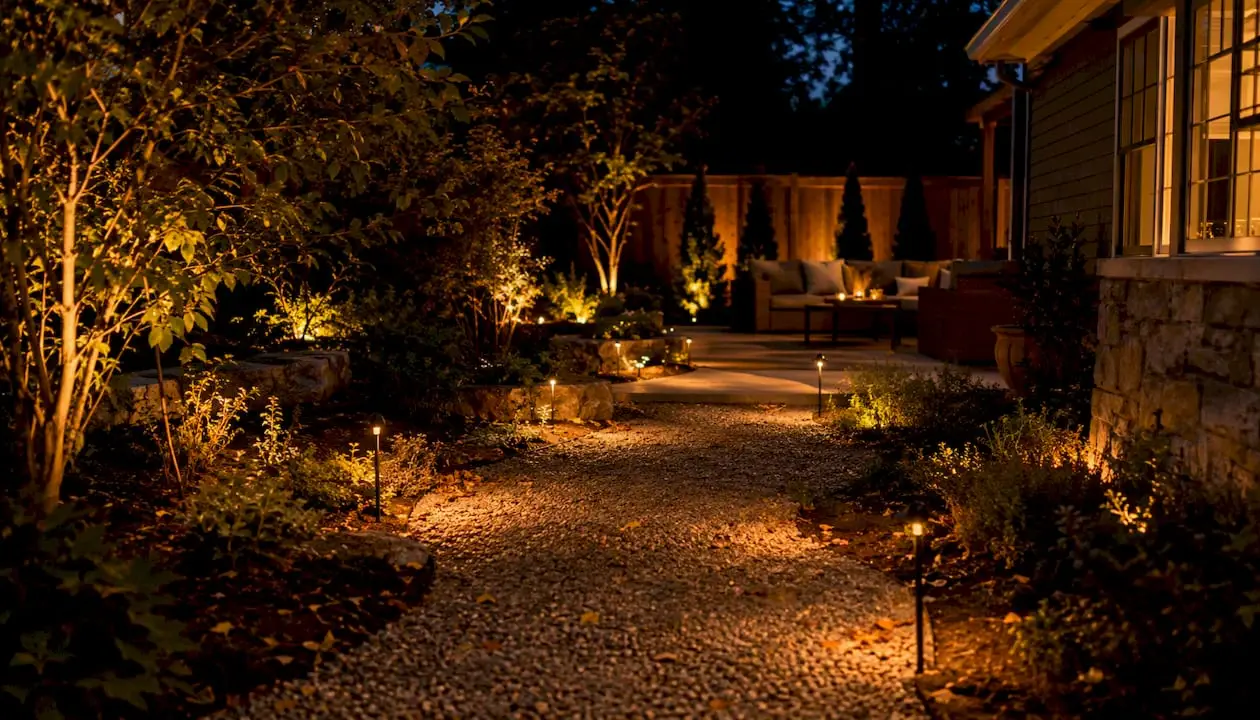
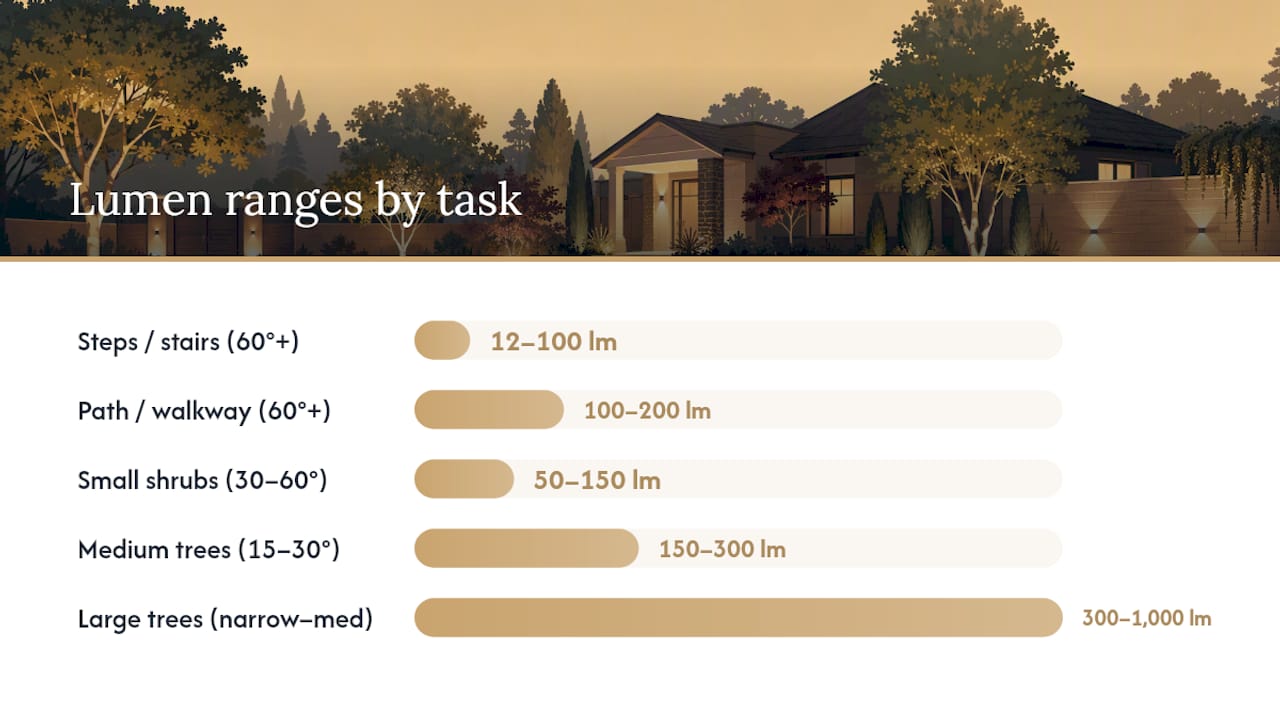
For most residential properties, these lumen ranges cover the common uses: steps and stairs: a low to moderate range, paths and walkways: a moderate range, small shrubs and planting beds a low to moderate range, medium trees and features a moderate range, large trees and facades: medium to high output, patios and decks: moderate to high output, and security or flood zones: high output. Three rules apply before you buy a single fixture:
- Rule 1: Shop by lumens, not watts. LED fixtures deliver widely different lumen outputs at the same wattage. The lumen-first approach is the only reliable way to compare brightness across products.
- Rule 2: Start lower than you think you need. Adding a second fixture is far simpler than correcting an over-lit yard. Designers consistently recommend starting lower and favoring contrast over uniform brightness.
- Rule 3: Choose warm color temperatures. Warm color temperatures of 2700K–3000K reduce glare, minimize ecological impact, and produce a natural, inviting appearance for residential landscapes.
Homeowners who want a permanent, professionally designed system rather than a DIY fixture swap can consult Foreverglowlighting for a custom outdoor lighting plan in the Charlotte area.
Key Takeaways
Lumen-first shopping, warm color temperatures, and layered placement together produce better residential lighting than any single high-output fixture ever will.
| Point | Details |
|---|---|
| Shop by lumens, not watts | Check the delivered lumen rating on every fixture spec sheet before purchasing. |
| Start lower and test | Install one fixture at night and observe before committing to a full run. |
| Use warm color temperatures | Specify 2700K–3000K across all zones to reduce glare and improve color rendering. |
| Layer and space intentionally | Combine accent, path, ambient, and security layers at different lumen levels; space path lights 6–8 ft apart. |
| Foreverglowlighting for permanent systems | Professional installation in Charlotte with GlowCare maintenance, smart control, and HOA-compliant design. |
Table of Contents
- What lumen ranges does each landscape task actually need?
- How do landscape lighting “levels” translate to real lumen numbers?
- How do you choose the right brightness level for a fixture or scene?
- How do you layer light without over-illuminating your yard?
- Why do color temperature and glare control matter so much?
- How do controls and dimming change what you actually need from a fixture?
- Which fixture types match which lumen ranges?
- What mistakes should you avoid before installing landscape lighting?
- When does a homeowner need a professional instead of a DIY fix?
- Why less light and better placement beats more lumens
- Permanent lighting done right, without the guesswork
- Sources
What lumen ranges does each landscape task actually need?
The table below maps common outdoor tasks to practical lumen targets, beam angle guidance, and a short placement note. These ranges reflect guidance from The Family Handyman and KloeLighting.
| Task | Recommended Lumens | Beam Angle | Usage Note |
|---|---|---|---|
| Steps / stairs | 12–100 lm | Wide flood (60°+) | Mount low and close; avoid eye-level glare on risers |
| Path / walkway | 100–200 lm | Wide flood (60°+) | Space fixtures 6–8 ft apart for overlapping pools |
| Small shrubs / beds | 50–150 lm | Medium flood (30–60°) | Aim at the base; let light wash upward naturally |
| Medium trees / features | 150–300 lm | Narrow spot (15–30°) | Position 3–5 ft from trunk; angle at 45° |
| Large trees / facades | 300–1,000 lm | Narrow to medium spot | Use two fixtures from different angles to reduce flat shadows |
| Patios / decks | 300–700 lm | Wide flood | Distribute across multiple lower-lumen fixtures rather than one bright source |
| Pool / pond accent | 50–200 lm | Narrow spot or submersible | Keep output low; water amplifies perceived brightness |
| Security / flood | 700–1,300+ lm | Wide flood (90°+) | Pair with motion sensor; constant high output is rarely needed |
A quick note on single vs. multiple fixtures: A single 400 lm path light covering a 20-foot walkway will feel harsh and uneven. Four 100 lm fixtures spaced evenly along the same run create a far more balanced result. The lux-to-lumen relationship explains why: paths typically target 5–20 lux on the surface, and beam angle plus mounting height determine how many lumens per fitting you actually need to hit that target.
How do landscape lighting “levels” translate to real lumen numbers?
Retailers and lighting designers sometimes describe fixtures in tiers rather than raw lumens. “Level 1” through “Level 4” is a simplified shorthand that helps homeowners narrow down a product category before checking the spec sheet. Here is how those tiers map to practical lumen ranges:
- Level 1 (Accent / low): 50–150 lm. Subtle plant accents, step markers, and decorative bed lighting. The goal is visibility, not brightness.
- Level 2 (Path / soft ambient): 100–300 lm. Walkways, garden borders, and low-key patio perimeter lighting. These fixtures define space without dominating it.
- Level 3 (Area / entertaining): 300–700 lm. Deck and patio surfaces, feature trees, and wall-wash applications where people gather and need comfortable visibility.
- Level 4 (Security / flood): 700–1,300+ lm. Motion-activated floods, driveway coverage, and high-mount security zones.
These tiers are a starting point, not a formula. Subject size, beam angle, and mounting height all shift the effective brightness on the target surface. A 300 lm fixture with a 10° narrow spot concentrates its output on a small area and can feel much brighter than a 500 lm fixture with a 90° wide flood spread across a large patio. Distance matters equally: doubling the distance from fixture to target roughly quarters the lux on that surface. When in doubt, check the delivered lux spec on the product sheet alongside the lumen rating.
How do you choose the right brightness level for a fixture or scene?
A repeatable four-step process removes most of the guesswork from outdoor lighting brightness decisions.
-
Identify the purpose and the target. Is this fixture accenting a Japanese maple, lighting a path for safe footing, or flooding a driveway for security? Each purpose has a different lumen ceiling. A decorative accent on a small ornamental tree rarely needs more than 150 lm. A garage door you want visible from the street may need 300–500 lm from two angles.
-
Measure the distance and choose a beam angle. Narrow beams (10–25°) concentrate lumens on a small area and work well for trunks, columns, and architectural details. Wide beams (60–90°) spread light across steps, patios, and ground-level beds. The lux-to-lumen relationship confirms that beam angle and mounting height together determine delivered brightness on the target, not raw lumen output alone.
-
Select an initial lumen target and a fixture with adjustable output. Use the quick-reference chart above as your starting point. Prioritize fixtures with field-adjustable dimming or swappable optics. Fine Homebuilding notes that adjustable optics and on-site dimming remove much of the guesswork by letting you tune beam spread and brightness after installation.
-
Test at night, then adjust. Install one fixture, step back to your typical viewing position, and observe. If the source is visible or the light feels flat, lower the lumen output, increase the distance, or tighten the beam. Commit to the full run only after the test fixture reads right.
Two short examples show how this plays out in practice:
- Japanese maple, 8 ft tall: A 150–200 lm narrow-spot fixture (15–25°) placed 3 ft from the base and angled upward at roughly 45° produces a dramatic silhouette without washing out the leaf color.
- Garage door, 9 ft wide: Two 300 lm medium-flood fixtures mounted at the corners of the soffit, angled downward, cover the surface evenly and avoid the single-source shadow problem.
How do you layer light without over-illuminating your yard?
Layered lighting uses four distinct roles: accent, path, ambient/area, and security. Each layer operates at a different lumen level, and the contrast between them is what makes a yard feel designed rather than just lit.
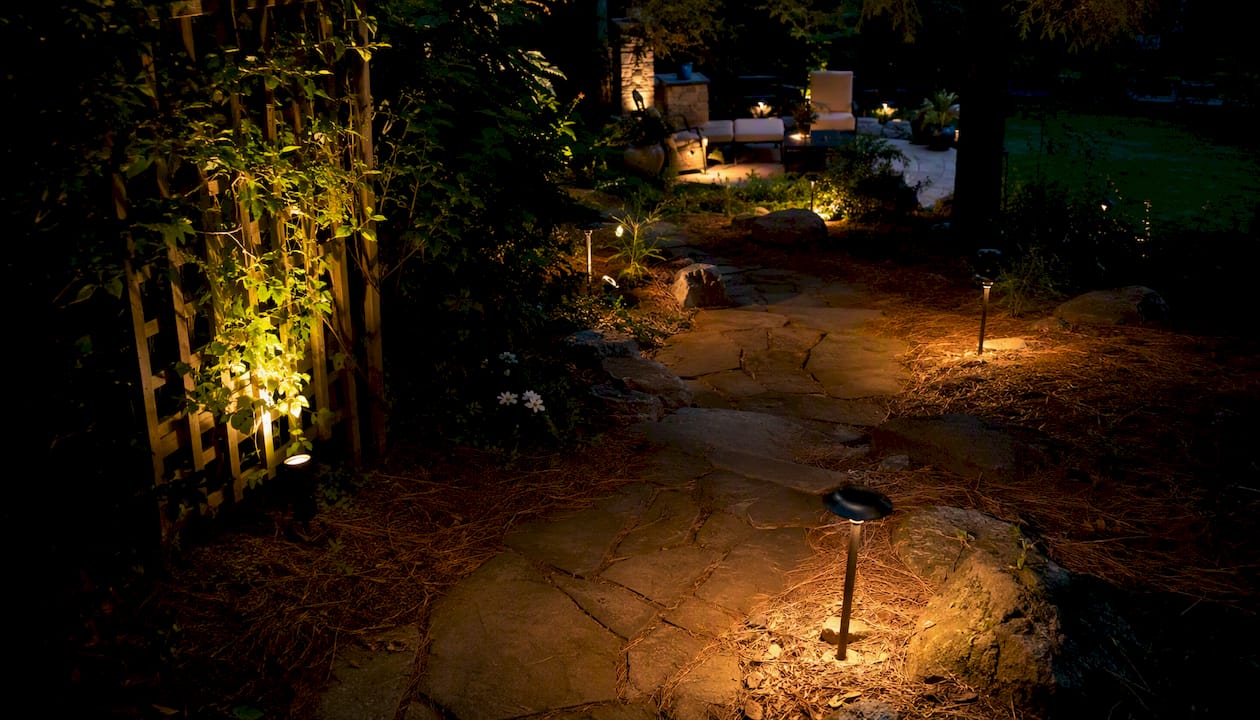
Accent lighting targets individual plants, trees, or architectural features at 50–300 lm. Path lighting guides movement at 100–200 lm. Ambient or area lighting covers patios and gathering spaces at 300–700 lm. Security lighting activates on demand at 700–1,300+ lm. Running all four layers at full output simultaneously produces the institutional-bright look that designers work hard to avoid.
Spacing matters as much as lumen output. For path fixtures, 6–8 ft between fittings creates overlapping pools of light rather than a continuous bright strip. For tree and feature accents, 15–20 ft between focal points gives each subject room to stand out. The Lumens landscape lighting guide is direct on this point: over-illumination is the most common design mistake, and wider spacing that creates distinct pools of light consistently produces a more refined result than continuous coverage.
Practical placement rules that hold across most residential projects can benefit from professional expertise, as detailed in Landscape Design – Precision Outdoor Solutions.
- Hide the source whenever possible. A fixture you can see is a glare source; a fixture you cannot see is a design element.
- Aim low and shield upward-facing lenses to reduce sky glow and neighbor complaints.
- Use backlighting on dense shrubs or hedges to add depth without raising the overall lumen count.
- Leave dark areas intentionally. Darkness is contrast, and contrast is what makes lit features read as focal points.
For landscape lighting layering techniques that go deeper on focal points and composition, Foreverglowlighting’s design resources cover the approach in detail.
Pro Tip: Before finalizing a full accent run, install one adjustable fixture and use a screwdriver-adjustable optical or a field-dimmable driver to test beam spread in place. Dial the output up and down over two or three nights before ordering the remaining fixtures.
Why do color temperature and glare control matter so much?
Color temperature shapes how a yard feels at night as much as lumen output shapes how bright it looks. Warm color temperatures of 2700K–3000K are the standard recommendation for residential landscapes. They render foliage, stone, and wood in natural tones, reduce blue-light scatter in fog and humidity, and produce far fewer neighbor complaints than cooler sources. Fixtures at 4000K and above look noticeably harsher outdoors, particularly on organic materials like bark and mulch.
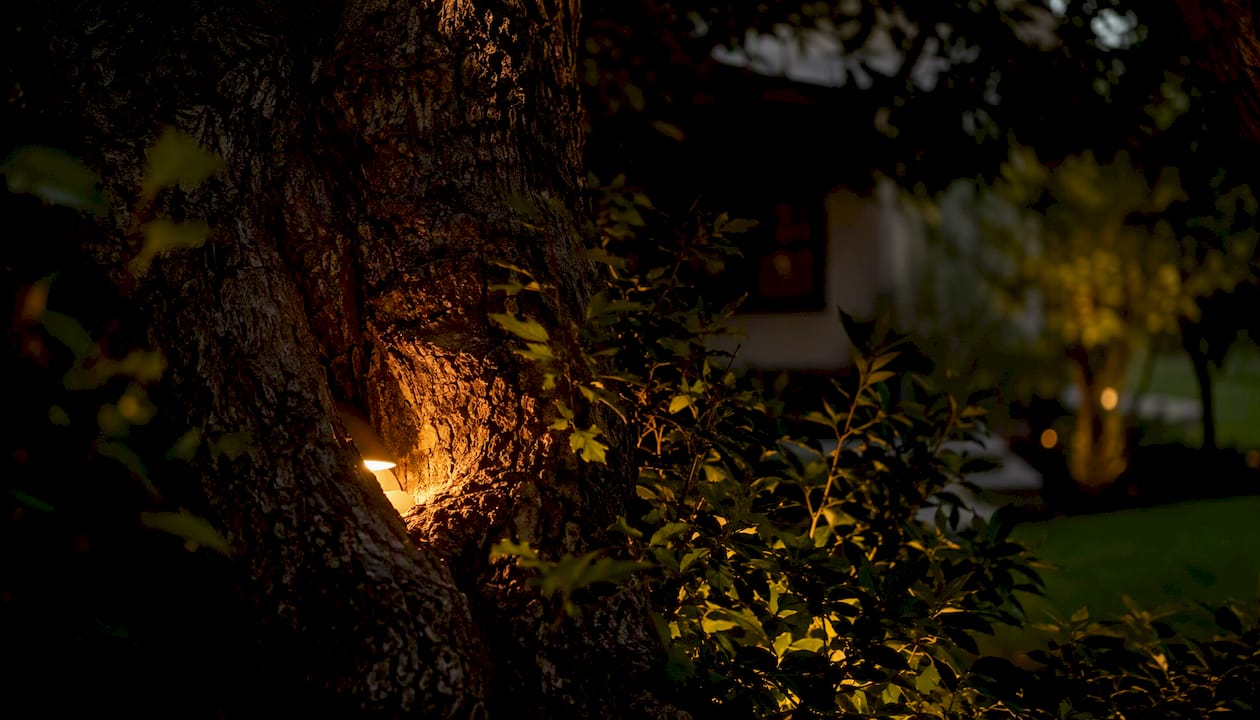
For color rendering, aim for a CRI of 80 or higher. Below CRI 80, greens look gray and warm stone reads flat. Most quality LED landscape fixtures now meet or exceed CRI 80 without a significant price premium.
Glare control comes down to fixture design and placement:
- Use full-cutoff or shielded fixtures that direct light downward and forward, not outward at eye level.
- Mount path lights low enough that the lens is below typical sightlines.
- For uplighting tall subjects, use a narrow beam and position the fixture close to the base so the light column stays tight and does not spill into neighboring properties.
- Point all fixtures downward or toward a defined target. Uplighting is the exception, not the rule.
On light trespass and Dark-Sky practices: shielded fixtures combined with timers and dimming schedules reduce the total hours of high-lumen output significantly. A yard that dims to 30% after 10 PM and runs security floods on motion-only contributes far less sky glow than one running at full output all night. Less light, placed precisely, almost always improves the perceived quality of a residential lighting design.
How do controls and dimming change what you actually need from a fixture?
Controls let homeowners use lower lumen outputs without sacrificing function. A 700 lm security flood on motion-only delivers the same deterrent effect as a 700 lm fixture running continuously, at a fraction of the ecological and energy cost. The Family Handyman notes that motion activation reduces the need for constant high output, which is the practical case for pairing high-lumen fixtures with sensors rather than running them at full brightness all night.
The right control type depends on the lighting layer:
- Motion sensors: Best for security floods and driveway coverage. Set lumen output at 700–1,300 lm for the burst; the motion trigger handles the rest.
- Dusk-to-dawn photocells: Reliable for path and step lighting that needs to stay on all night at low output (100–200 lm).
- Multi-scene timers: Useful for patio and ambient layers. A common setup dims patio fixtures by 30% after 10 PM, reducing glare for neighbors and extending LED driver life.
- Smart home scenes: Ideal for homeowners who want color temperature shifts or lumen adjustments tied to time of day or activity. Most smart outdoor systems support 0–10V or TRIAC dimming protocols; confirm compatibility before purchasing drivers and fixtures together.
Perceived brightness and absolute lumens are not the same thing. Human vision adapts to ambient conditions, so a 200 lm path light feels much brighter at midnight than at dusk. Dimming to 50% after midnight often goes unnoticed by residents while meaningfully reducing light pollution. For seasonal lighting automation that handles these scheduling decisions automatically, smart permanent systems offer the most hands-off approach.
Which fixture types match which lumen ranges?
Every fixture category has a typical lumen window. Knowing those windows helps homeowners match a style to a performance target before reading a single spec sheet.
- Step lights: 12–100 lm. Low-profile recessed or surface-mount units. Wide beam to wash the tread, not spotlight it.
- Path lights: 100–200 lm. Stake-mount or bollard styles. Wide flood for even ground coverage; space 6–8 ft apart.
- Accent spotlights: 50–400 lm. Adjustable-head stake or surface-mount fixtures. Narrow to medium spot for trunks, columns, and ornamental plants.
- Well lights / uplights: 300–1,000 lm. In-ground fixtures for trees and facades. Narrow beam for tall subjects; medium beam for broad architectural surfaces.
- Wall sconces: 300–700 lm. Mounted at entry points and along exterior walls. Shielded designs prevent glare at eye level.
- Flood / security: 700–1,300+ lm. Wide-beam fixtures for driveways, parking areas, and perimeter coverage. Pair with motion sensors for practical use.
Always check the product spec for delivered lumens, not an “equivalent watts” label. A fixture marketed as “equivalent to 60W” tells you nothing useful about actual output. Look for the lumen rating on the spec sheet, and check whether the driver is field-dimmable. Fine Homebuilding’s landscape lighting guide specifically highlights adjustable optics and field-dimmable drivers as the features that separate professional-grade fixtures from basic consumer products.
A realistic pairing example: a medium ornamental tree 10–15 ft tall works well with a 150–300 lm narrow-spot fixture (15–25°) positioned 3–5 ft from the base. That combination delivers enough lux on the canopy to read clearly from the street without washing out the surrounding beds. For LED-specific performance guidance, including lumen depreciation rates and color quality over time, Foreverglowlighting’s LED landscape lighting resource covers the topic in practical terms.
What mistakes should you avoid before installing landscape lighting?
The most common errors share a root cause: buying fixtures before testing placement, beam angle, or lumen output in the actual space.
Red flags to watch for:
- Visible bulbs or lenses at eye level (glare sources, not design elements)
- Mixing 2700K and 4000K+ fixtures in the same zone (produces mismatched color casts)
- Using wide-beam PAR-style floods on narrow subjects like tree trunks (wastes output and creates spill)
- Spacing path lights so tightly that the walkway reads as a runway rather than a guided path
- Ignoring beam spread math when uplighting tall trees (a 90° beam on a 30 ft oak lights the neighbors as much as the tree)
Pre-install checklist:
- Confirm the lumen rating on the spec sheet for each fixture type.
- Select 2700K–3000K color temperature across all zones.
- Map fixture spacing on a simple sketch before ordering.
- Test with a temporary fixture or a plug-in equivalent before trenching or wiring.
- Specify shielded or full-cutoff fixtures for any position near sightlines.
- Plan controls (motion, timer, dimmer) for each layer before purchasing drivers.
On maintenance: LED landscape fixtures experience lumen depreciation over time, typically losing a measurable percentage of output over thousands of operating hours. Cleaning lenses and reflectors annually recovers a portion of that lost output. Always specify outdoor-rated IP65 or higher fixtures for any ground-level or exposed installation. For wiring safety and outdoor-rated installation standards, Foreverglowlighting’s landscape lighting wiring guide covers the practical requirements for DIYers.
When does a homeowner need a professional instead of a DIY fix?
Some projects are straightforward enough to handle independently. Replacing a single path light, swapping a bulb for a higher-CRI LED, or testing one accent fixture before a larger install are all reasonable DIY tasks. The complexity threshold shifts quickly once a project involves multiple zones, buried wiring, or smart automation.
Scenarios where professional installation makes sense:
- Complex site grading that requires conduit routing or trenching across multiple planting zones
- HOA lighting restrictions that specify fixture styles, color temperatures, or maximum lumen outputs
- Large estate trees or multi-zone control needs that require a low-voltage transformer with multiple circuits
- Rooftop or high-mount security lighting where ladder access creates a safety risk
- Desire for permanent, no-ladder holiday and accent lighting that integrates with a smartphone control system
Professional permanent systems offer engineered wiring, weather-resistant connections, centralized smart control, and long-term ROI that DIY fixture kits rarely match. Foreverglowlighting’s GlowCare maintenance subscription handles annual cleaning, lumen checks, and fixture adjustments so homeowners never need to troubleshoot output degradation themselves.
DIY vs. professional at a glance:
- DIY is fine: Single path light swap, one accent fixture test, plug-in patio string lights, basic timer setup.
- Hire a pro: Multi-zone layered design, electrical trenching, smart automation integration, HOA-compliant permanent systems, or any project involving roofline or high-mount fixtures.
For homeowners weighing the cost-benefit of a permanent install, Foreverglowlighting’s page on why professional landscape lighting design pays off walks through the long-term value case in straightforward terms.
Why less light and better placement beats more lumens
There is a persistent assumption in residential lighting that brighter means better. Designers who work with adjustable optics and field-dimmable drivers in real yards know the opposite is usually true. The most memorable outdoor spaces tend to use restraint: a single well-placed 200 lm spot on a specimen tree, a row of 100 lm path lights that guide without glaring, and large stretches of intentional darkness that make the lit elements stand out.
The practical lesson from working with dimming controls in the field is that most homeowners start too bright and never dial back. Testing a fixture at 50% output before committing to full brightness almost always reveals that the lower setting looks more refined. Contrast does the design work that raw lumens cannot.
Permanent lighting done right, without the guesswork
Foreverglowlighting installs custom permanent outdoor lighting systems across the Charlotte area, handling everything from lumen planning and fixture placement to weatherproof wiring and smartphone integration. The permanent lighting installation process covers design, installation, and GlowCare maintenance in a single relationship, so homeowners never climb a ladder or troubleshoot a failing driver. Systems are HOA-compliant by design and controllable from a phone, with color temperature and scene options that adapt to every season.

For homeowners ready to move from a DIY fixture swap to a professionally designed system, a free consultation is the natural next step. Contact Foreverglowlighting to schedule a site visit and get a custom lighting plan for your property.
Sources
- Landscape Lighting Guide | Outdoor Lighting Tips at Lumens
- Landscape Lighting Dos and Don’ts | The Family Handyman
- A DIY Landscape Lighting Guide for All Budgets – Fine Homebuilding
- Outdoor Lighting Lumens Guide: How Many Do You Need? (2026 Chart)
- How many lumens do I need for landscape light? | Electrician Santa Barbara
- Lux and Lumens Guide: How Bright Should Garden Lights Be?